Step 1: Access Score Card Details
Navigate to your dashboard and find the score card section. Clicking on the score card will reveal more detailed information about your account.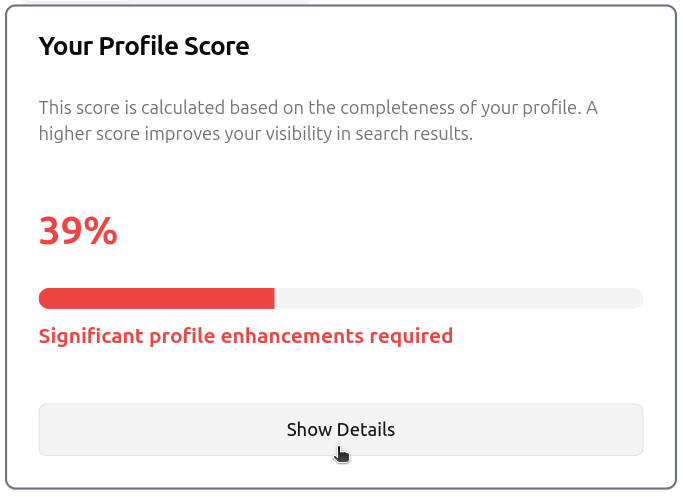
Step 2: Navigate to Services Section
Click on the “Services” tab to access your service management settings.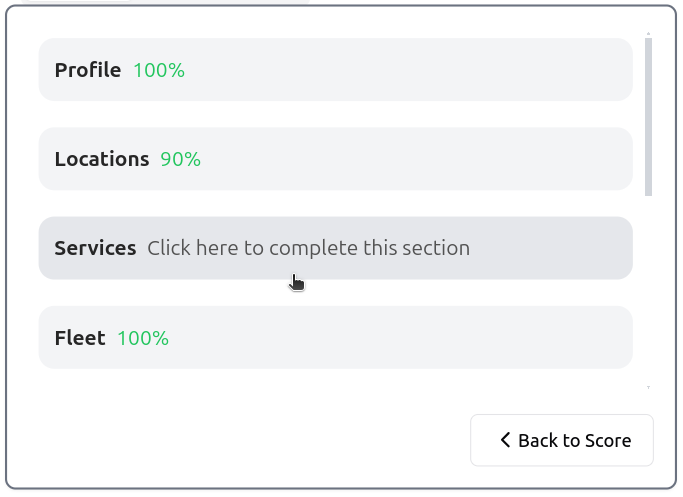
Step 3: Advanced Edit Options
Click on “Advanced Edit Options” to customize your services page header text.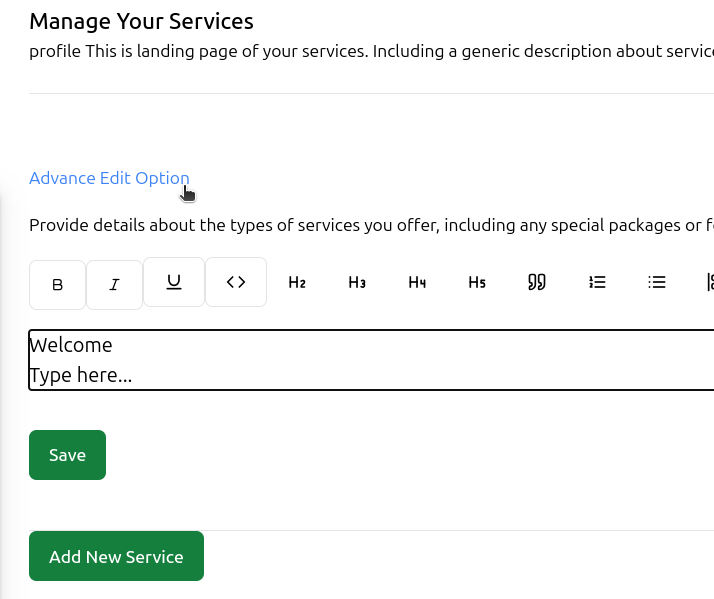
Step 4: Save Header Text
After entering your custom header text, click the “Save” button to confirm changes.
Step 5: Add New Service
Click on the “Add New Service” button to begin adding a service.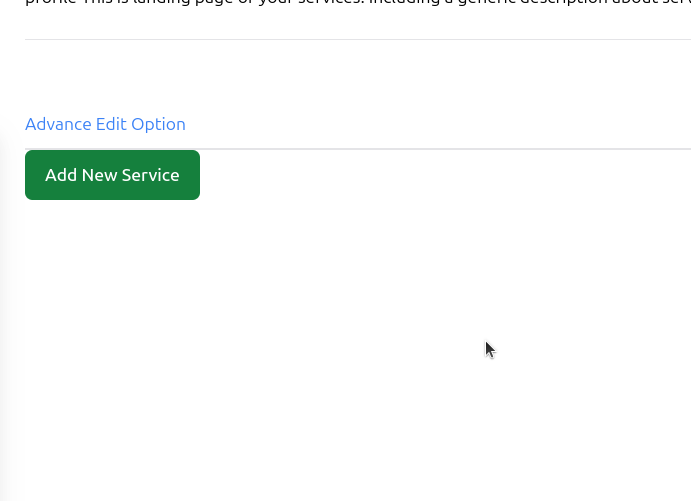
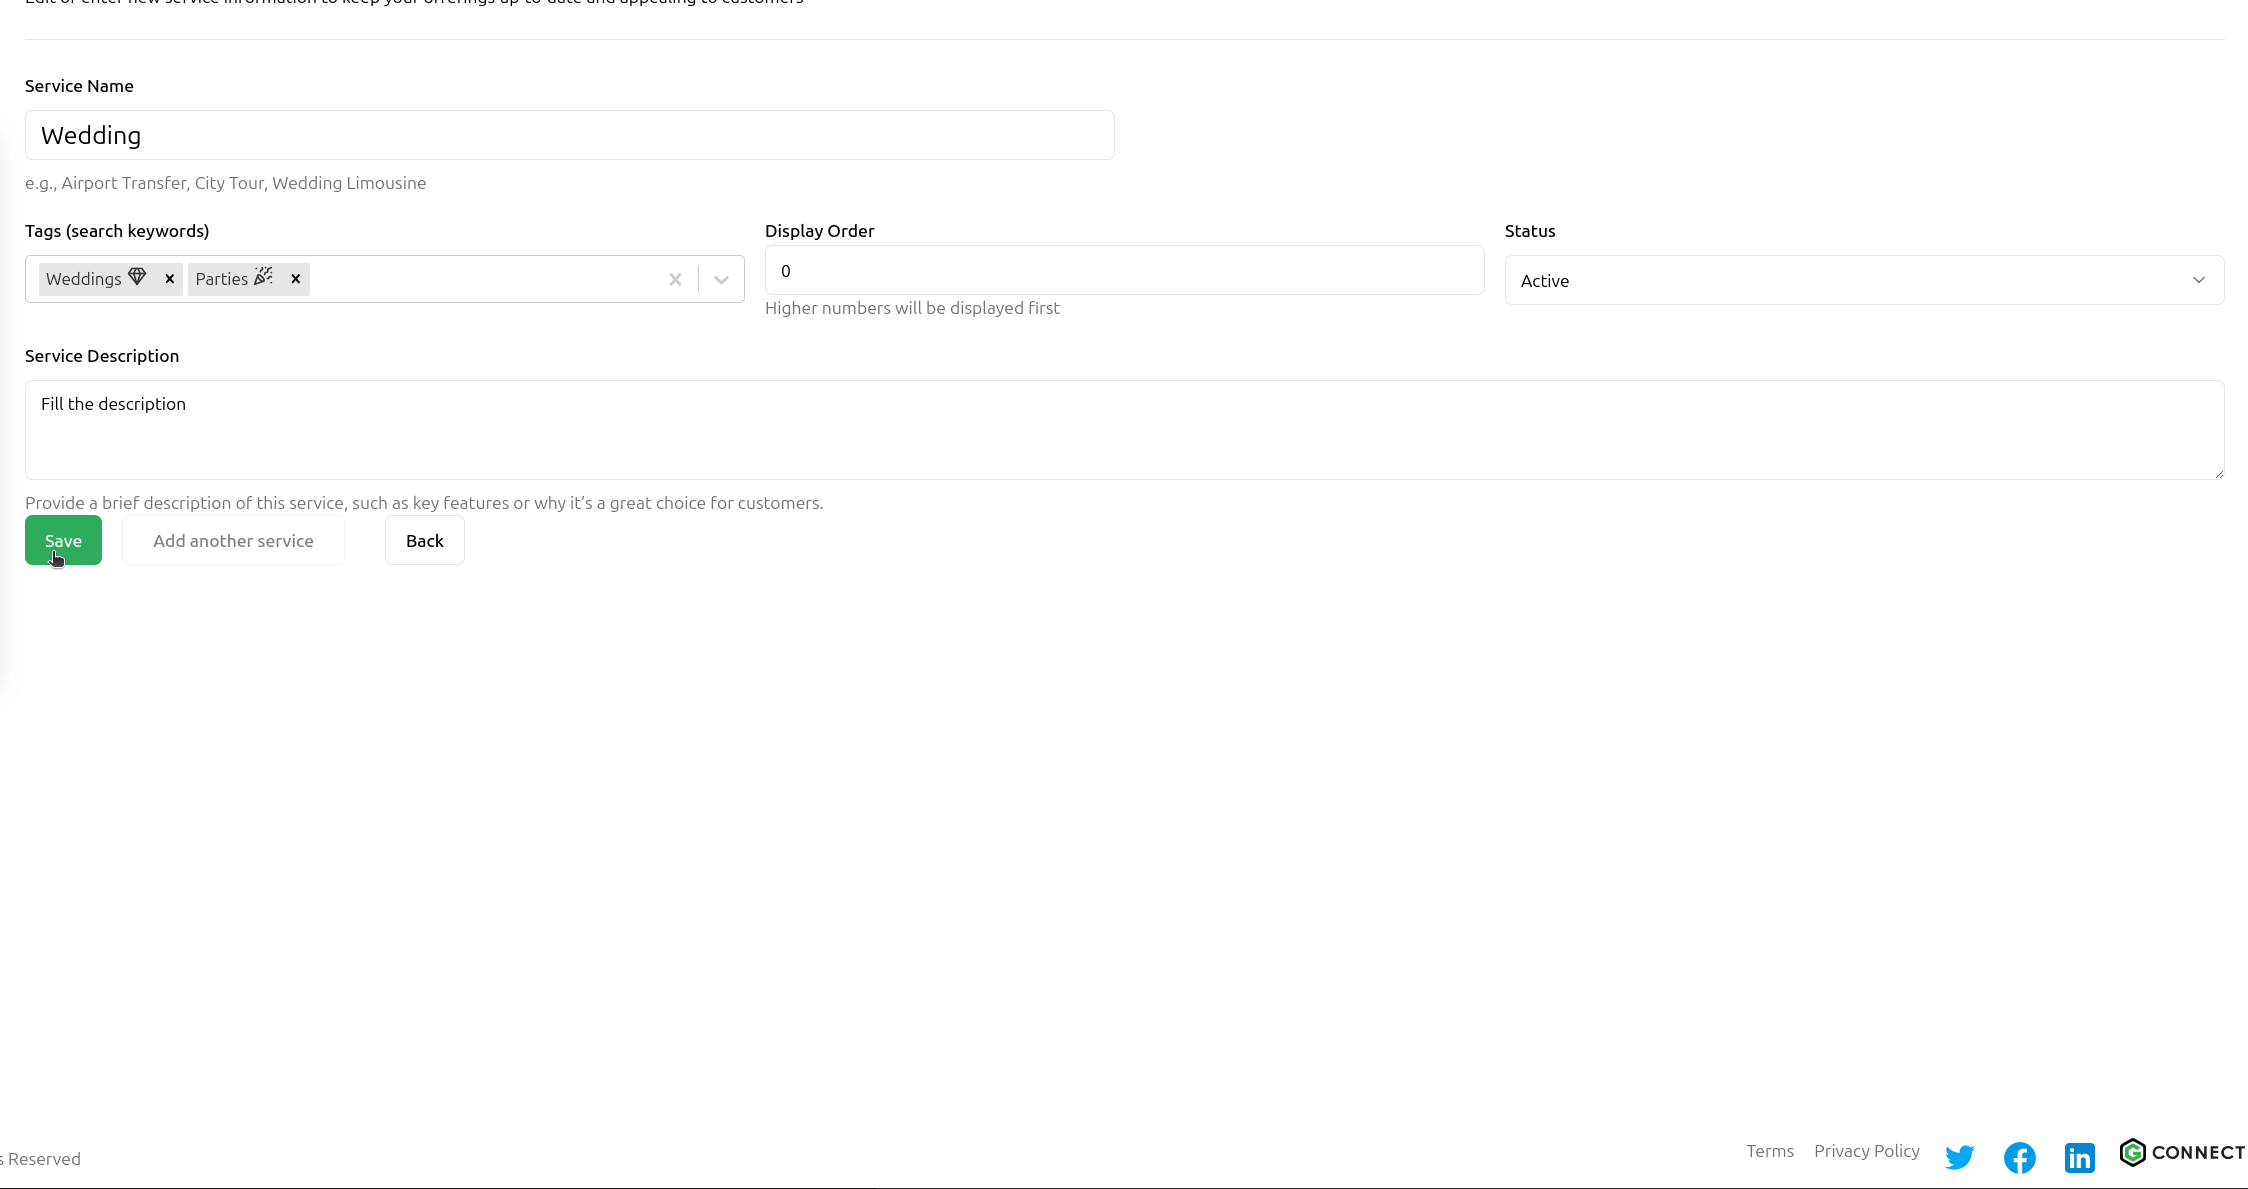
Step 6: Enter Service Details
Complete all required service information:- Service Name
- Tags (to help users find your service)
- Display Order (controls the order of appearance)
- Status (Active/Inactive)
- Description (detailed information about your service)
Step 7: Select Image
Click on the image box to select a photo for your service.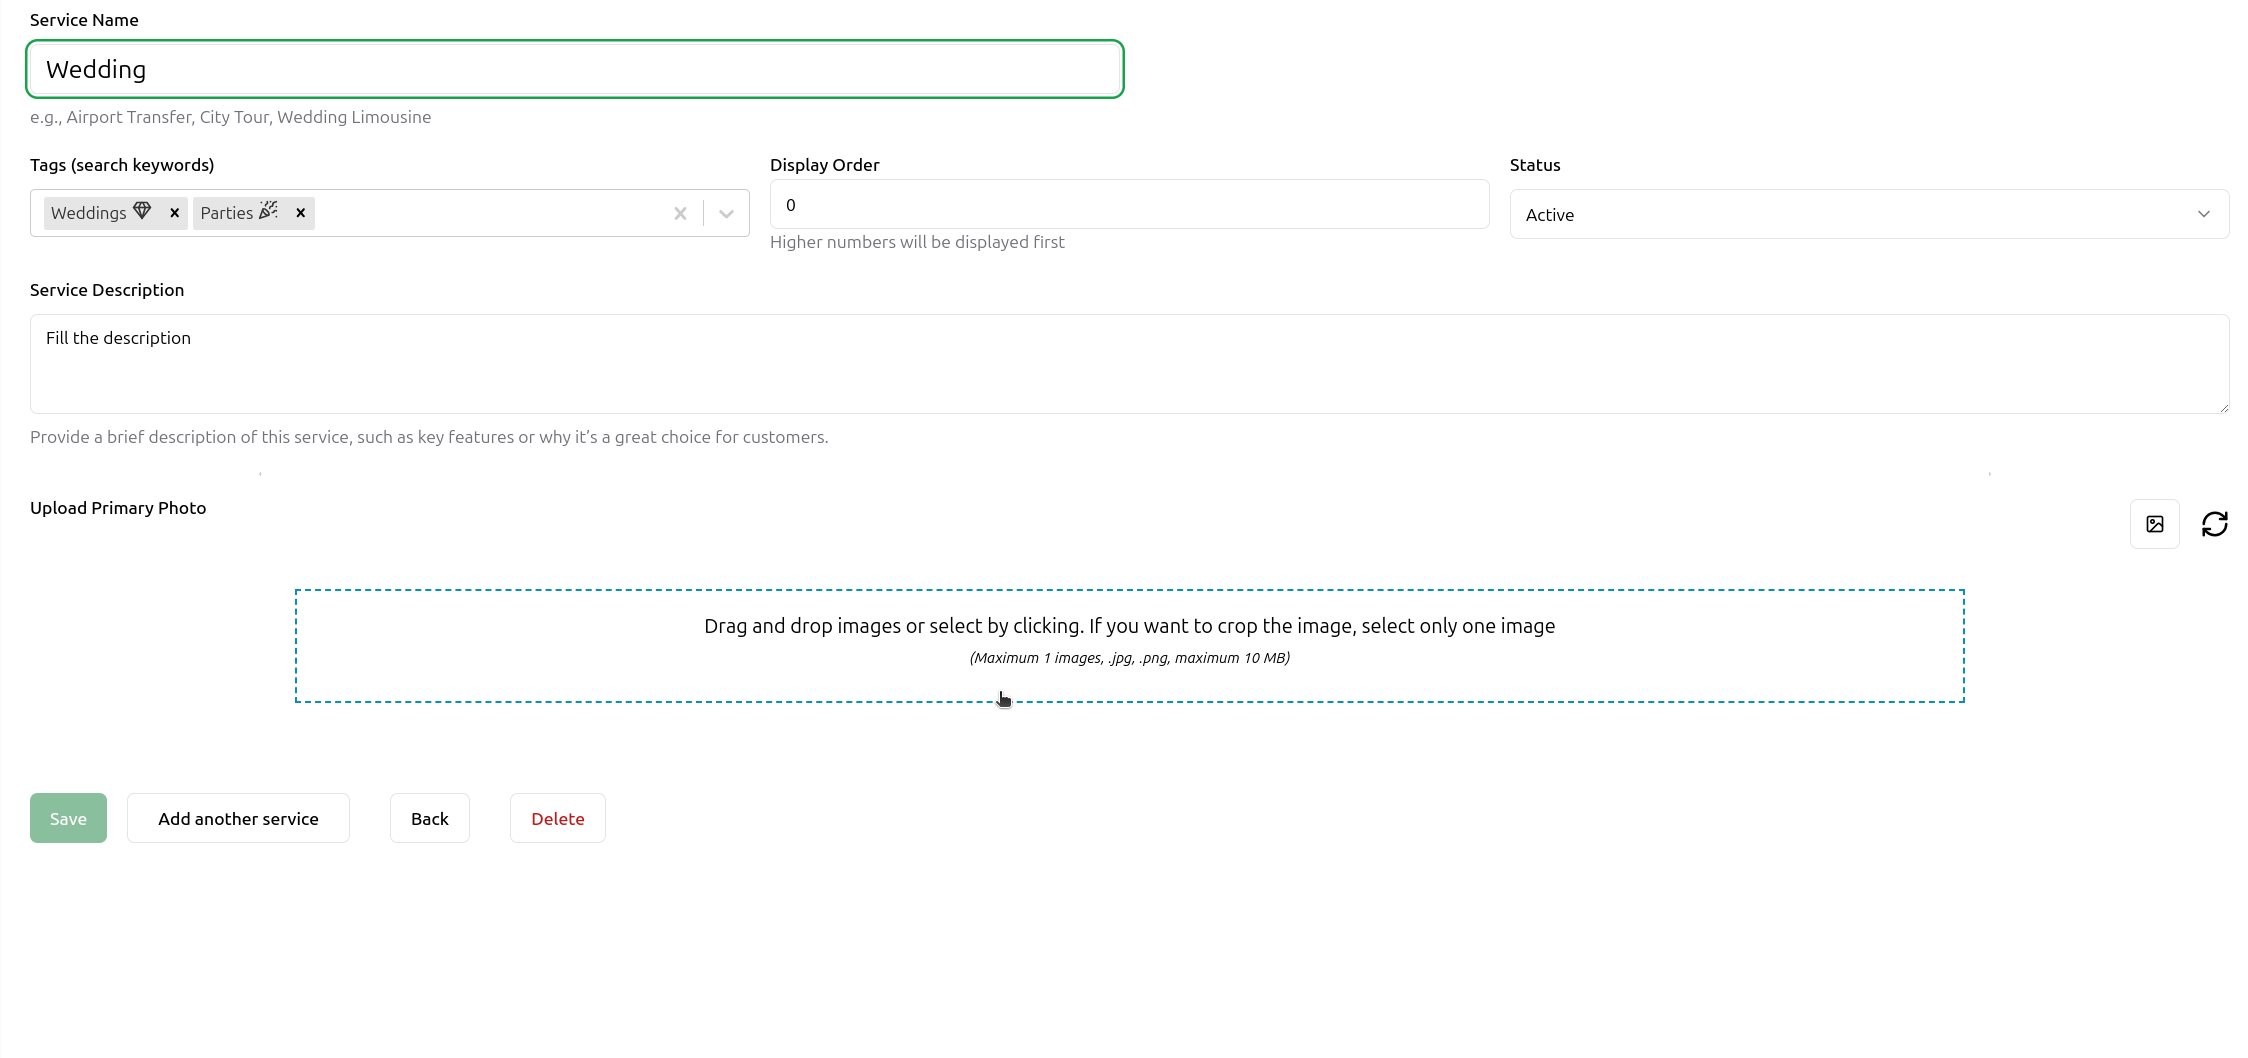
Step 8: Upload Image
After selecting your image, click the “Upload” button to add it to your service.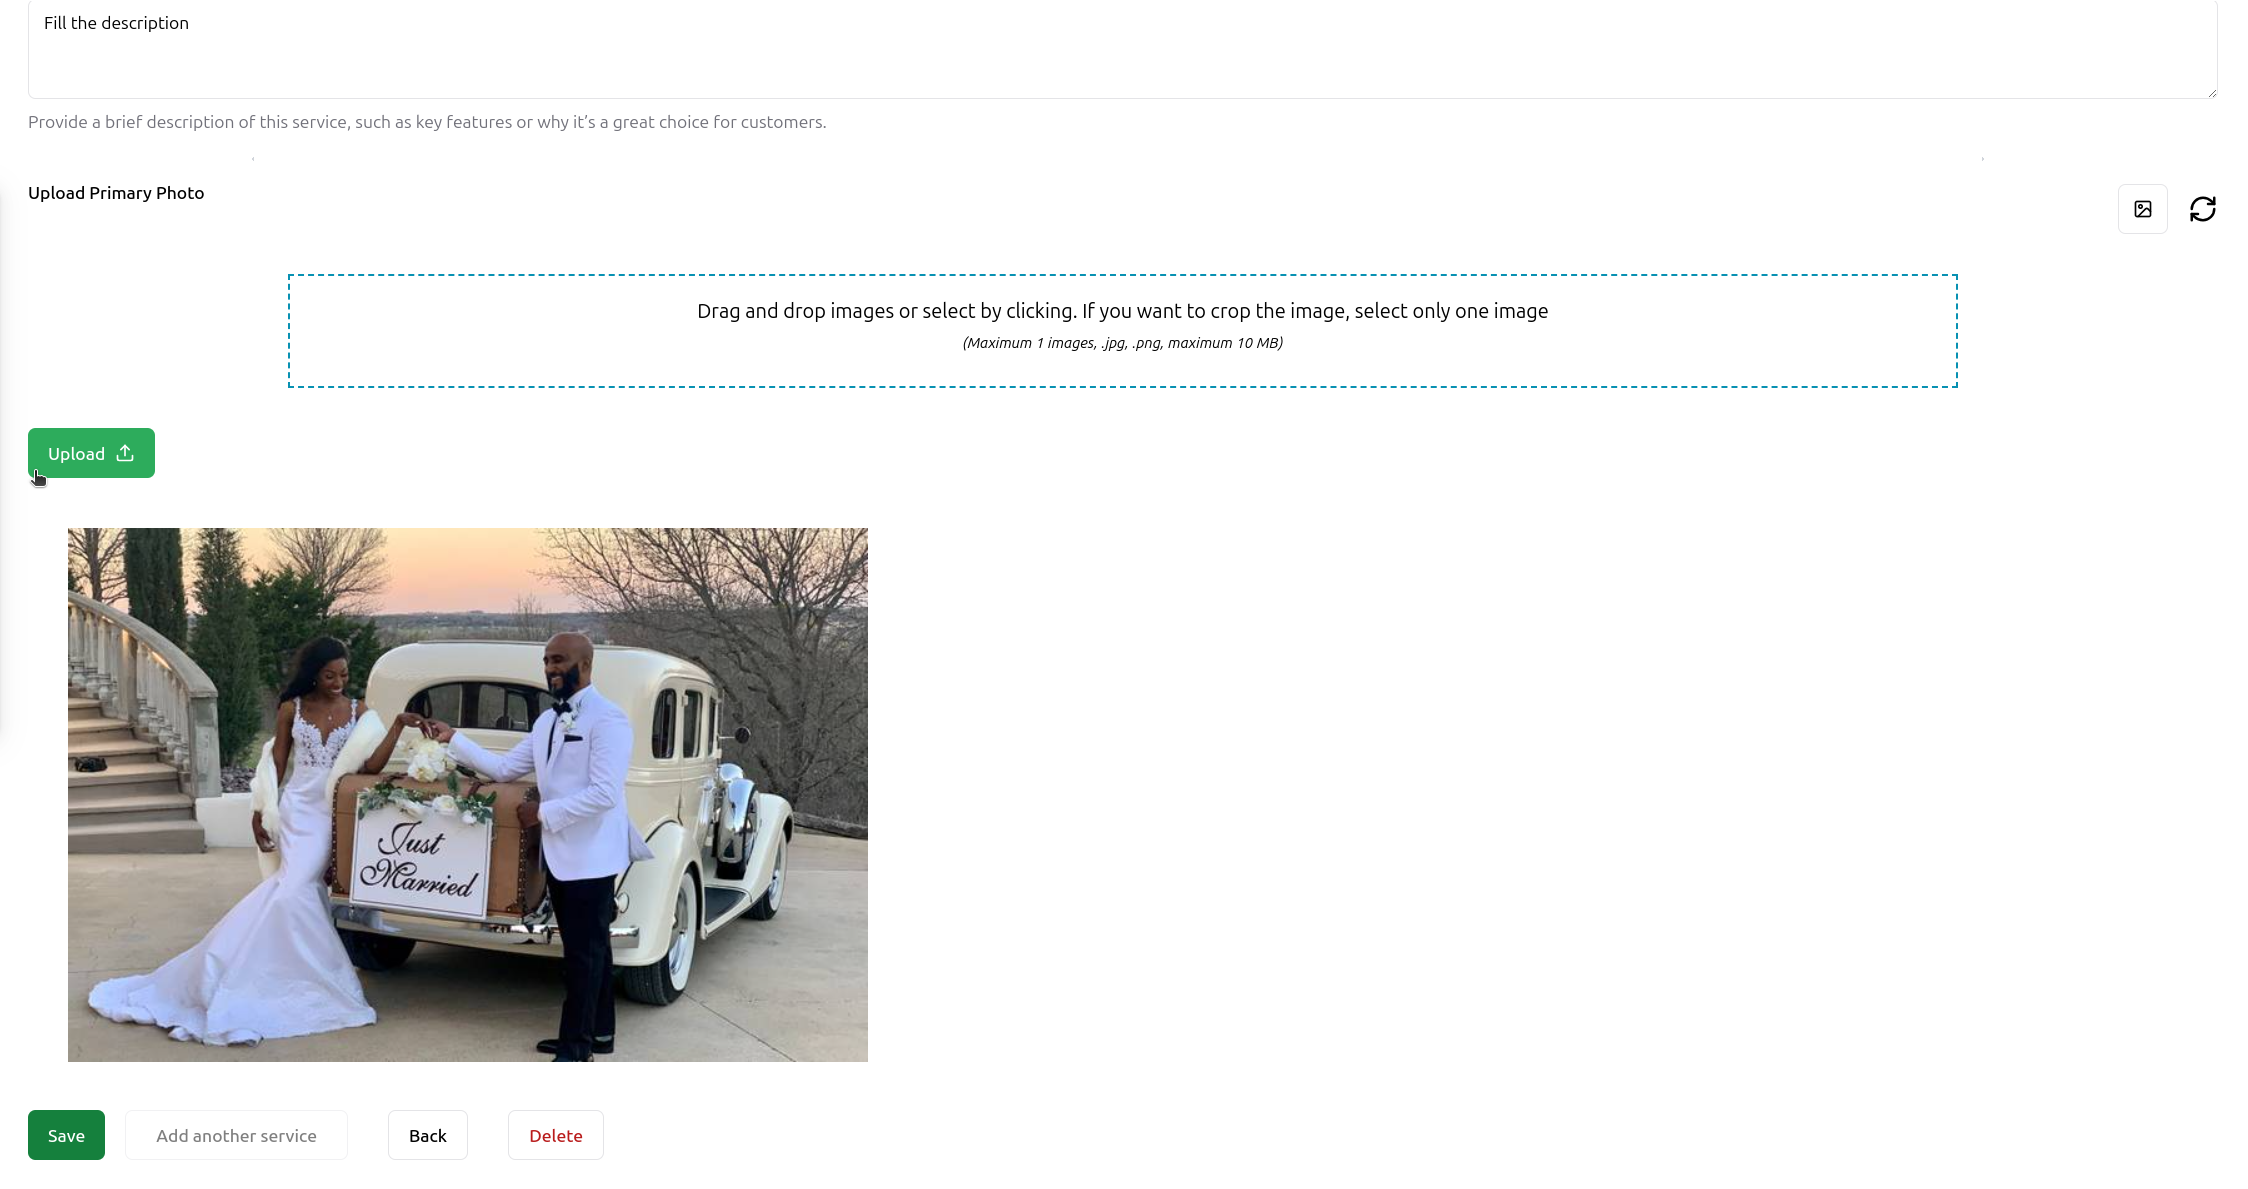
Step 9: AI Image Generation Option
Don’t have an image? Click on the AI generation icon on the right side of the image box to create one.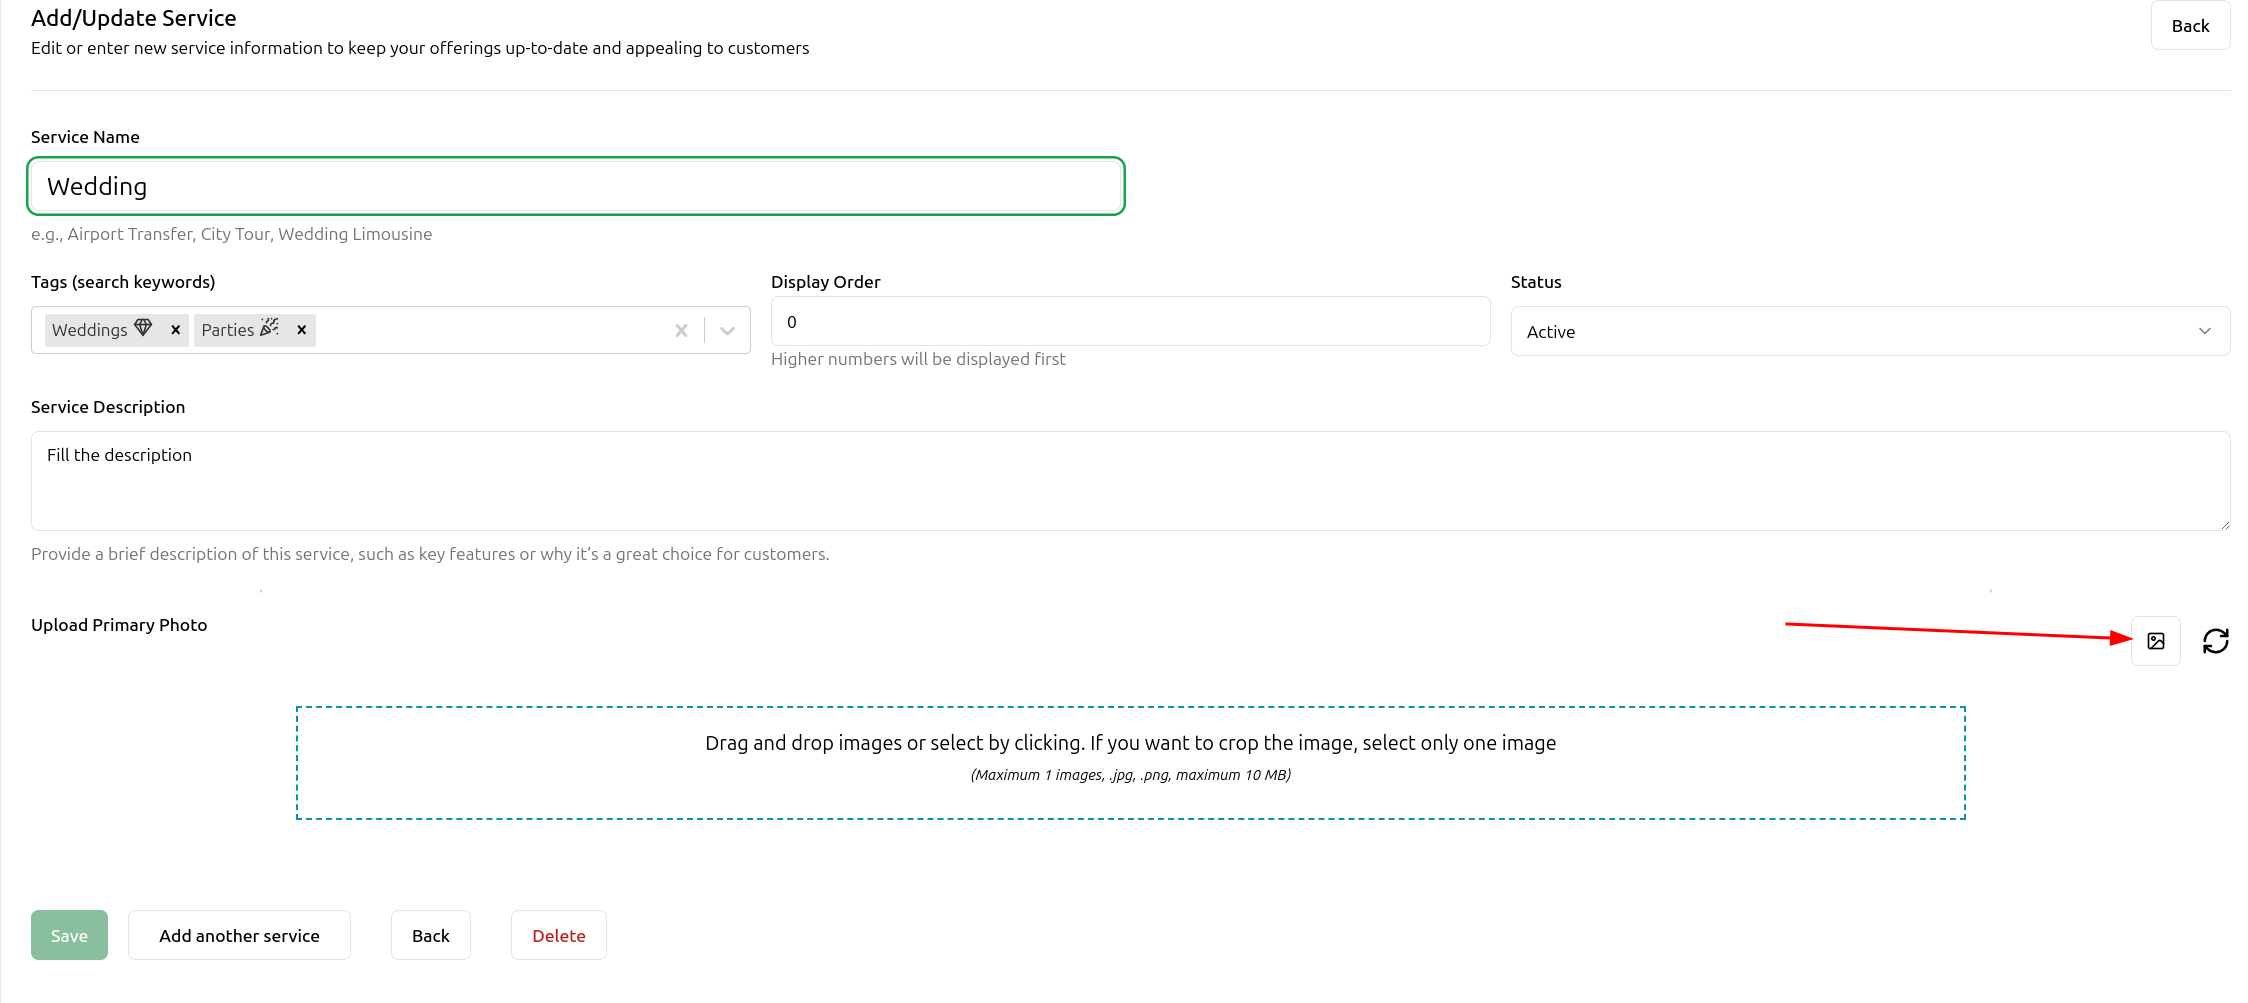
Step 10: Generate AI Image
Enter your image prompt and click “Generate Image”. The default aspect ratio is optimized for service images.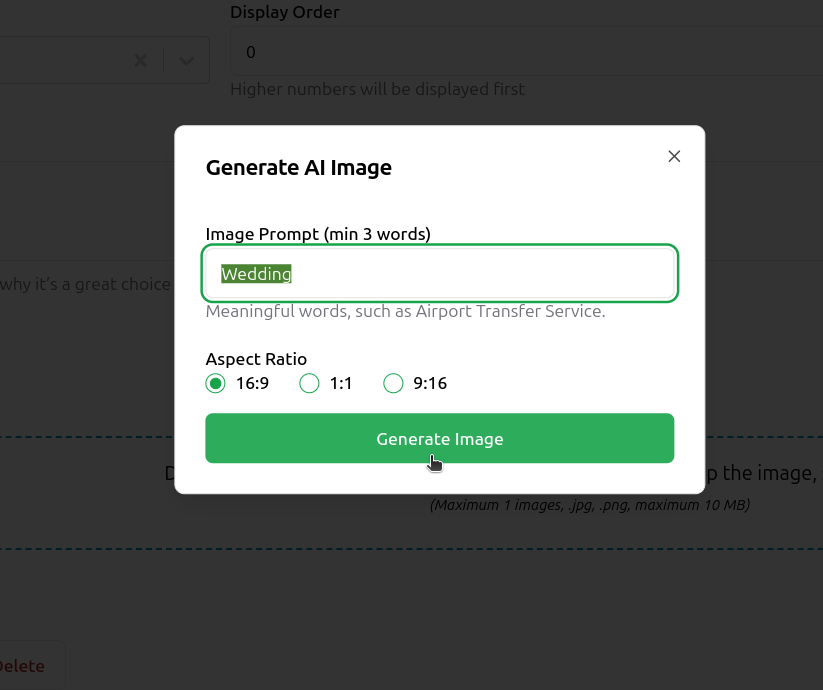
Step 11: Review Generated Image
Review the generated image. You can either accept it or generate a new one.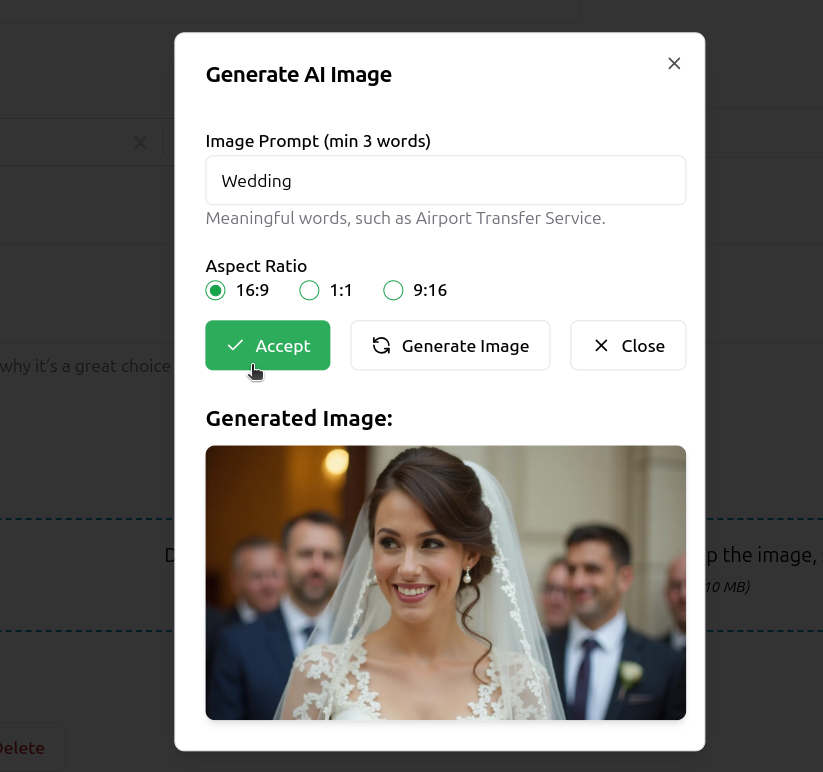
Step 12: Save Changes
Make sure to click the “Save” button to finalize all your changes.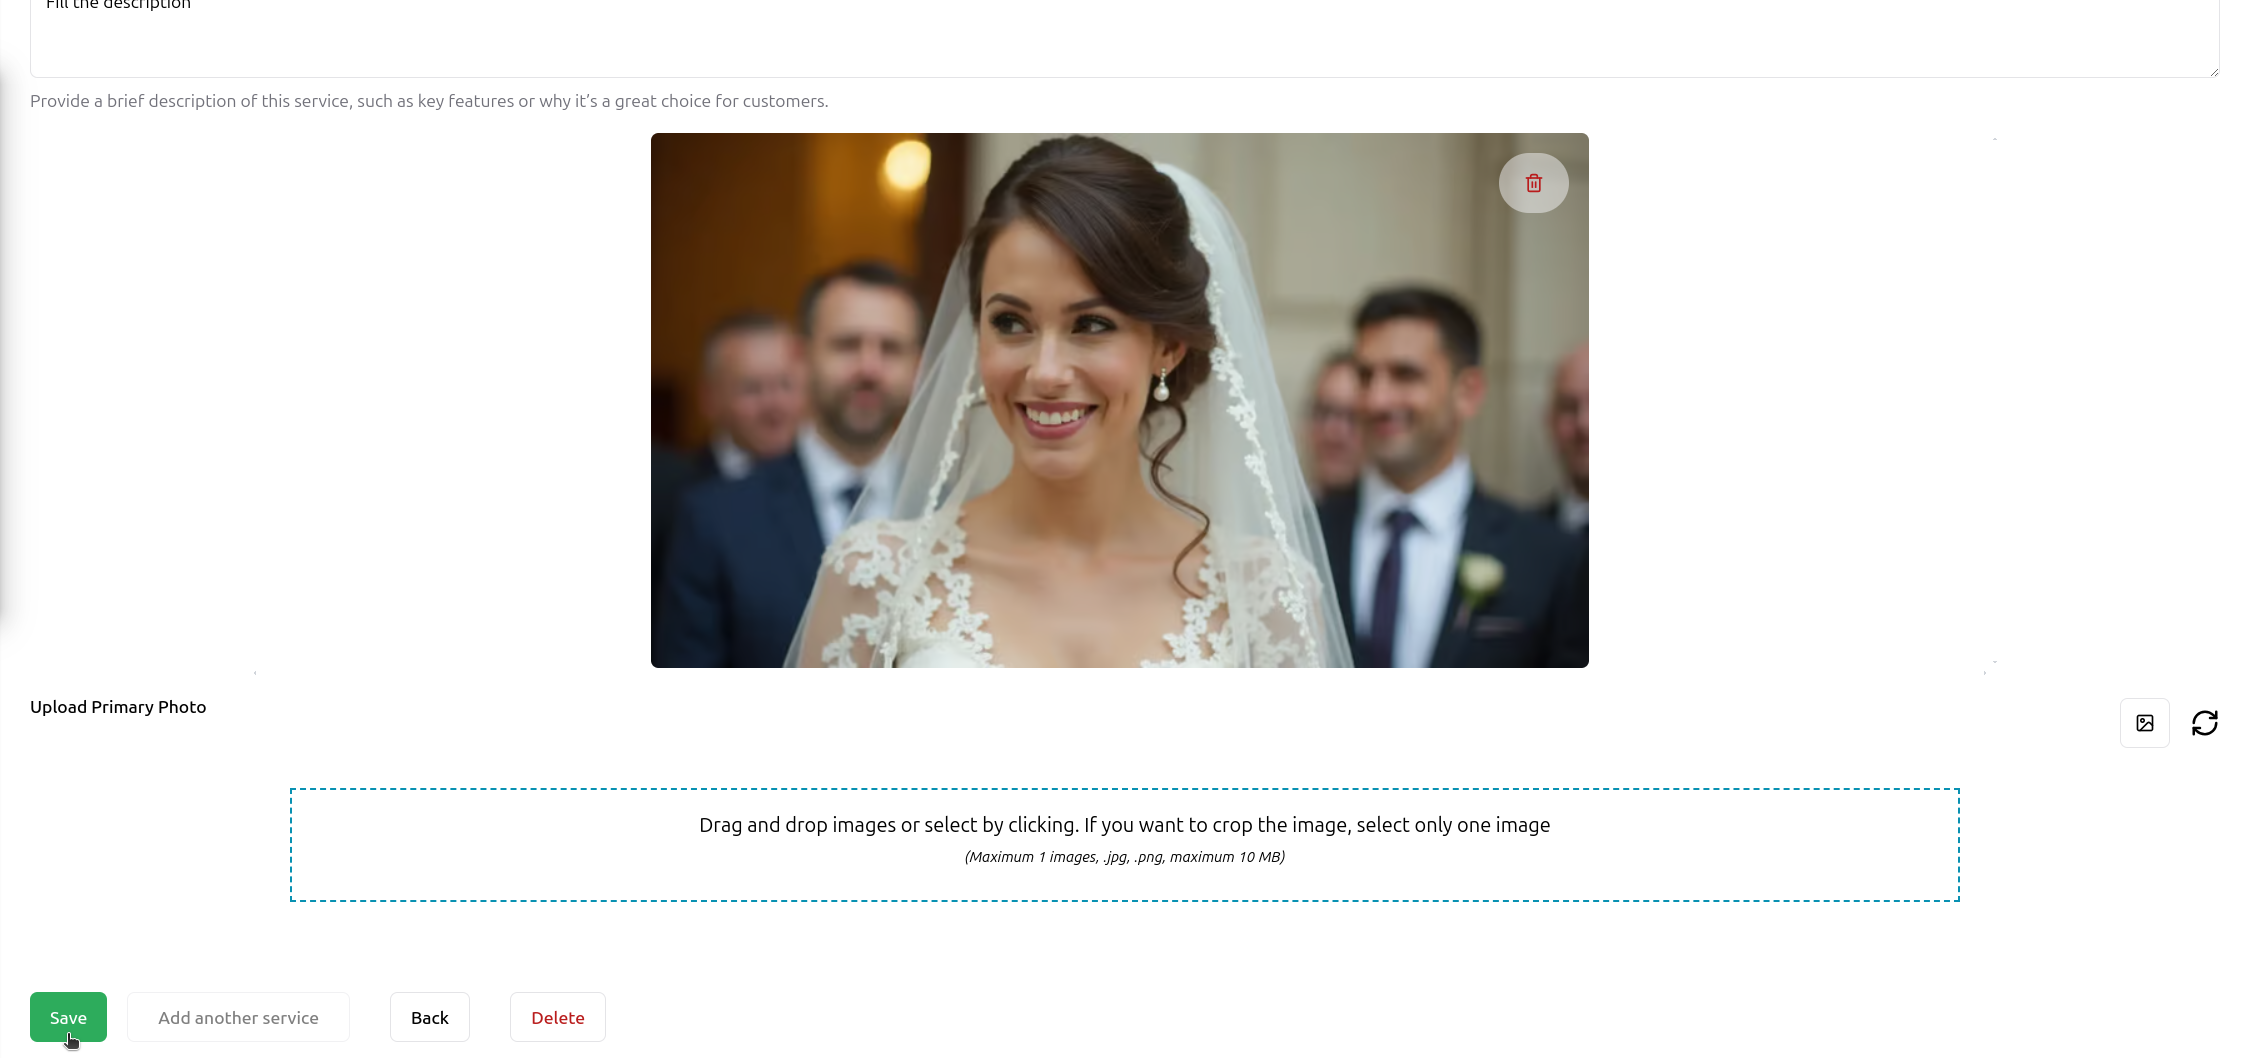
- You can edit your service details and images at any time
- AI-generated images are unique to your service
- Make sure all information accurately represents your service offering