Step 1: Access Score Card Details
Navigate to your dashboard and find the score card section. Clicking on the score card will reveal more detailed information about your account.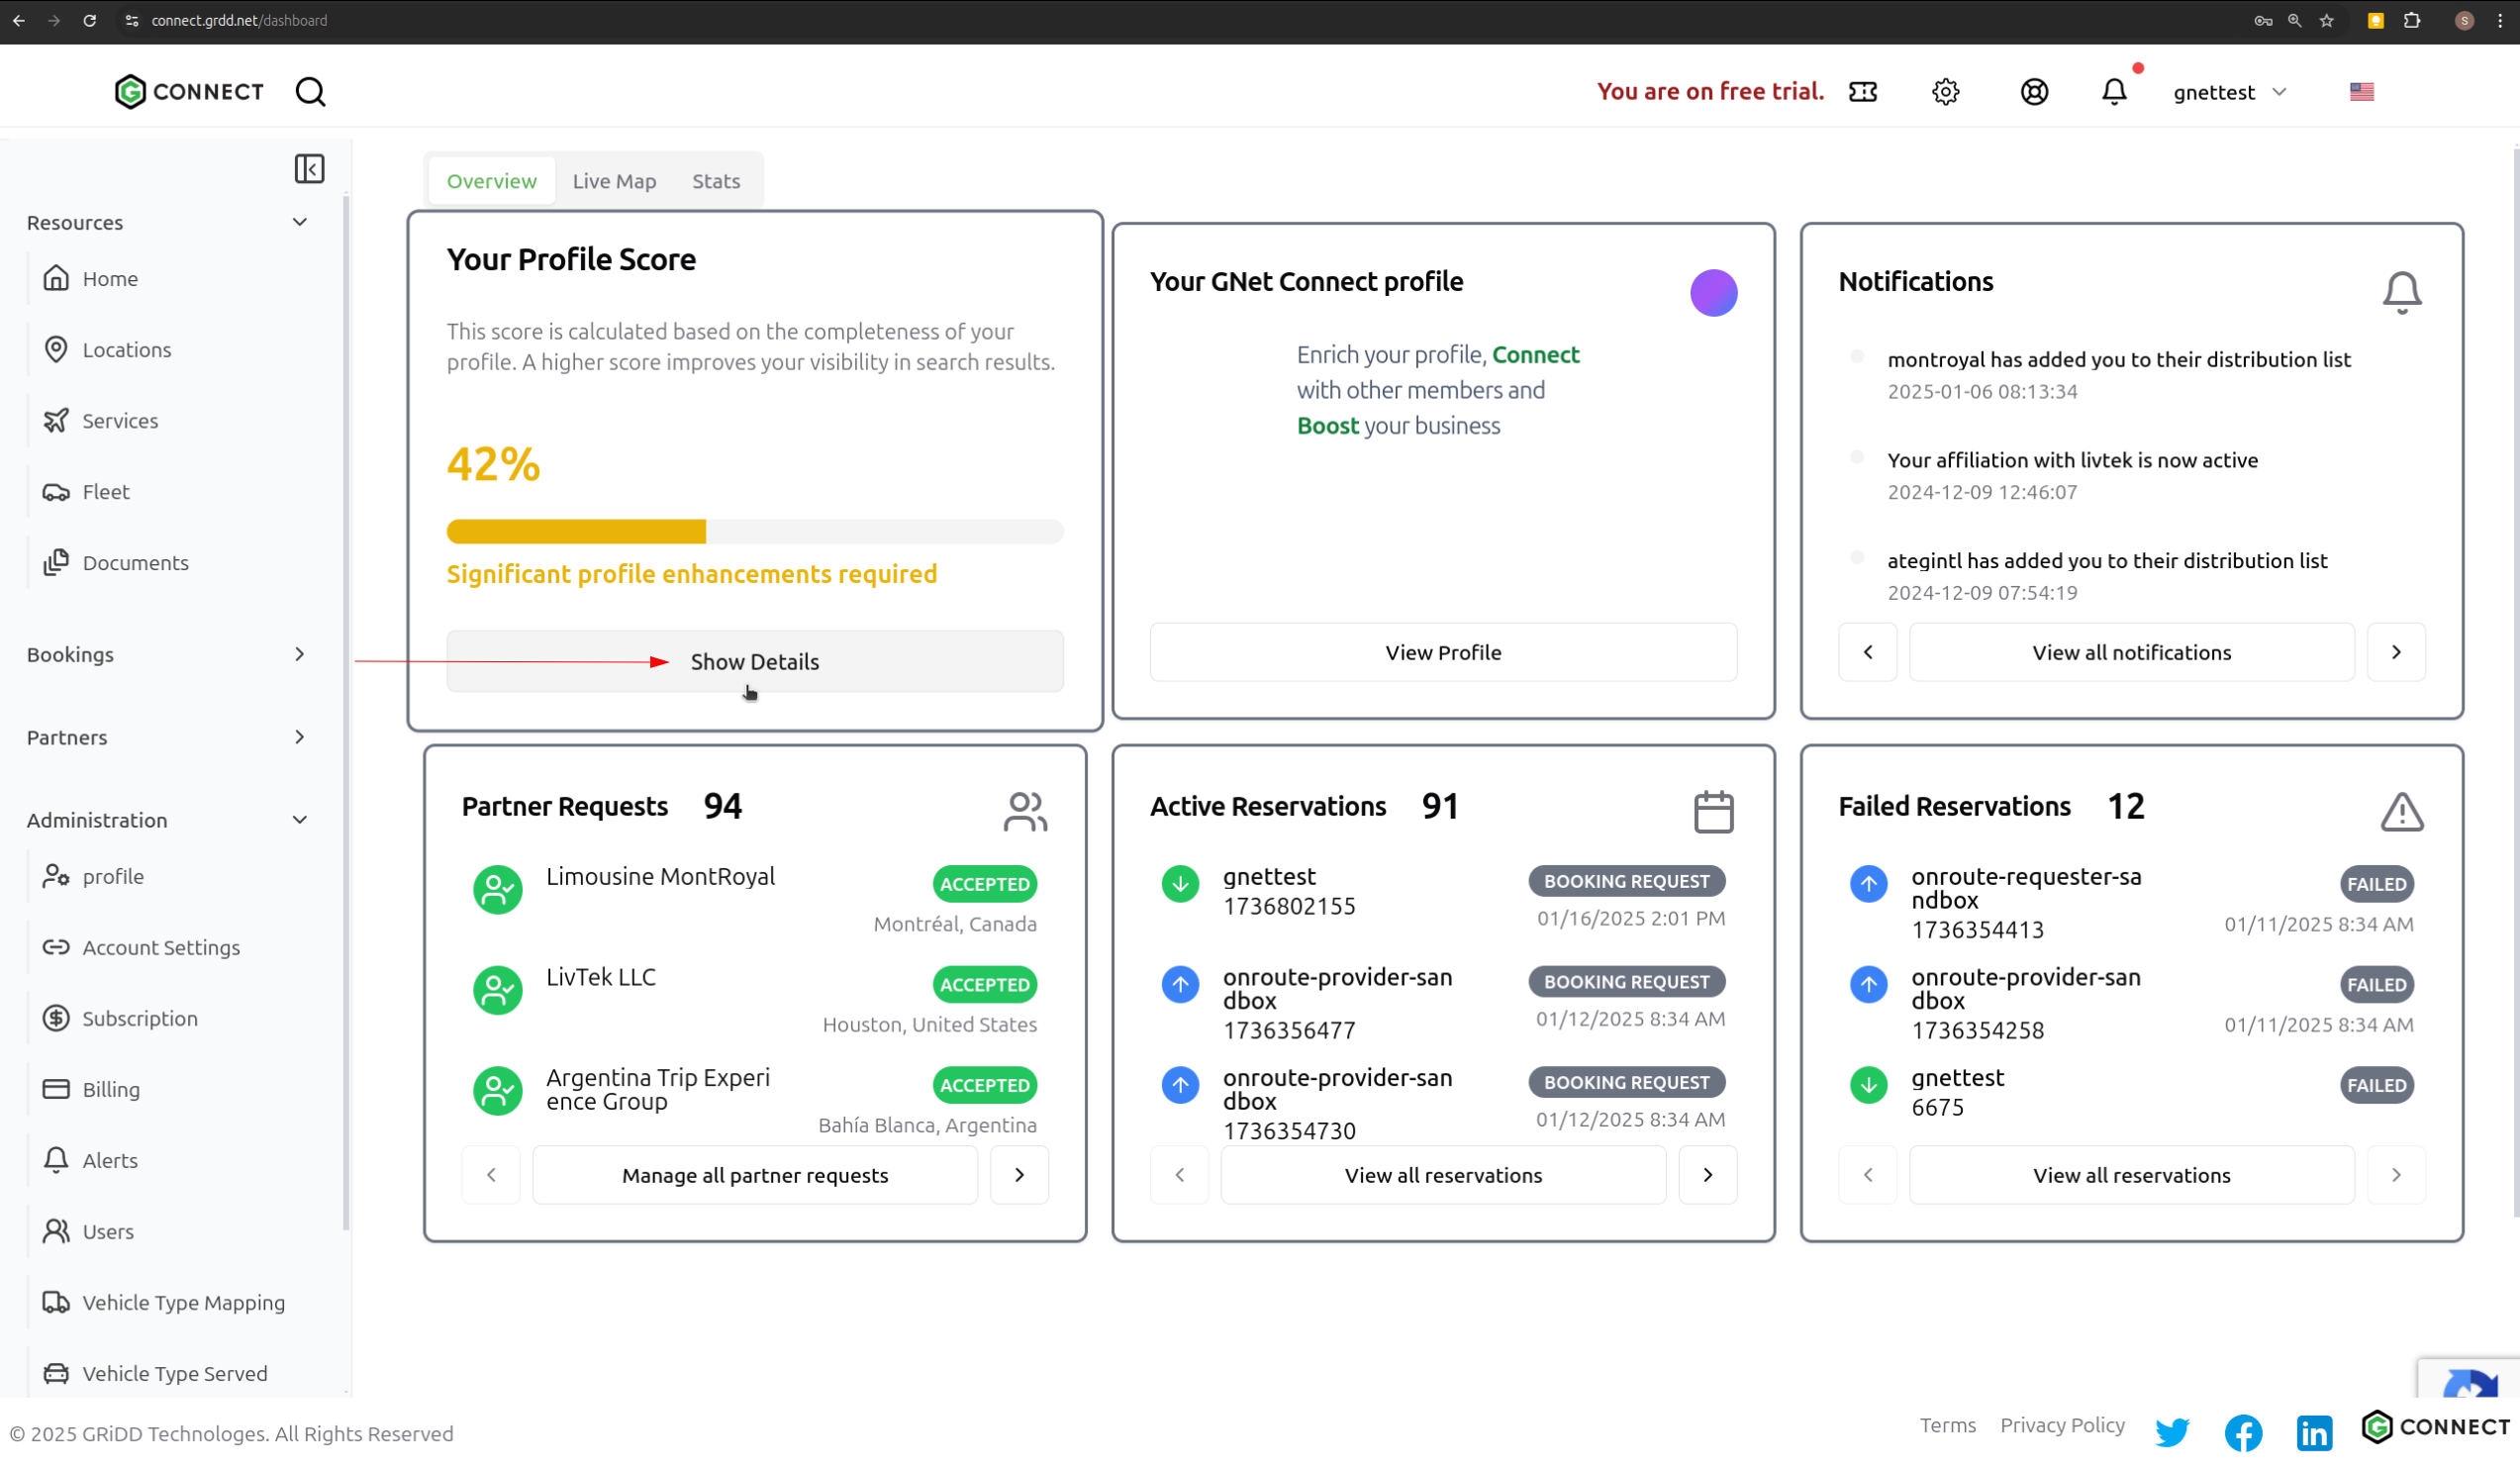
Step 2: Navigate to Fleet Section
Click on the “Fleet” tab to access your fleet management settings.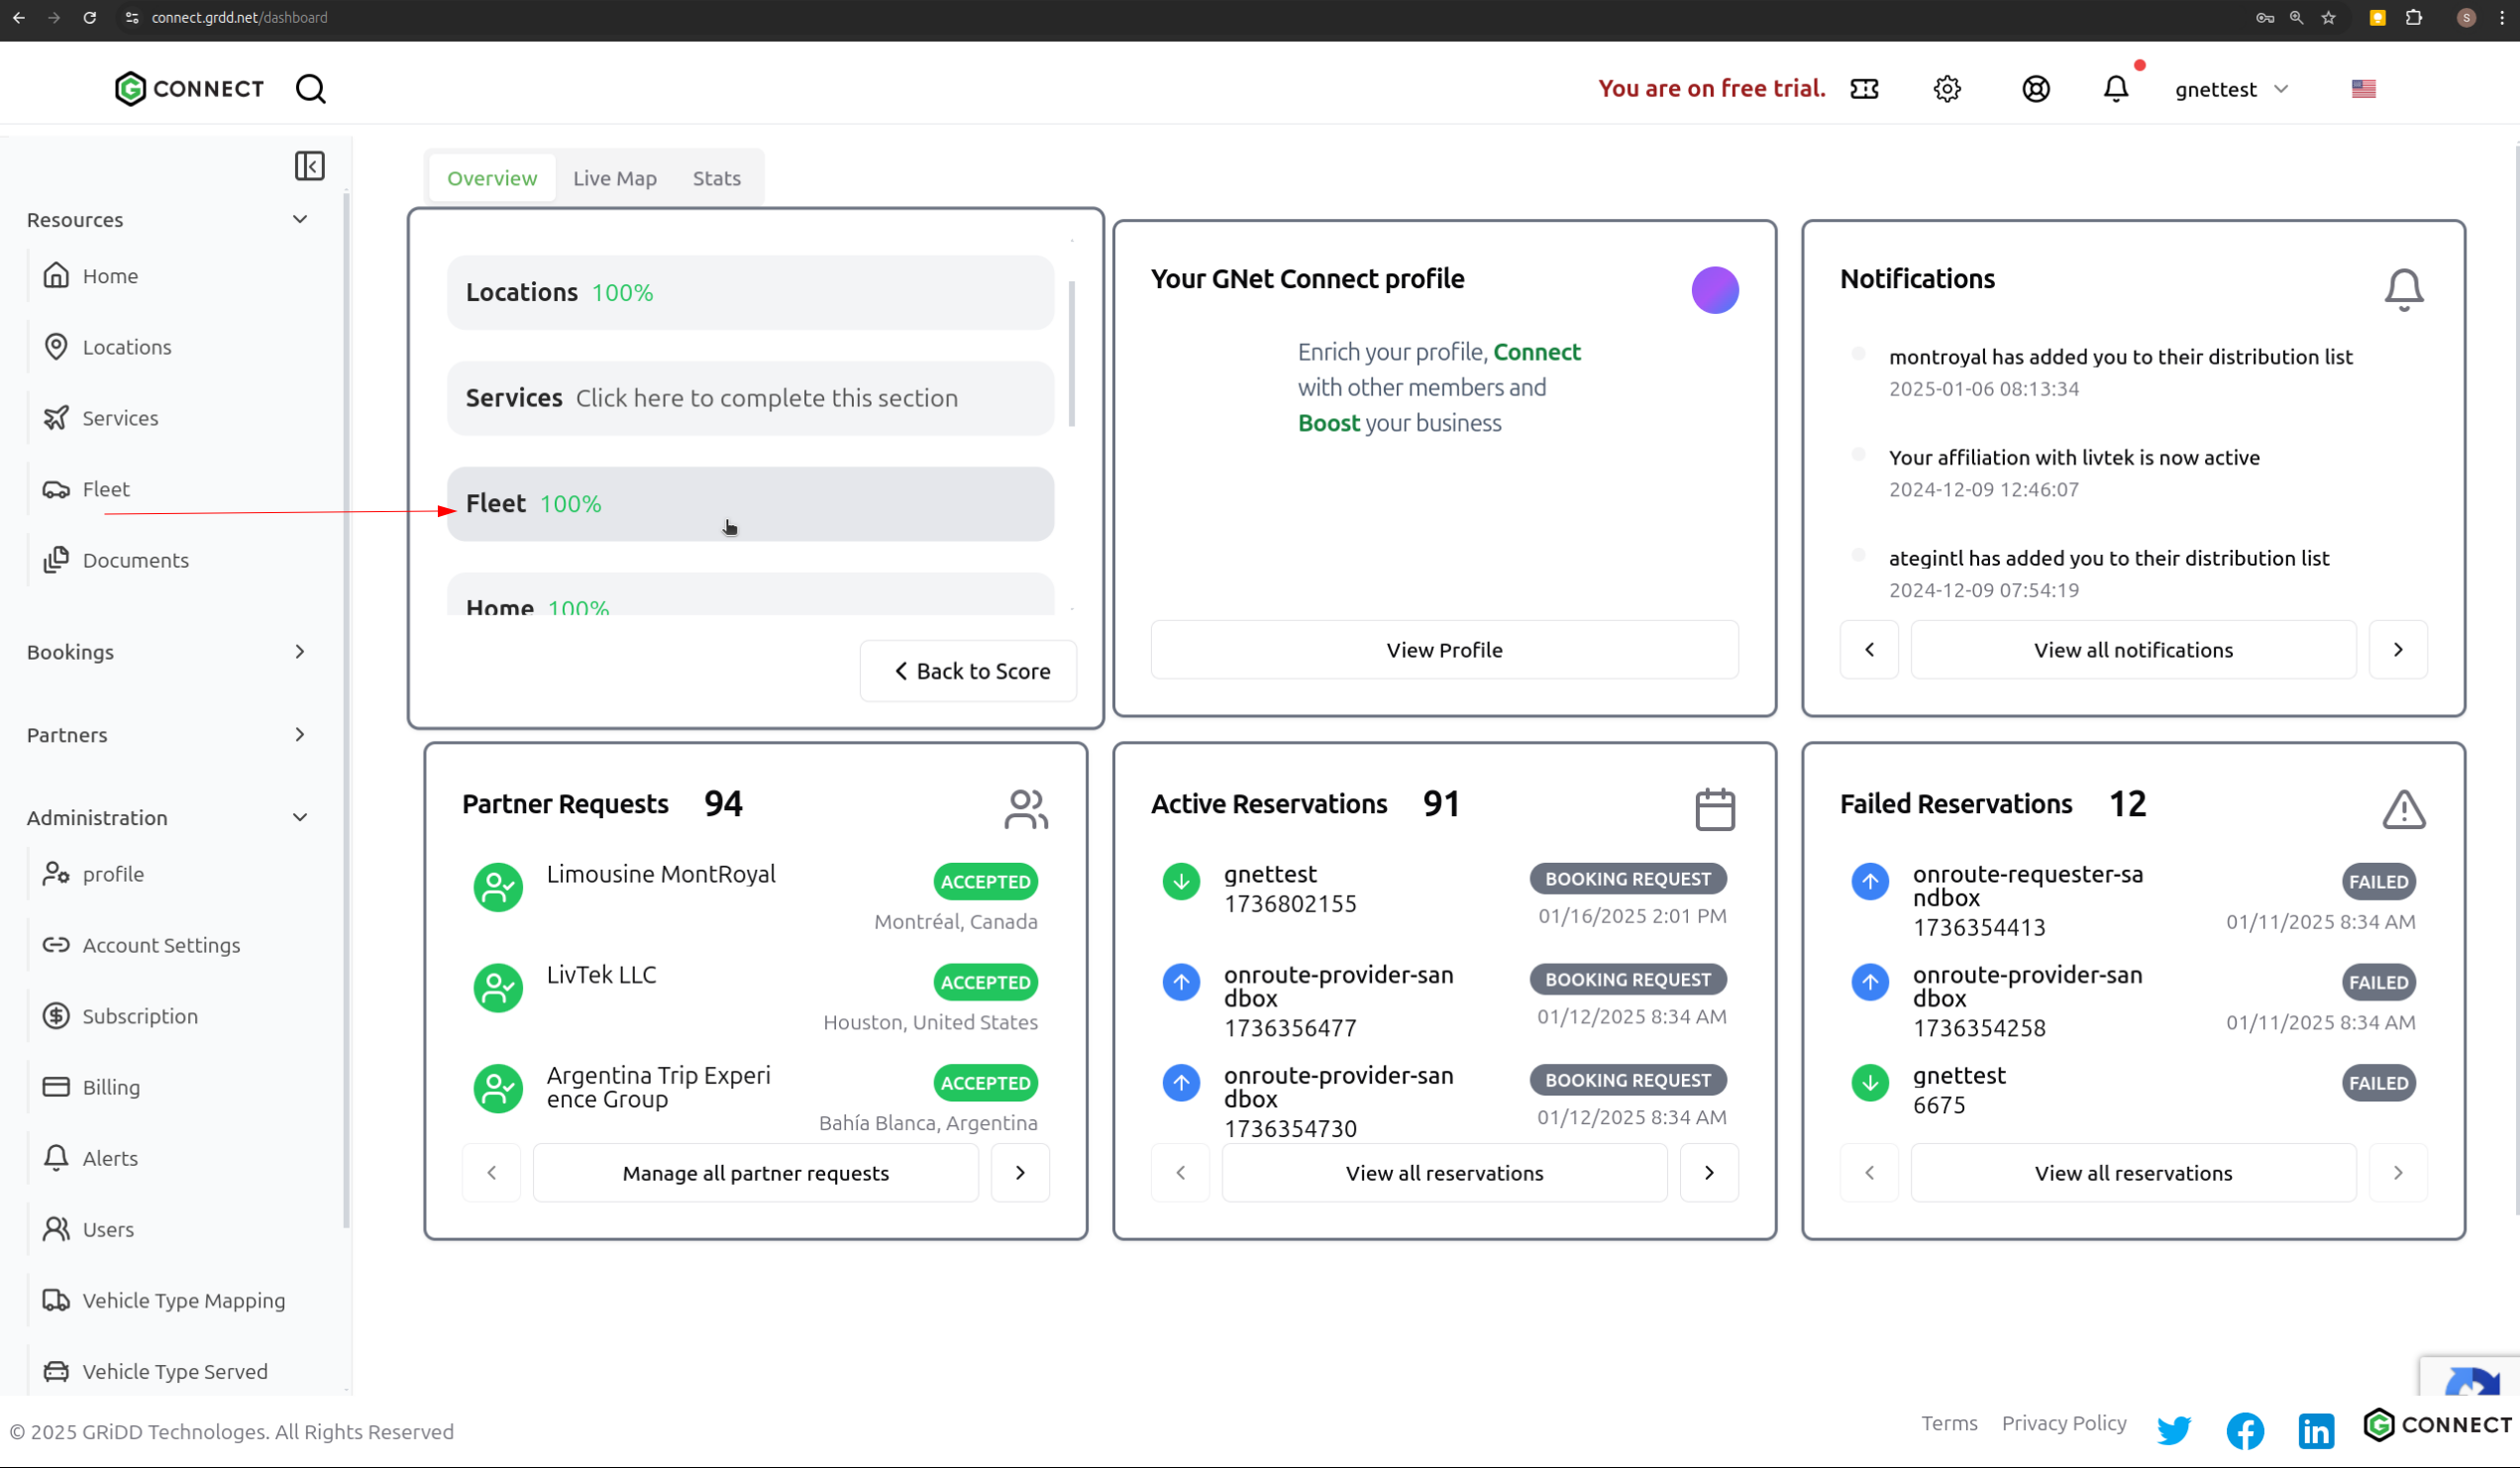
Step 3: Advanced Edit Options
Click on “Advanced Edit Options” to customize your fleet page header text.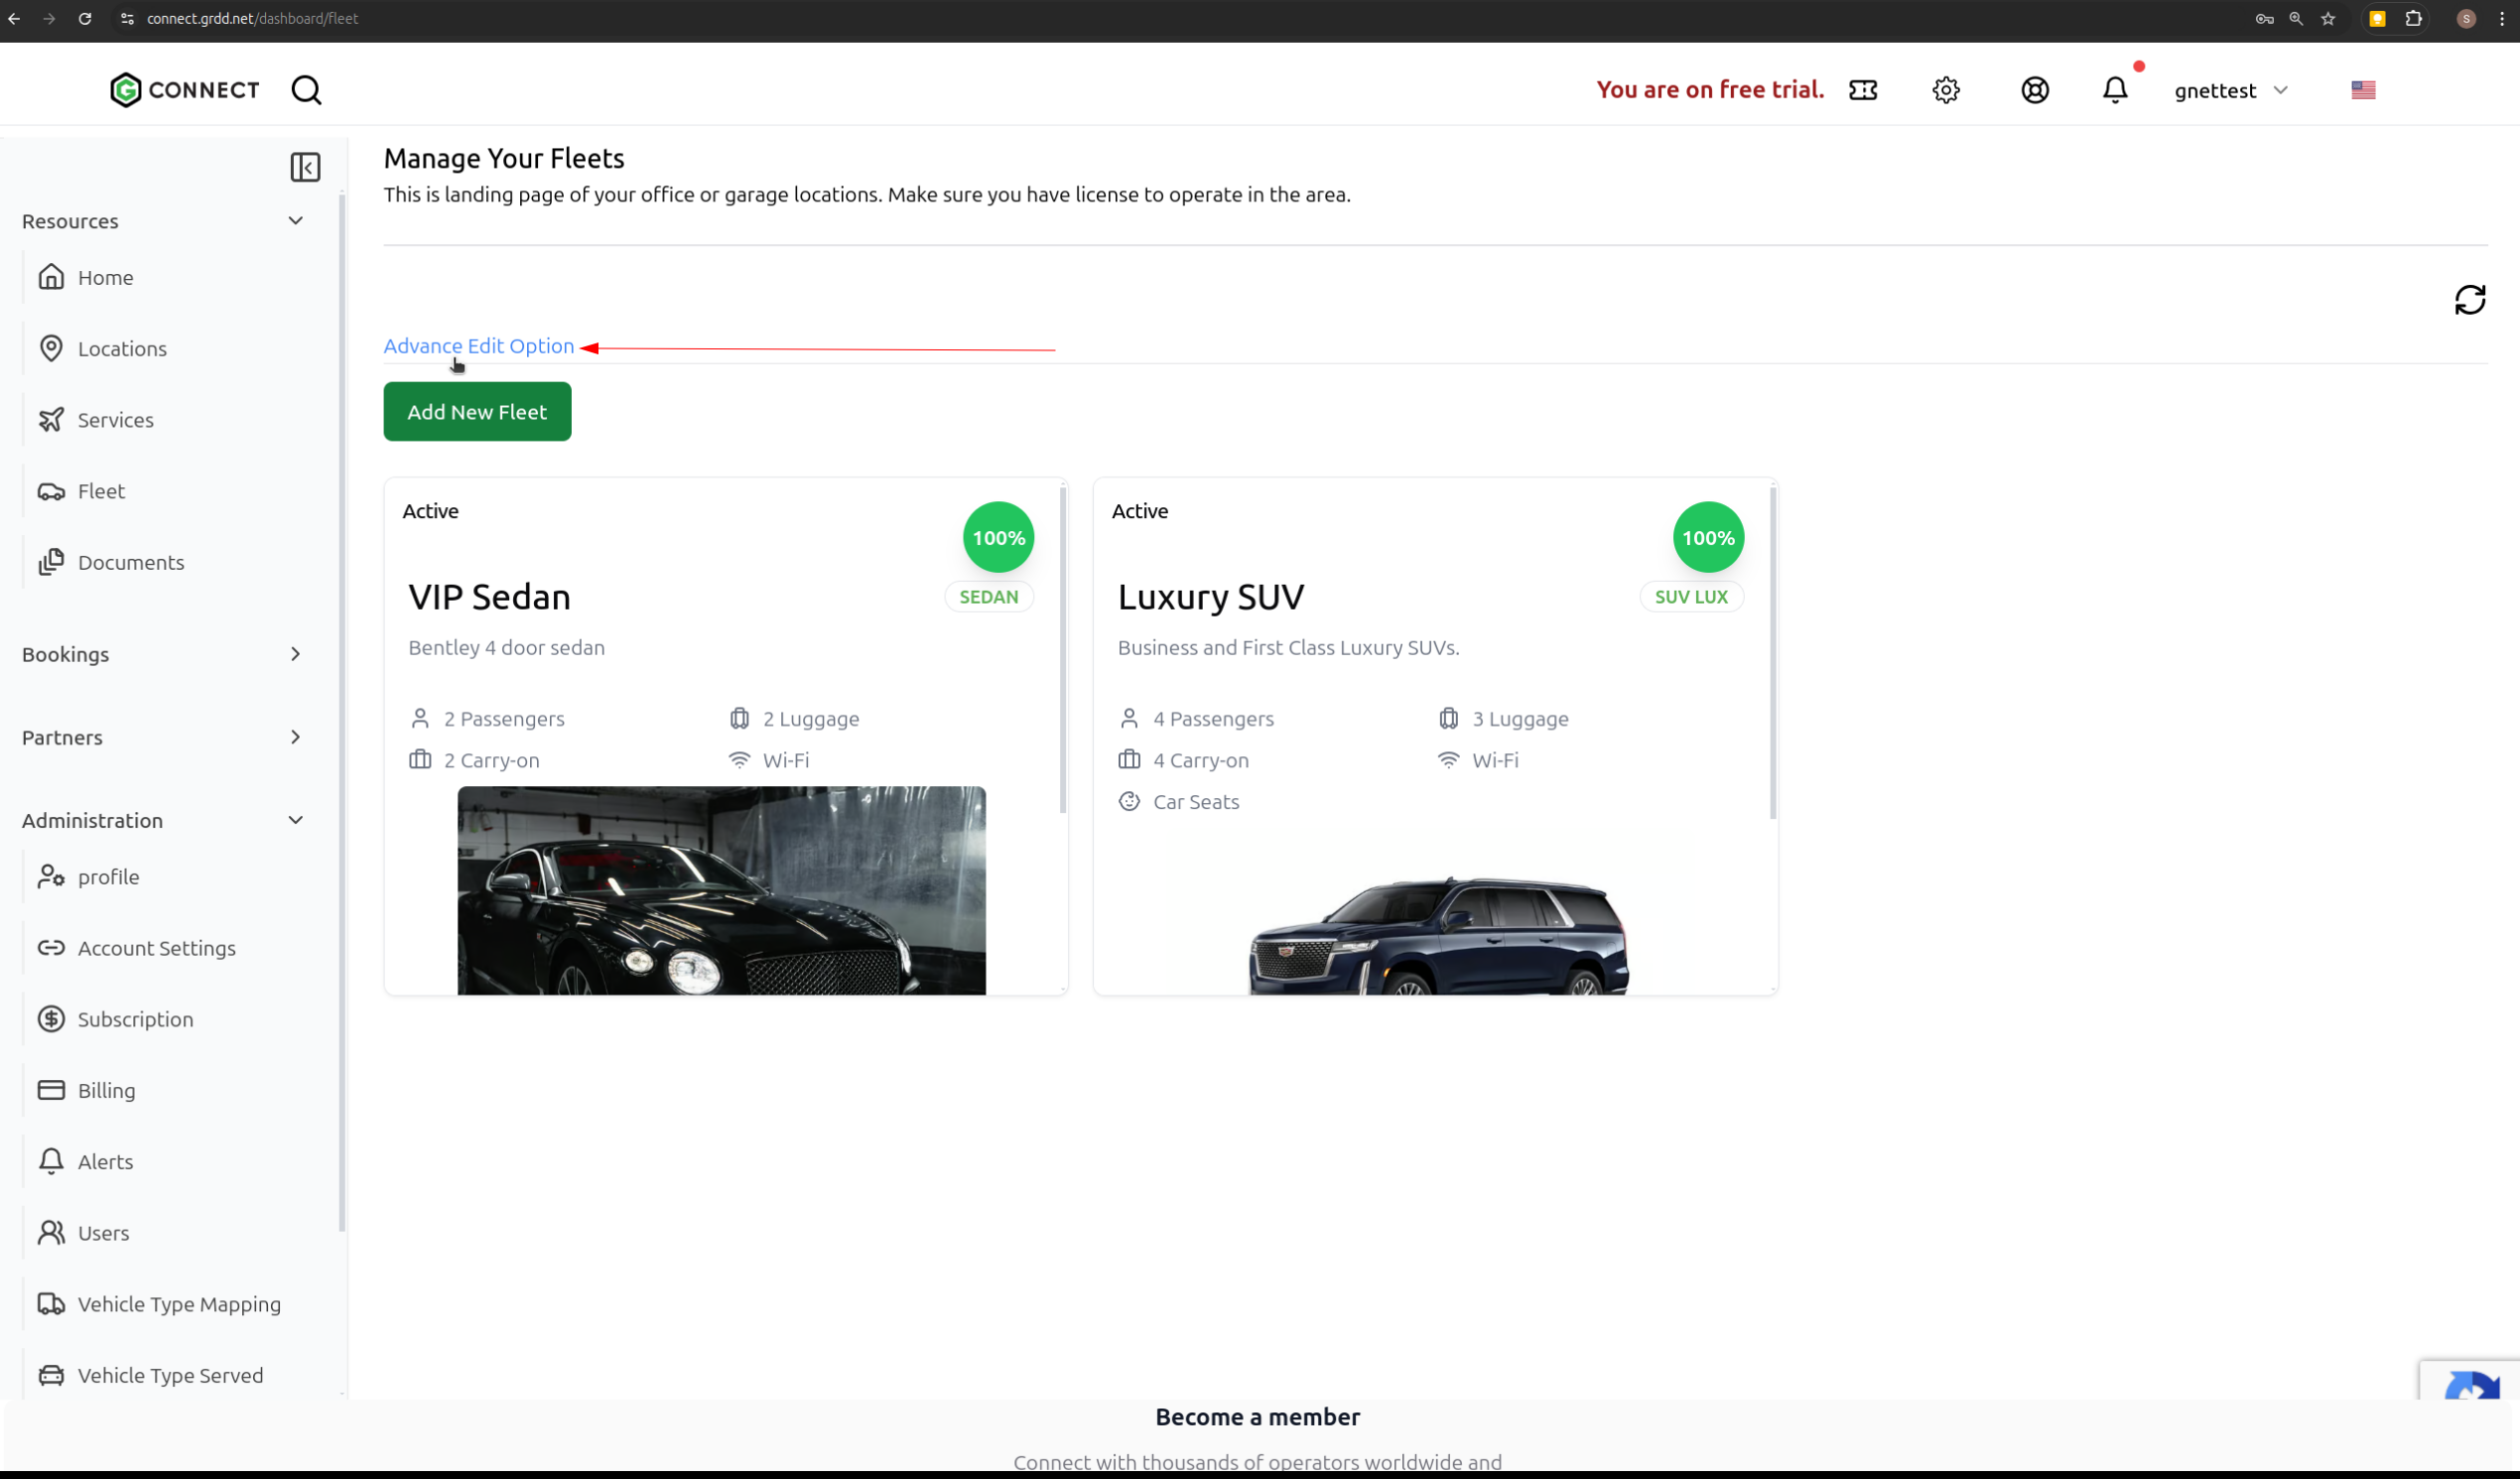
Step 4: Save Header Text
After entering your custom header text, click the “Save” button to confirm changes.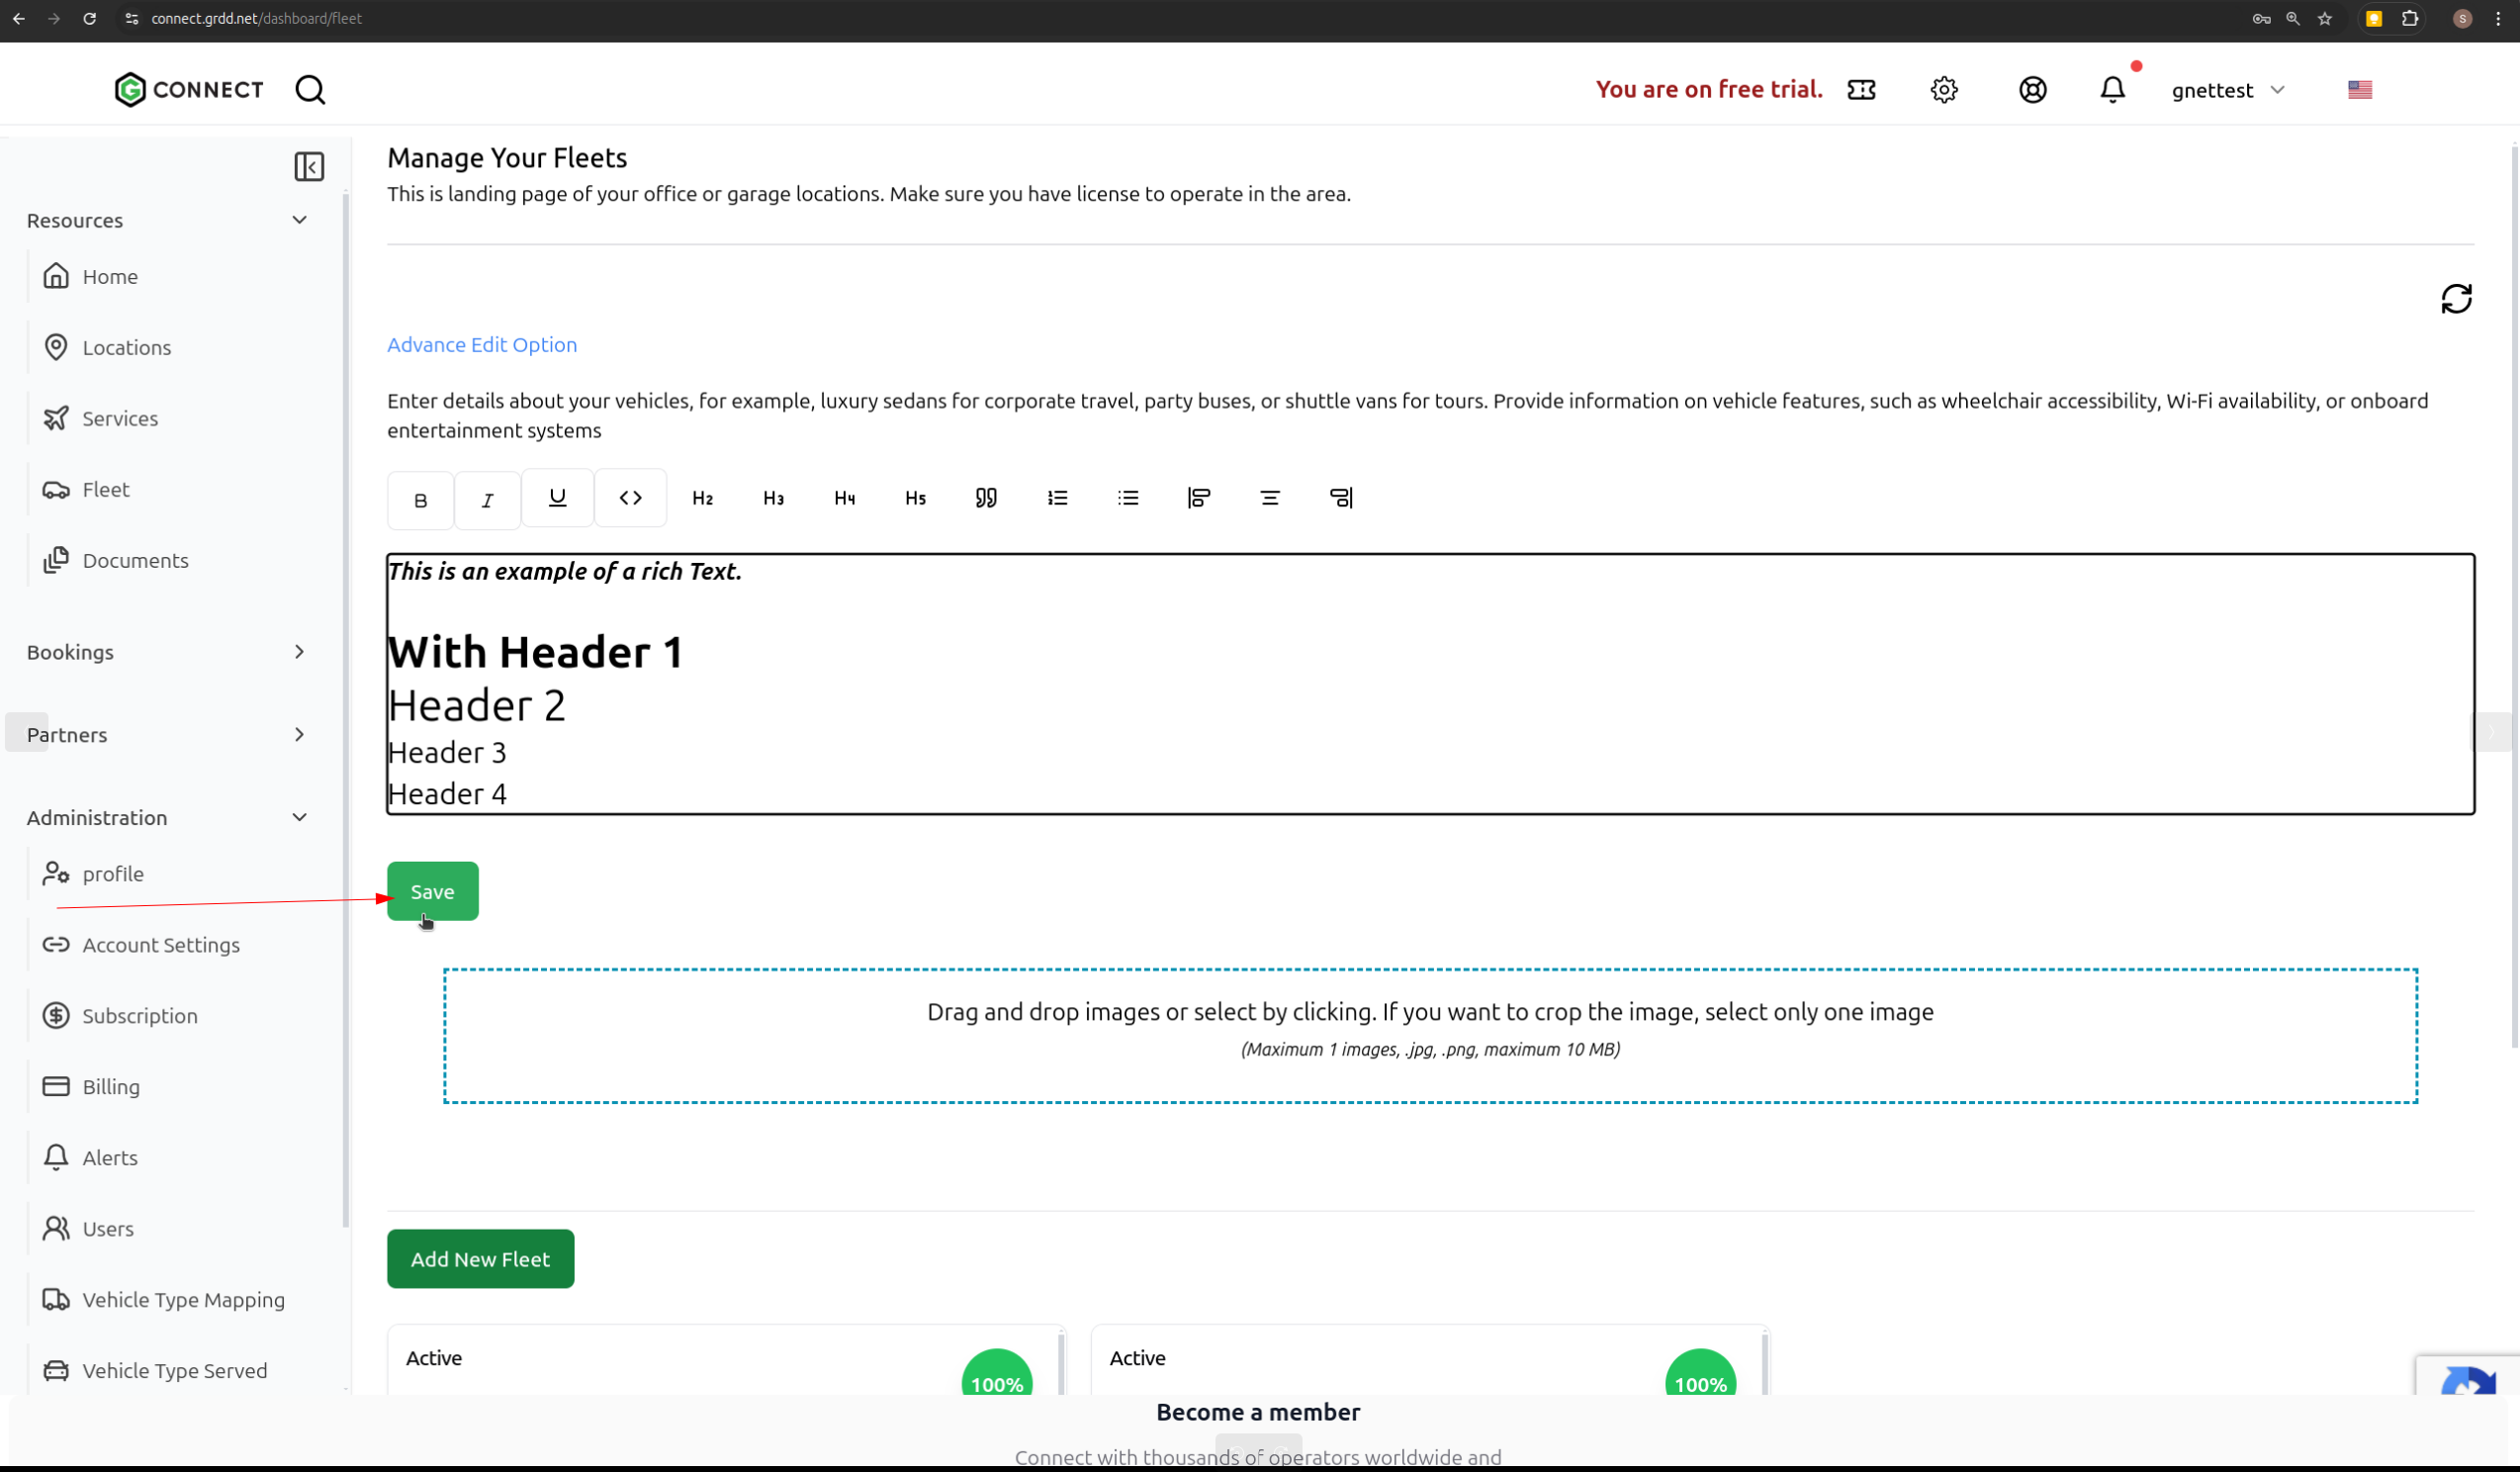
Step 5: Add New Vehicle
Click on the “Add New Vehicle” button to begin adding a vehicle to your fleet.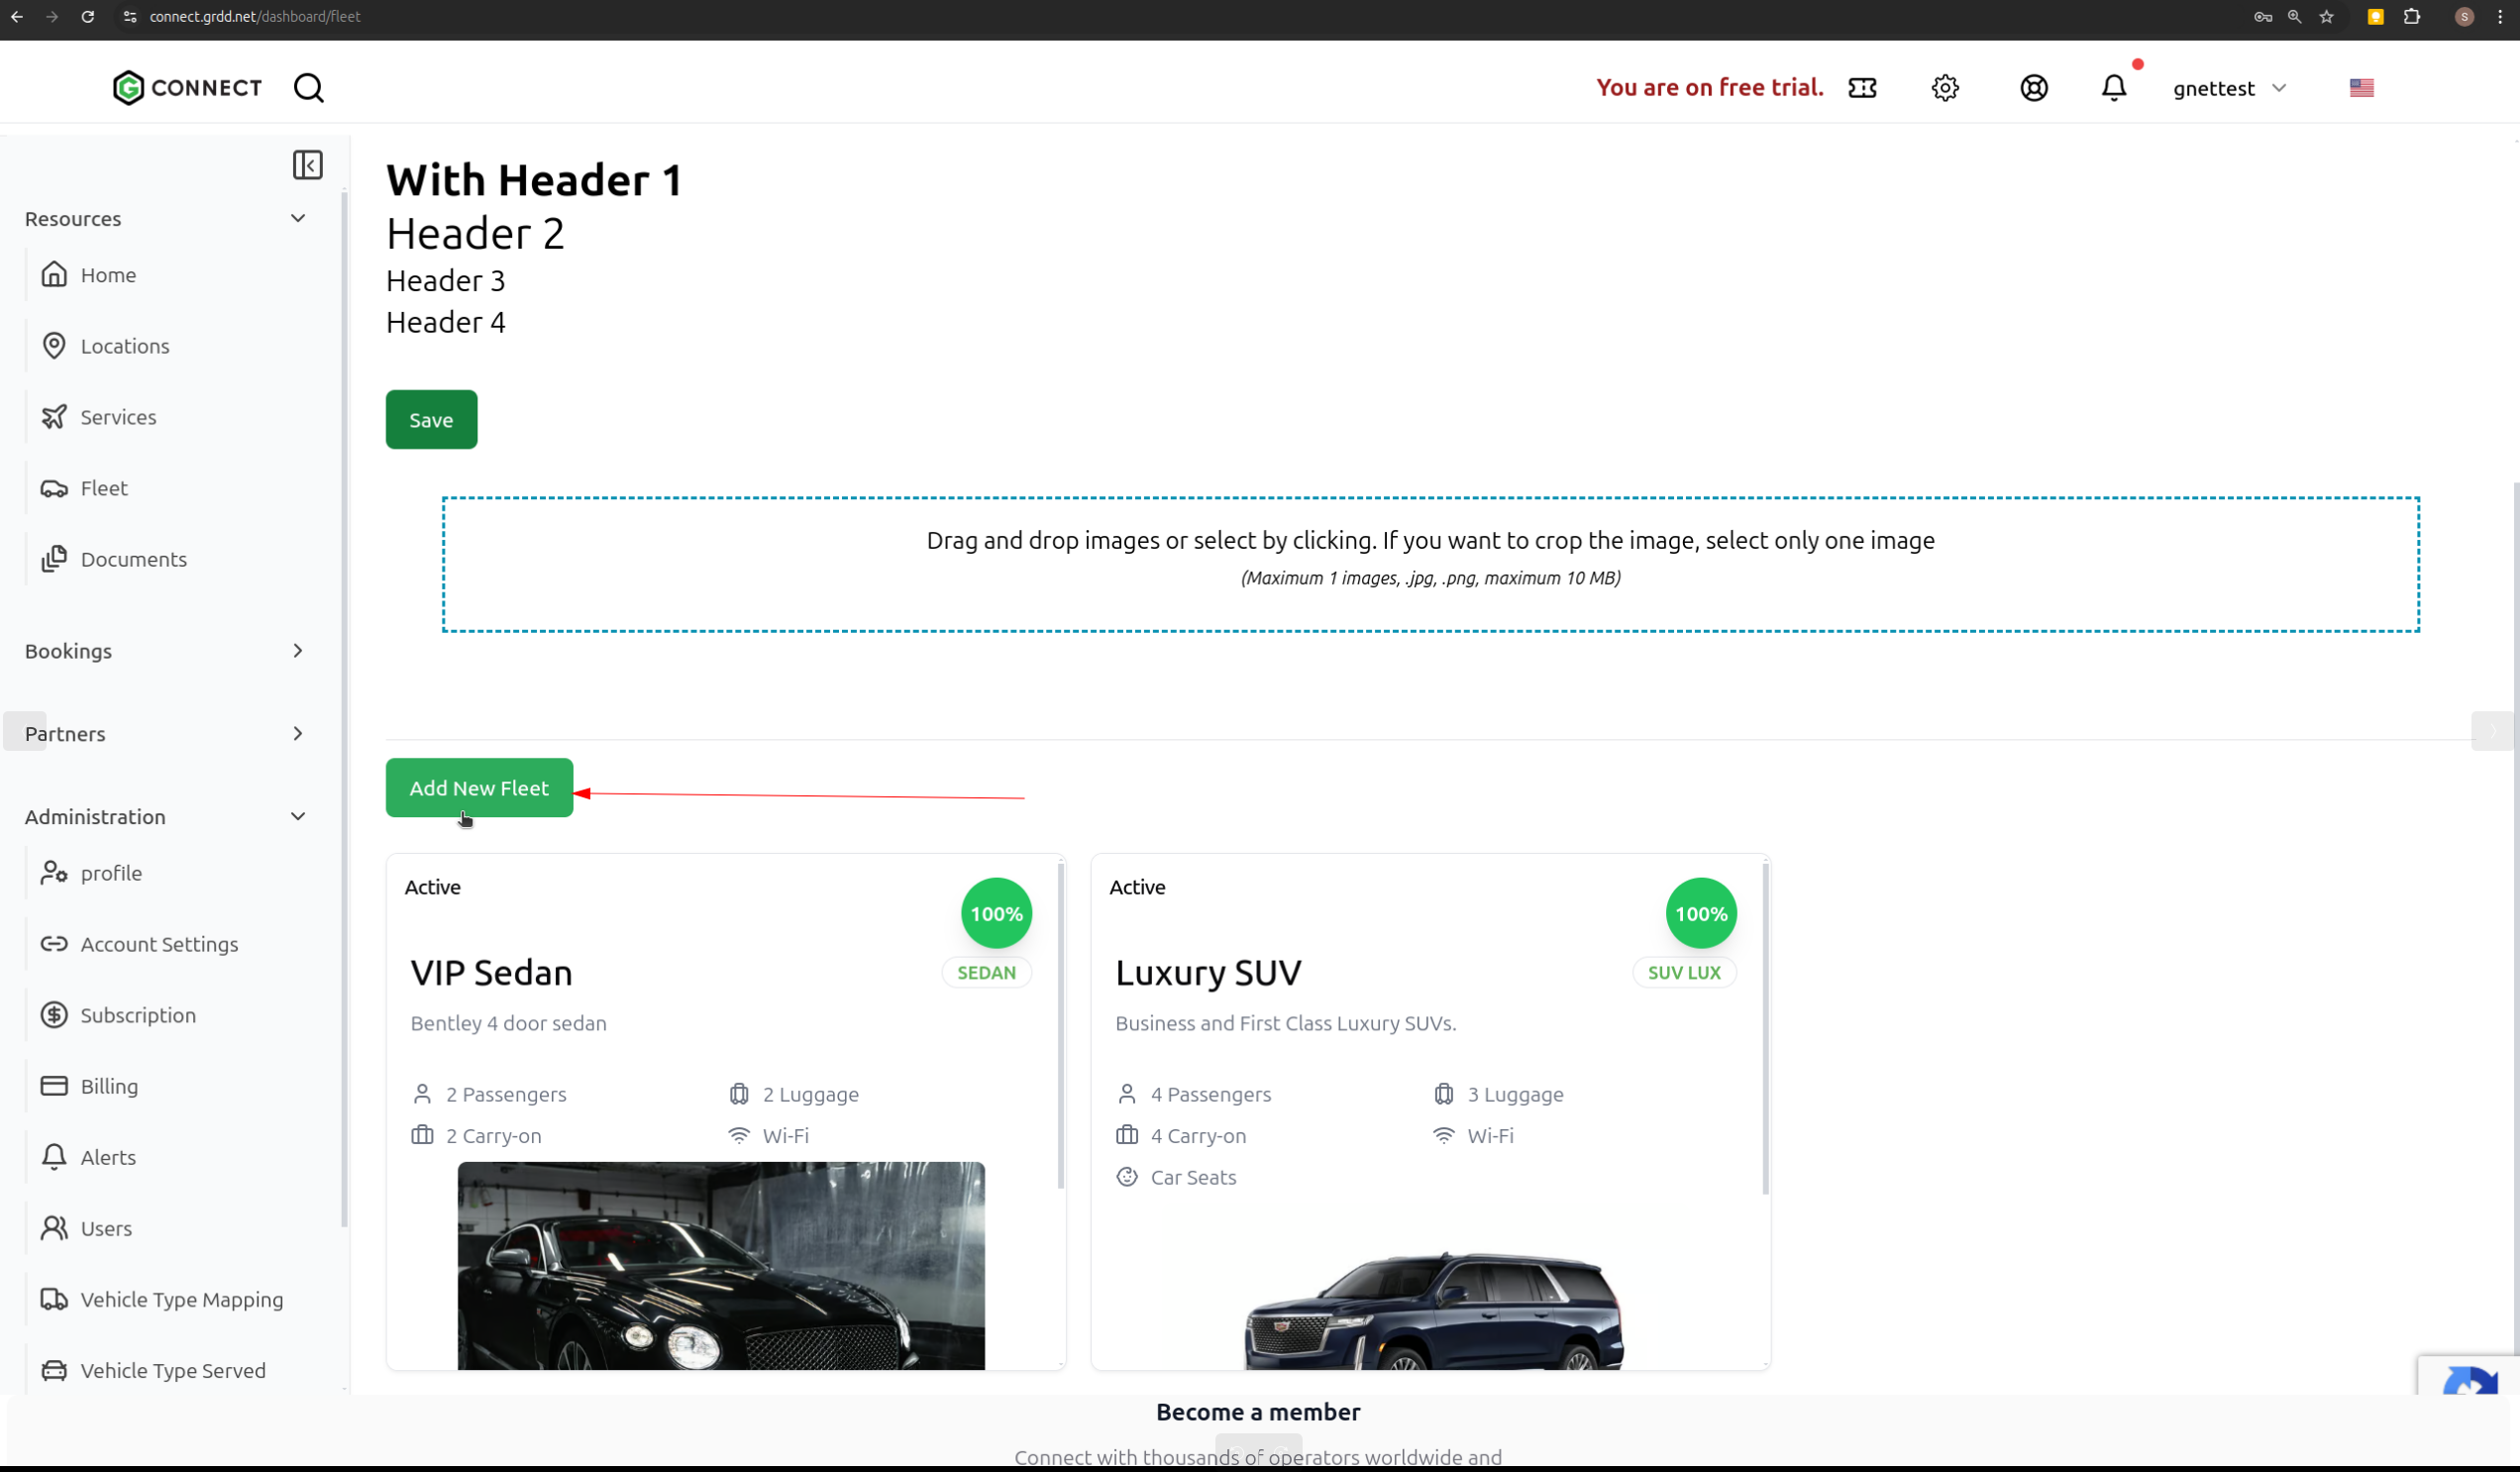
Step 6: Enter Vehicle Details
Complete all required vehicle information including:- Vehicle Type
- Make/Model
- Year
- License Plate
- VIN Number
- Registration Details
- Insurance Information
- Maintenance Schedule
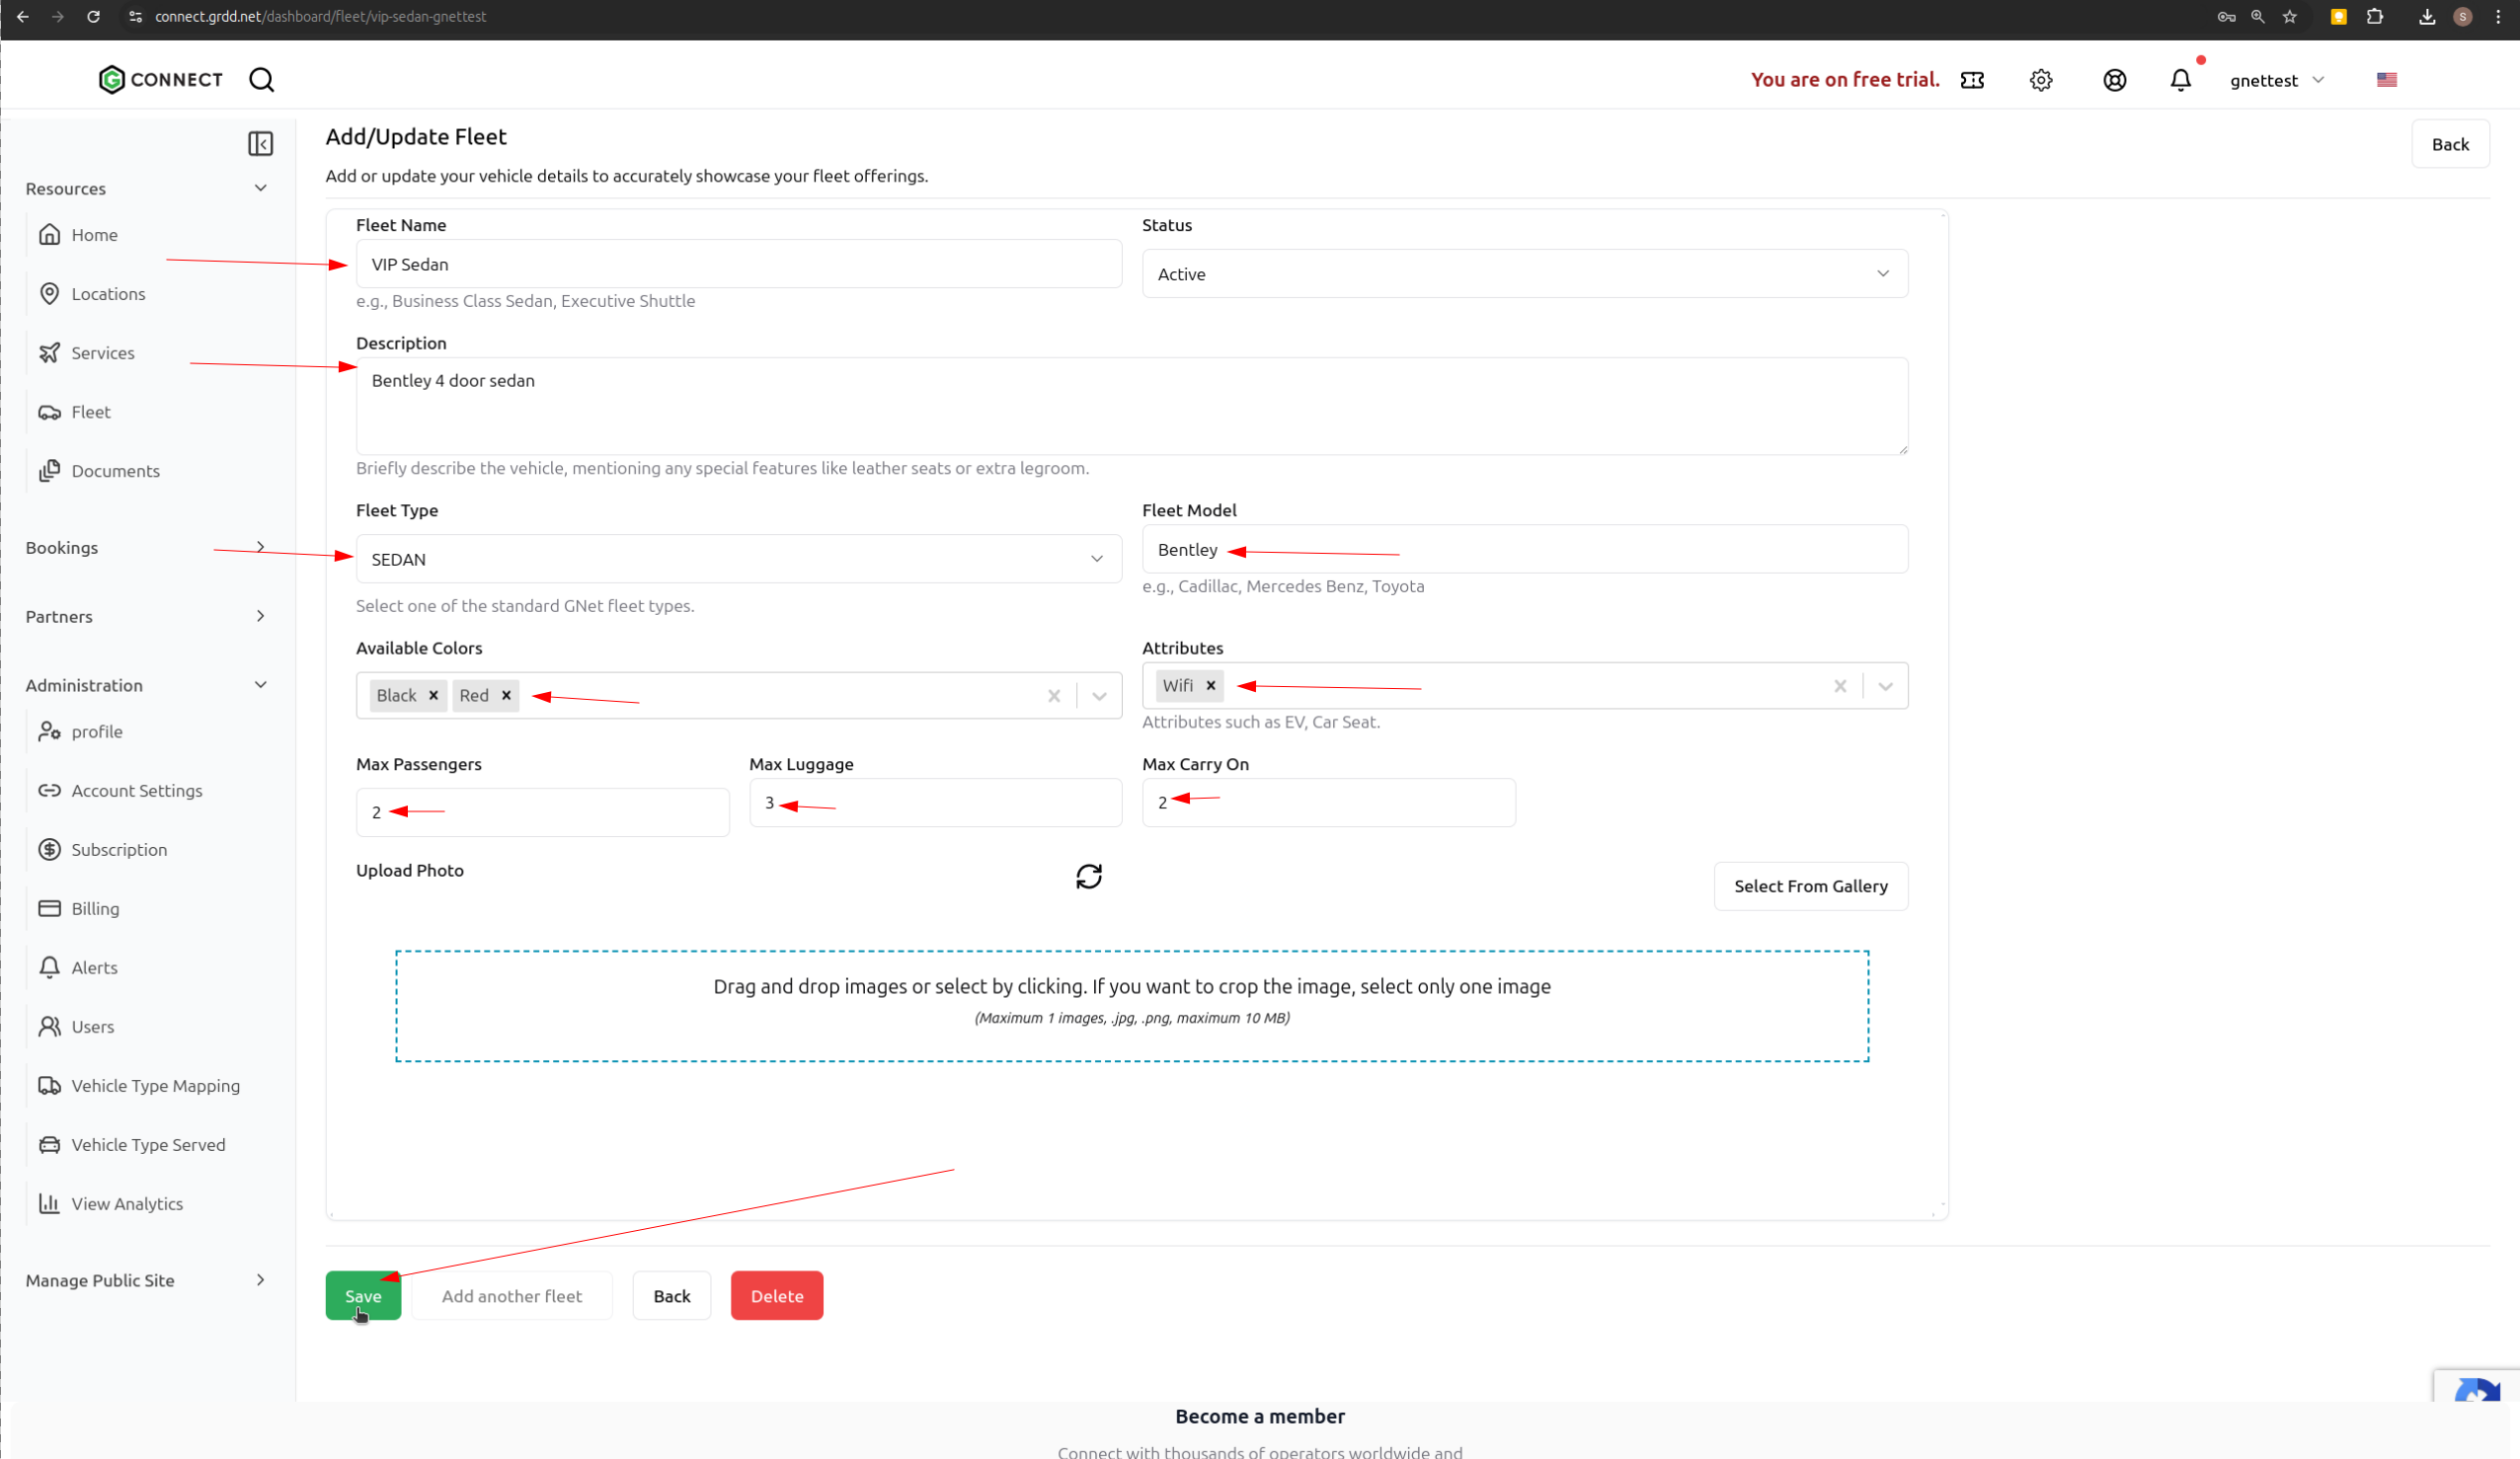
Step 7: Click Save
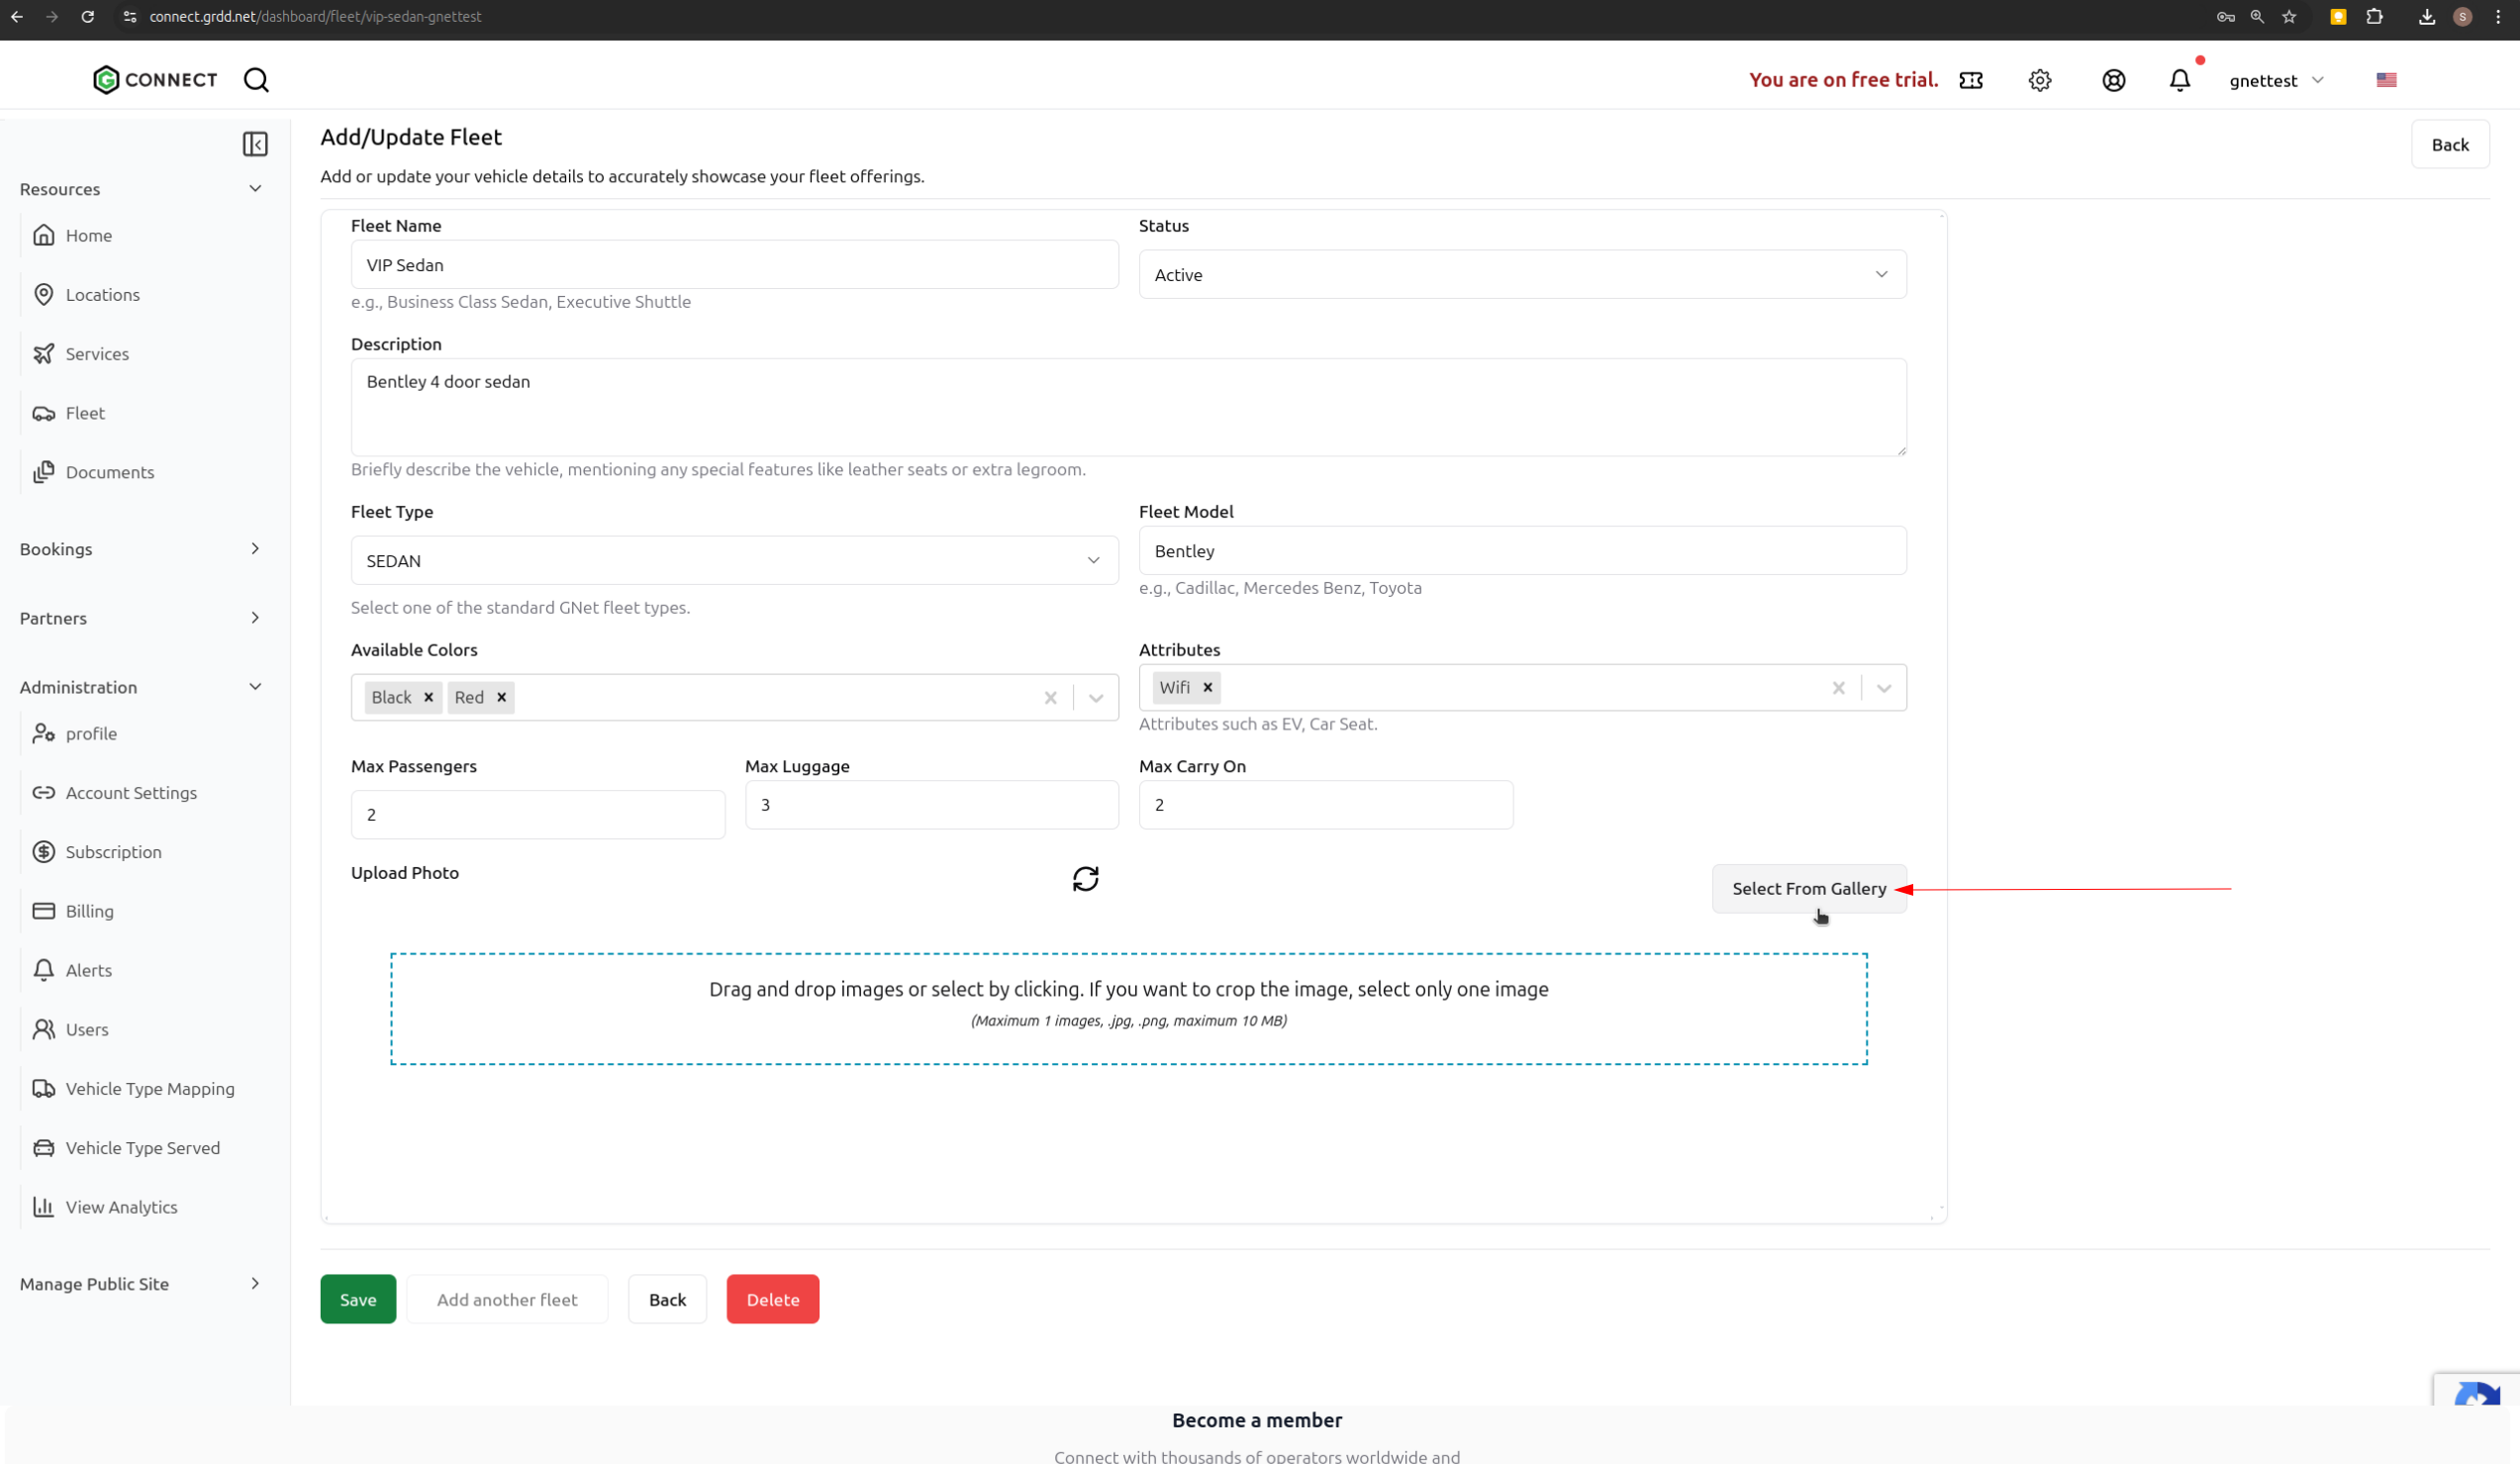
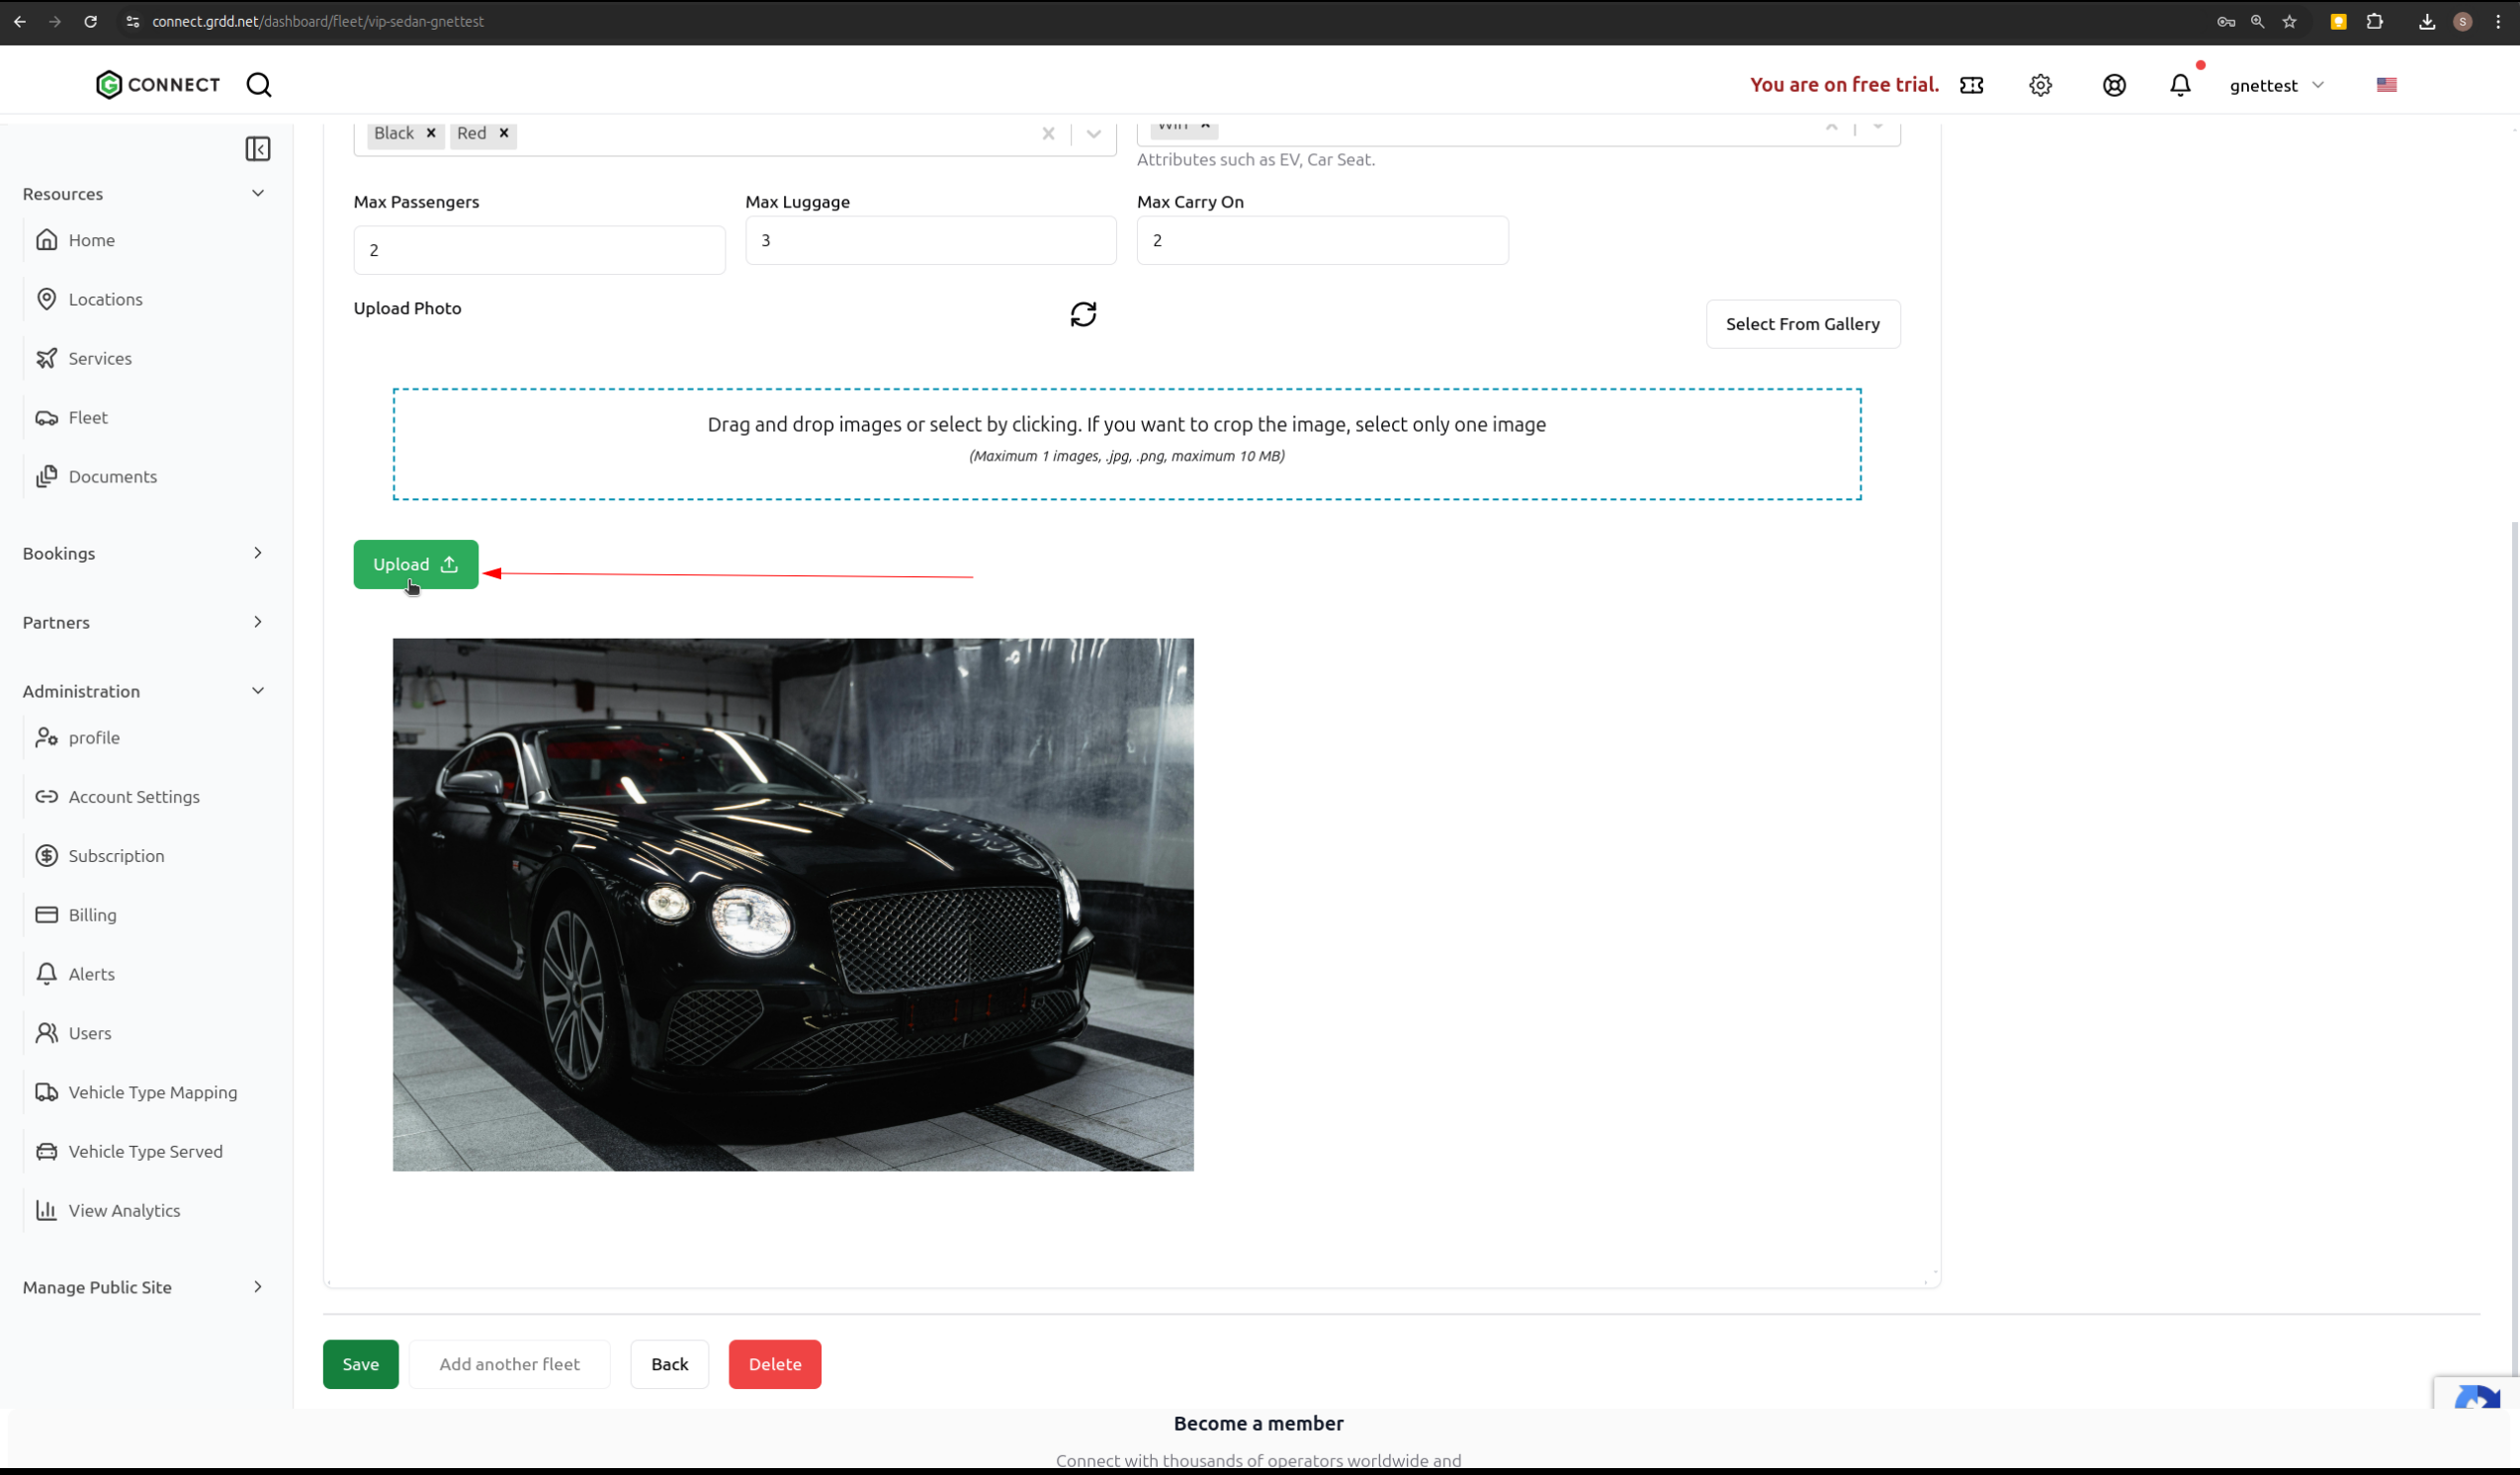
Click the “Save” button to save the vehicle.Step 8: Upload Vehicle Photo
You can upload a photo of your vehicle after saving the vehicle.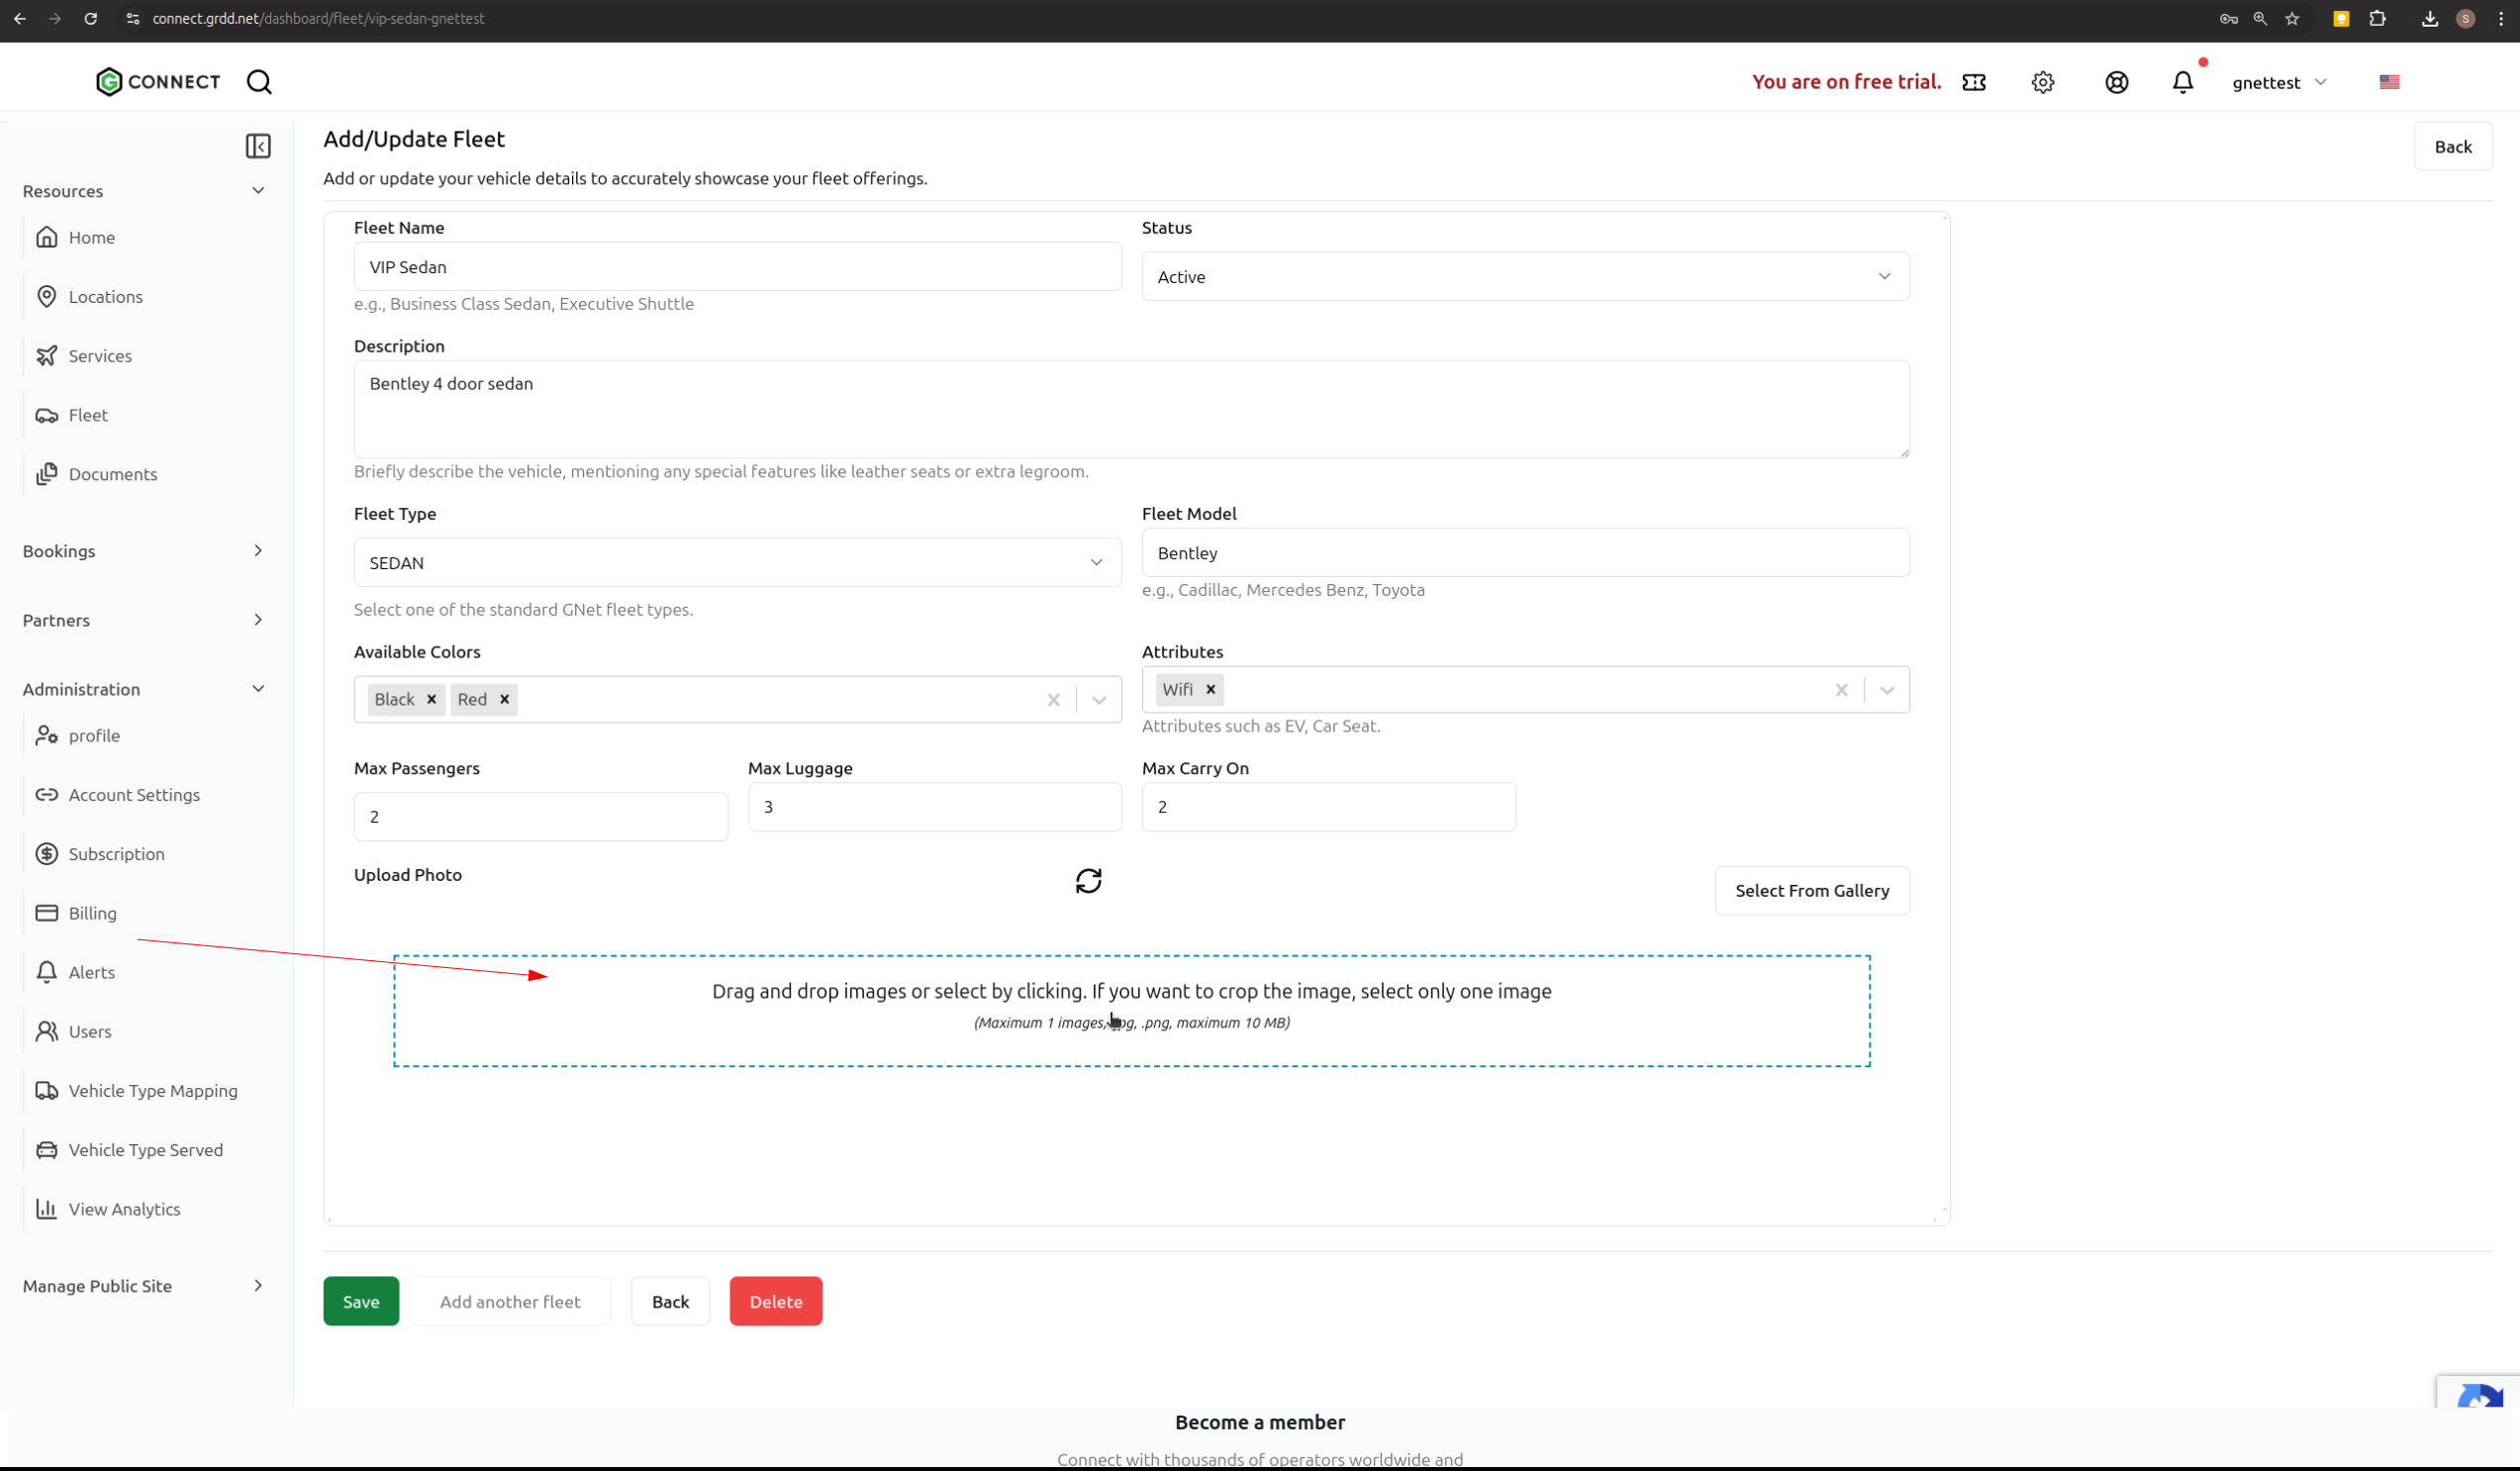
Keep your vehicle information current and regularly update maintenance records. You can edit or remove vehicles at any time by returning to the Fleet section.