Navigating to the Documents Page
To add a document, you need to navigate to the Documents page. You can do this by clicking on the “Documents” tab in the left-hand side menu.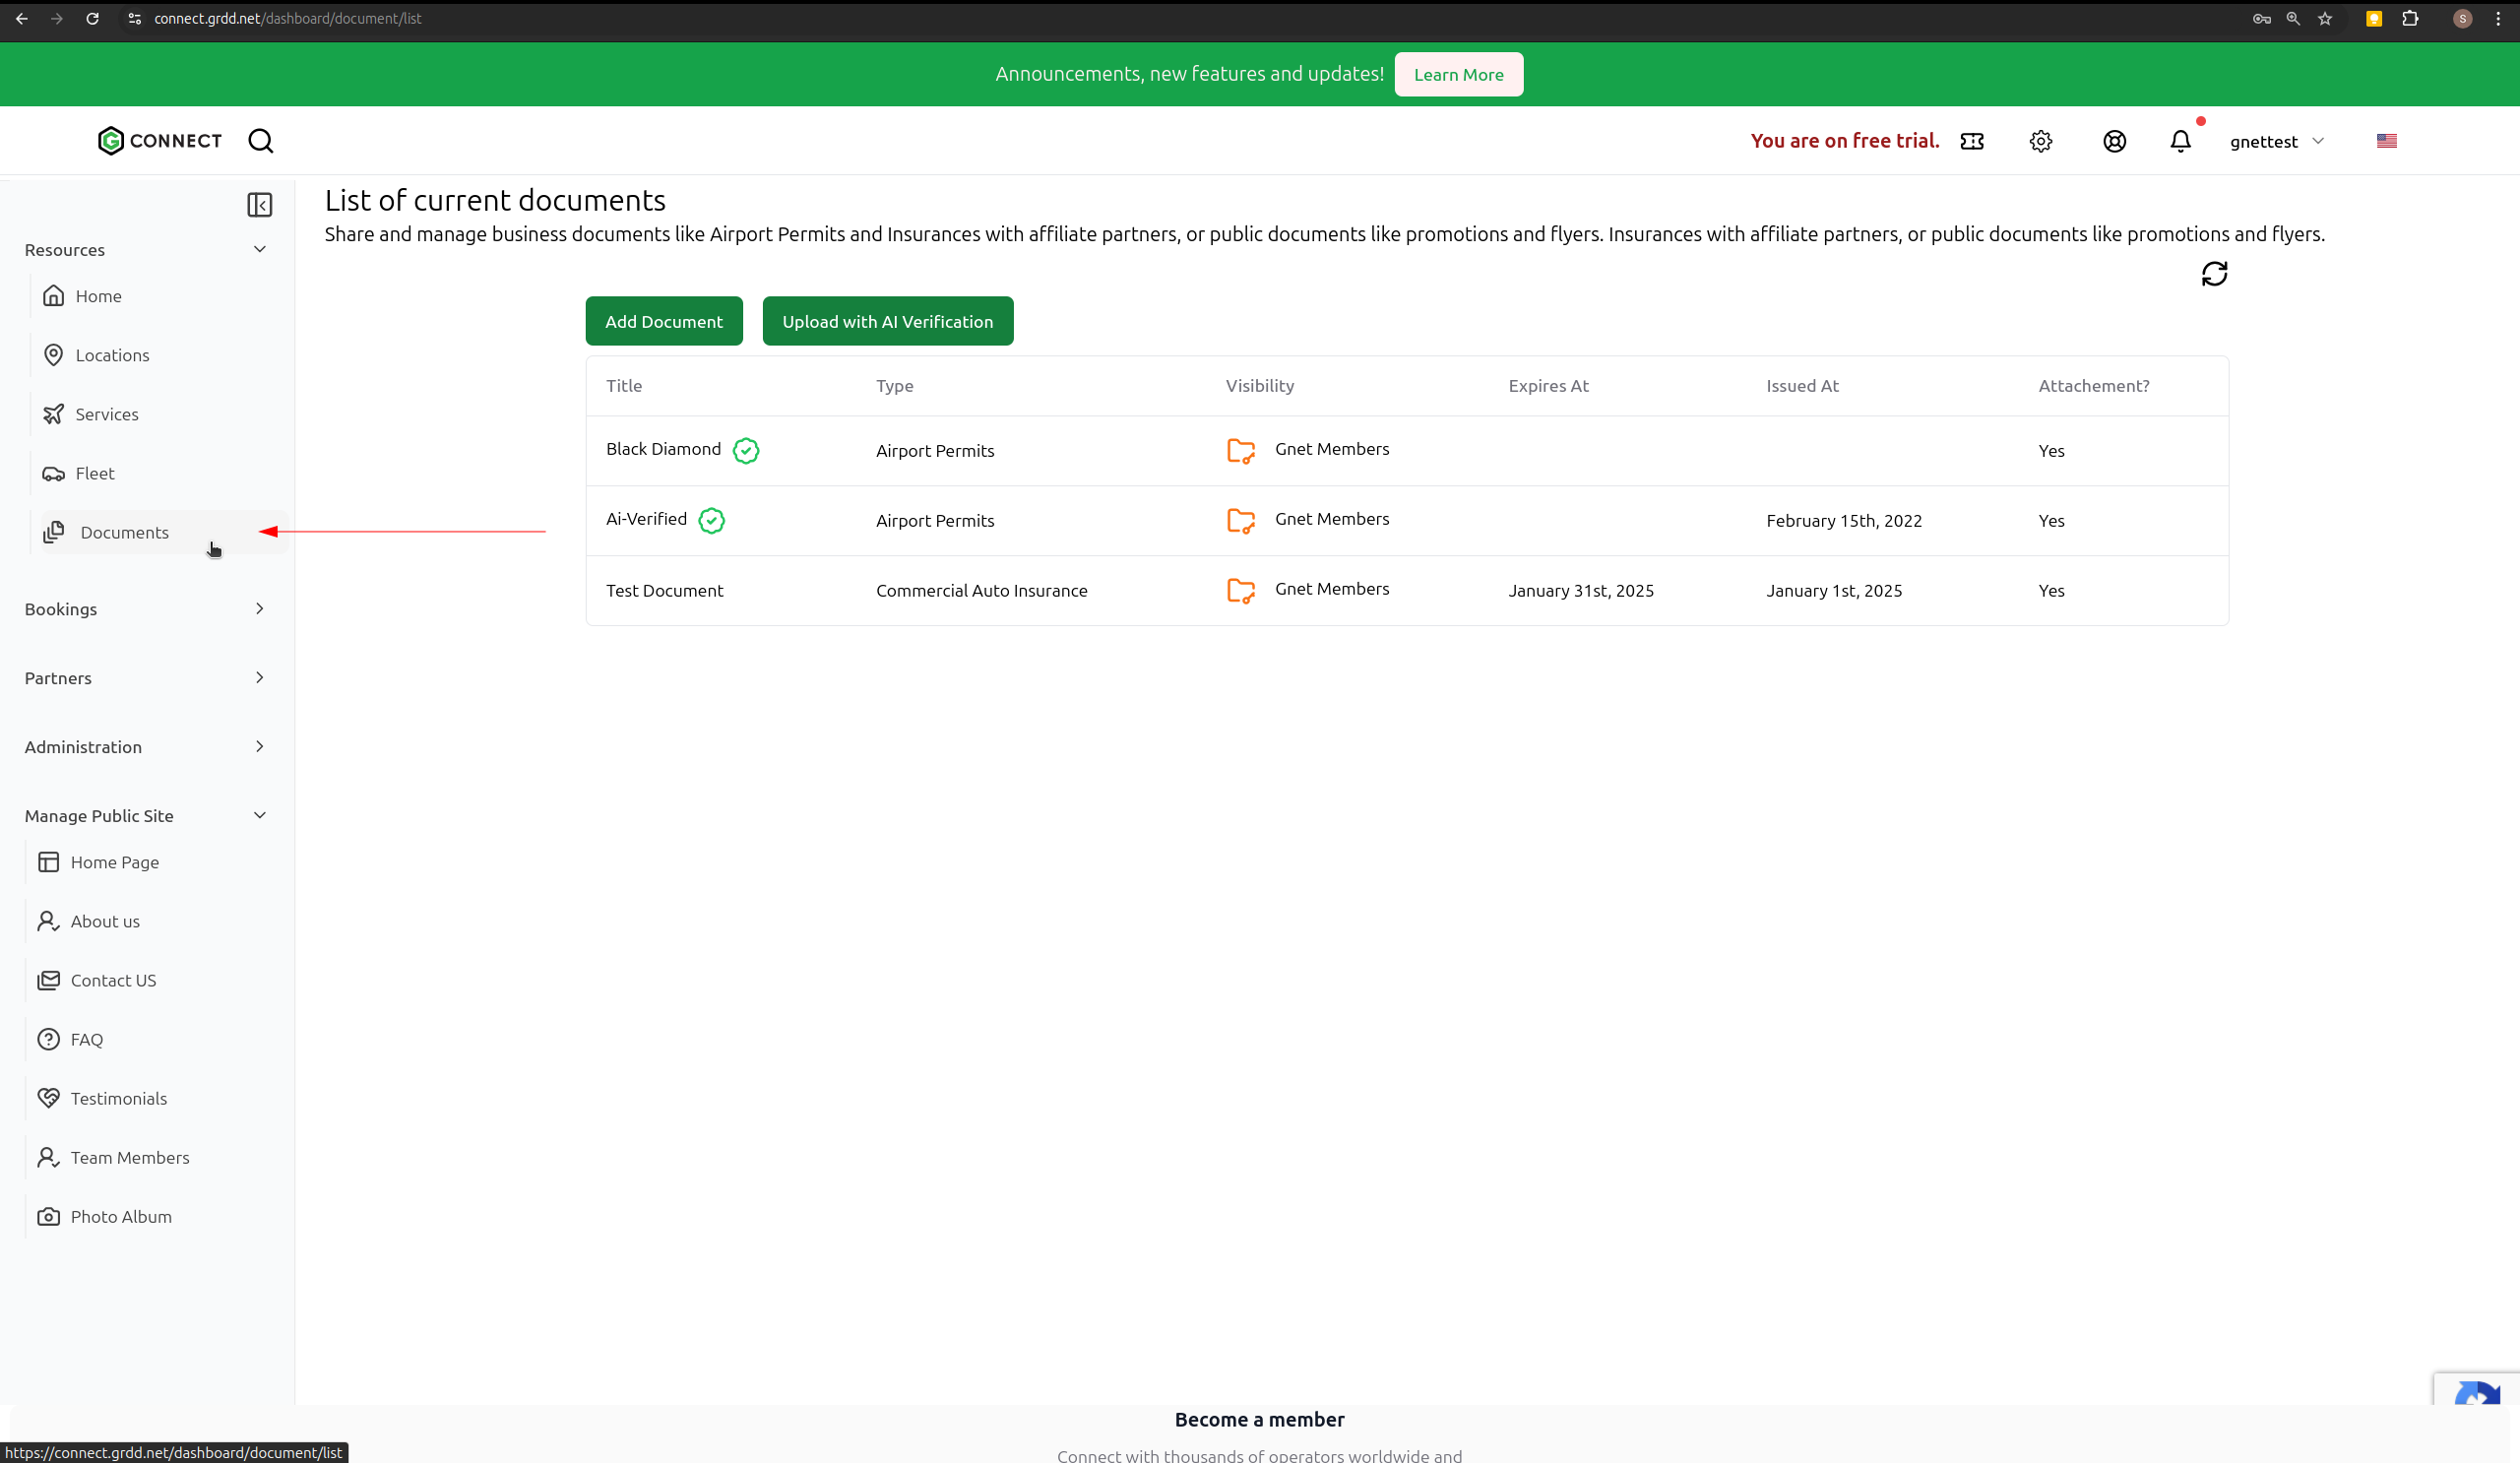
Methods for Adding Documents
There are two ways to add documents to your system:- Manual document addition
- AI-assisted document verification
Method 1: Manual Document Addition
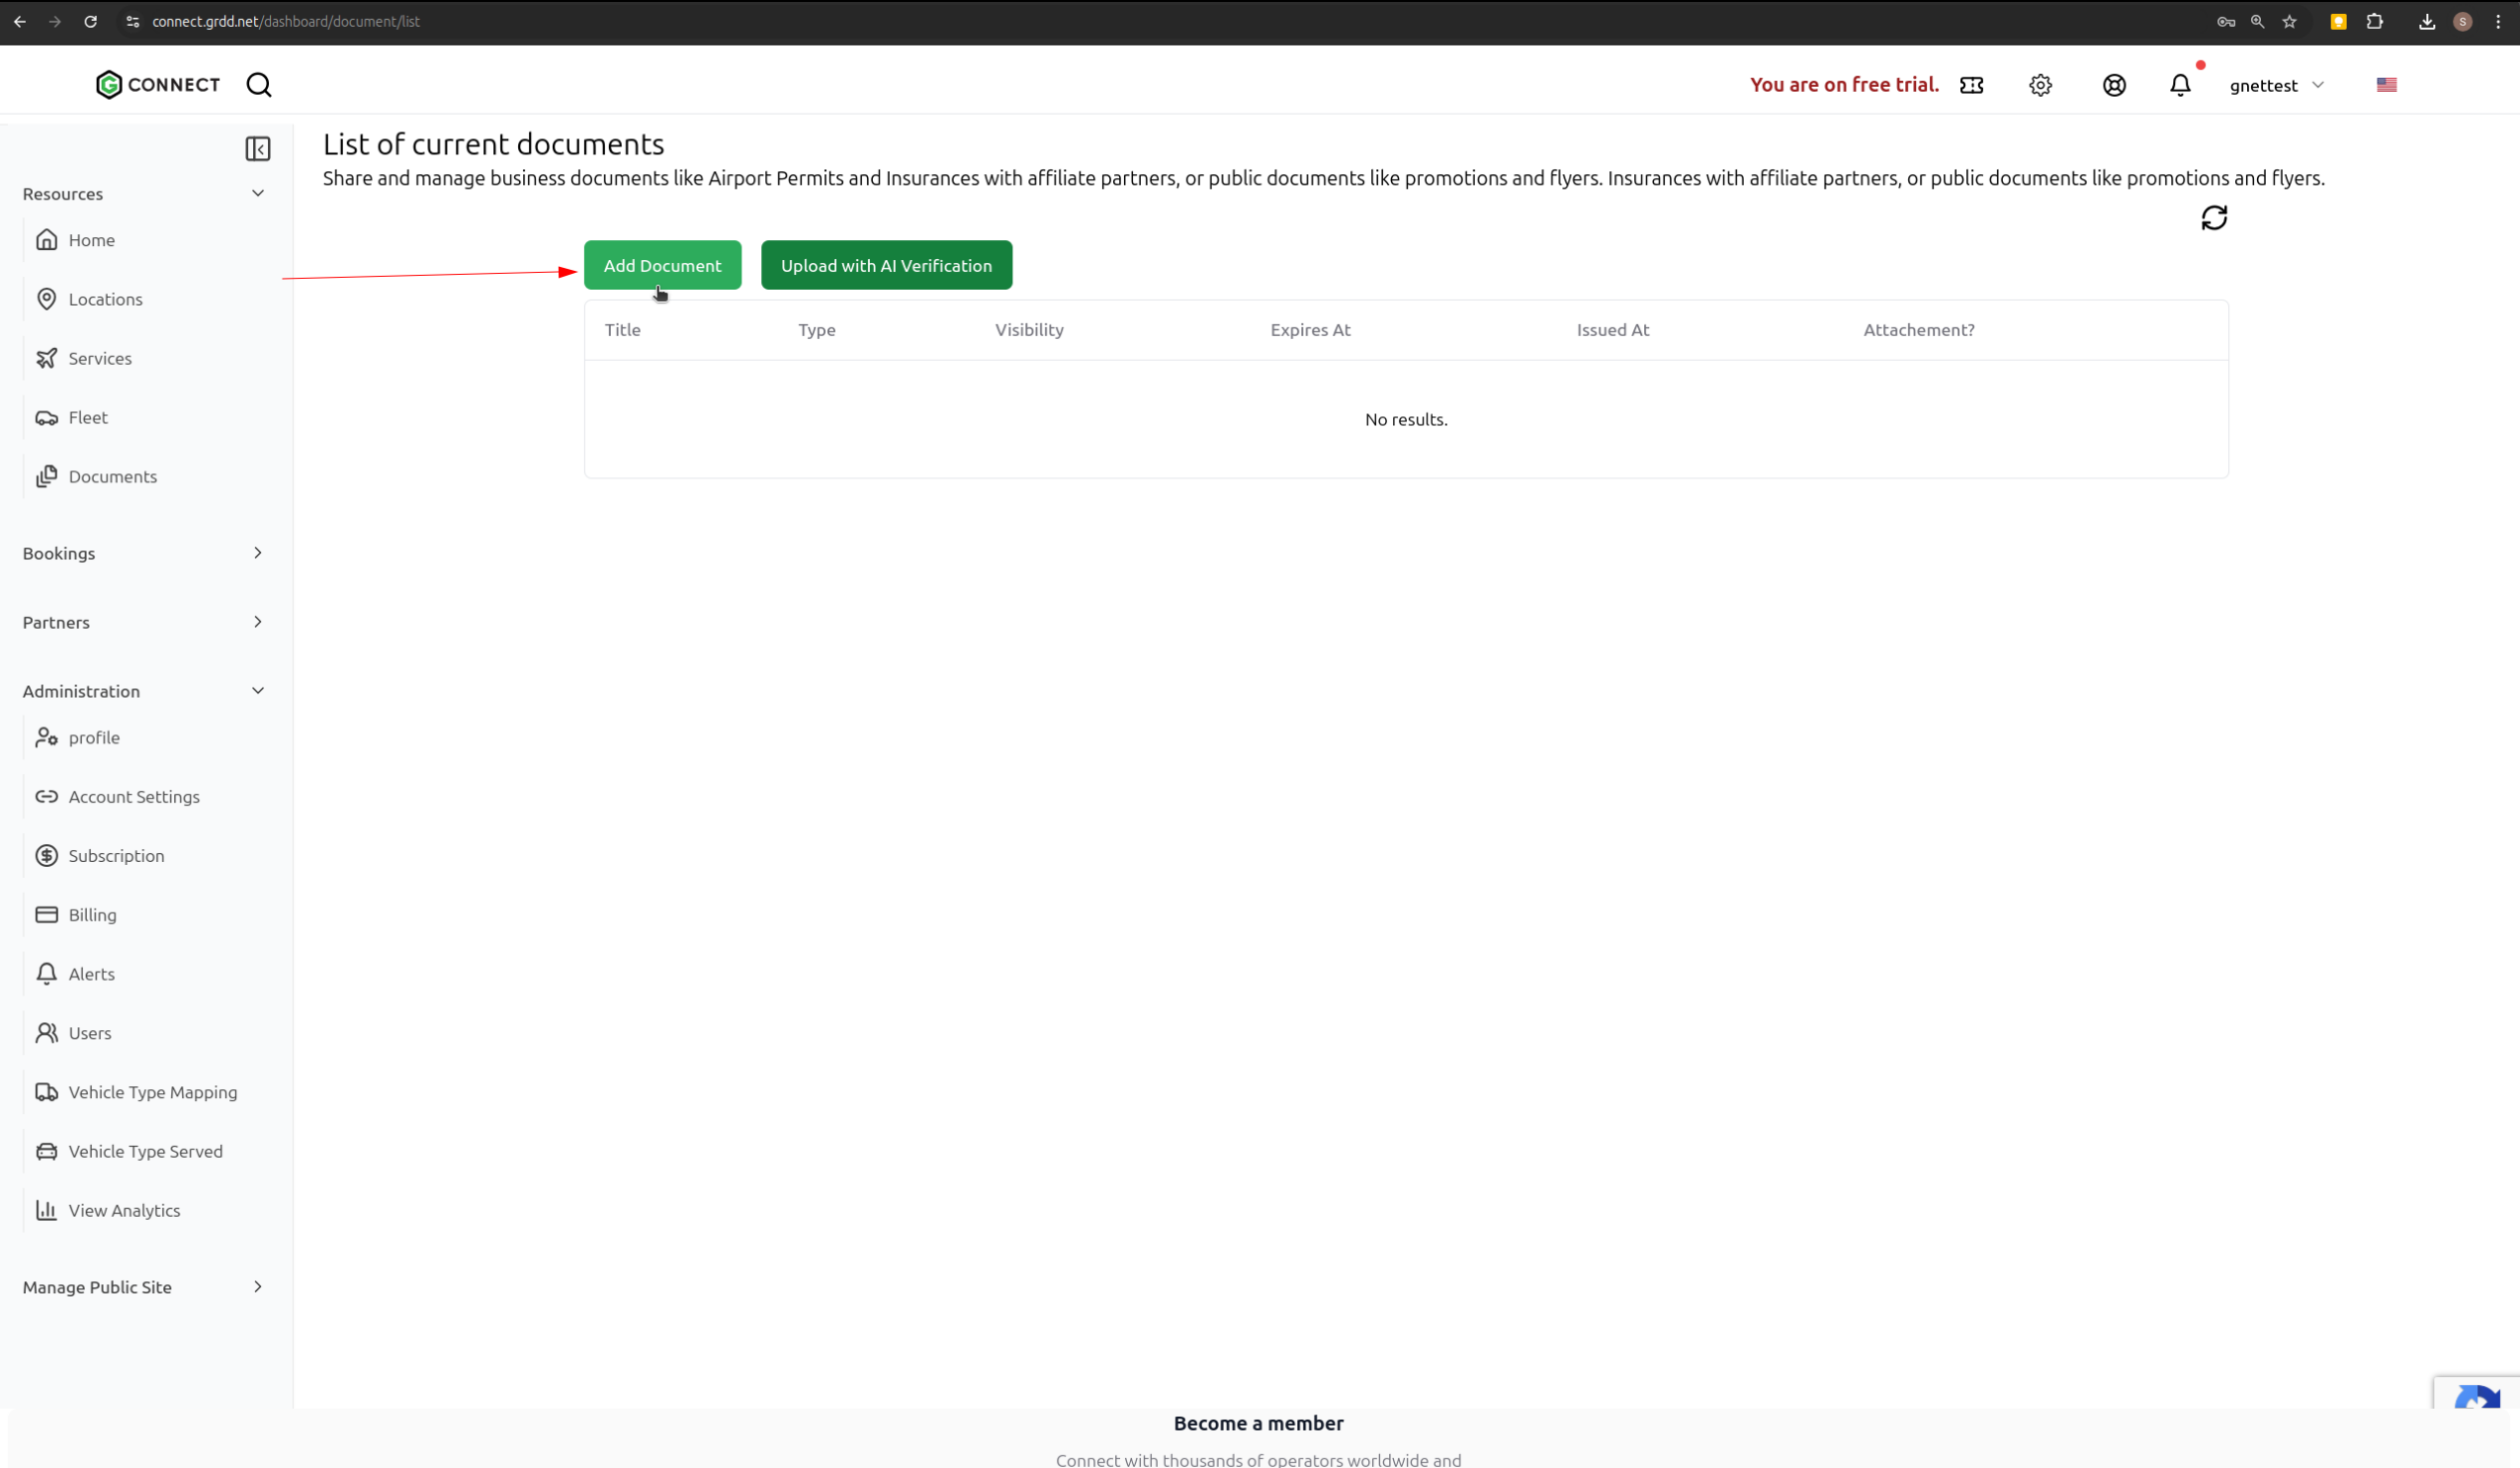
Follow these steps to manually add a document:- Navigate to your documents list
- Click on “Add Document”
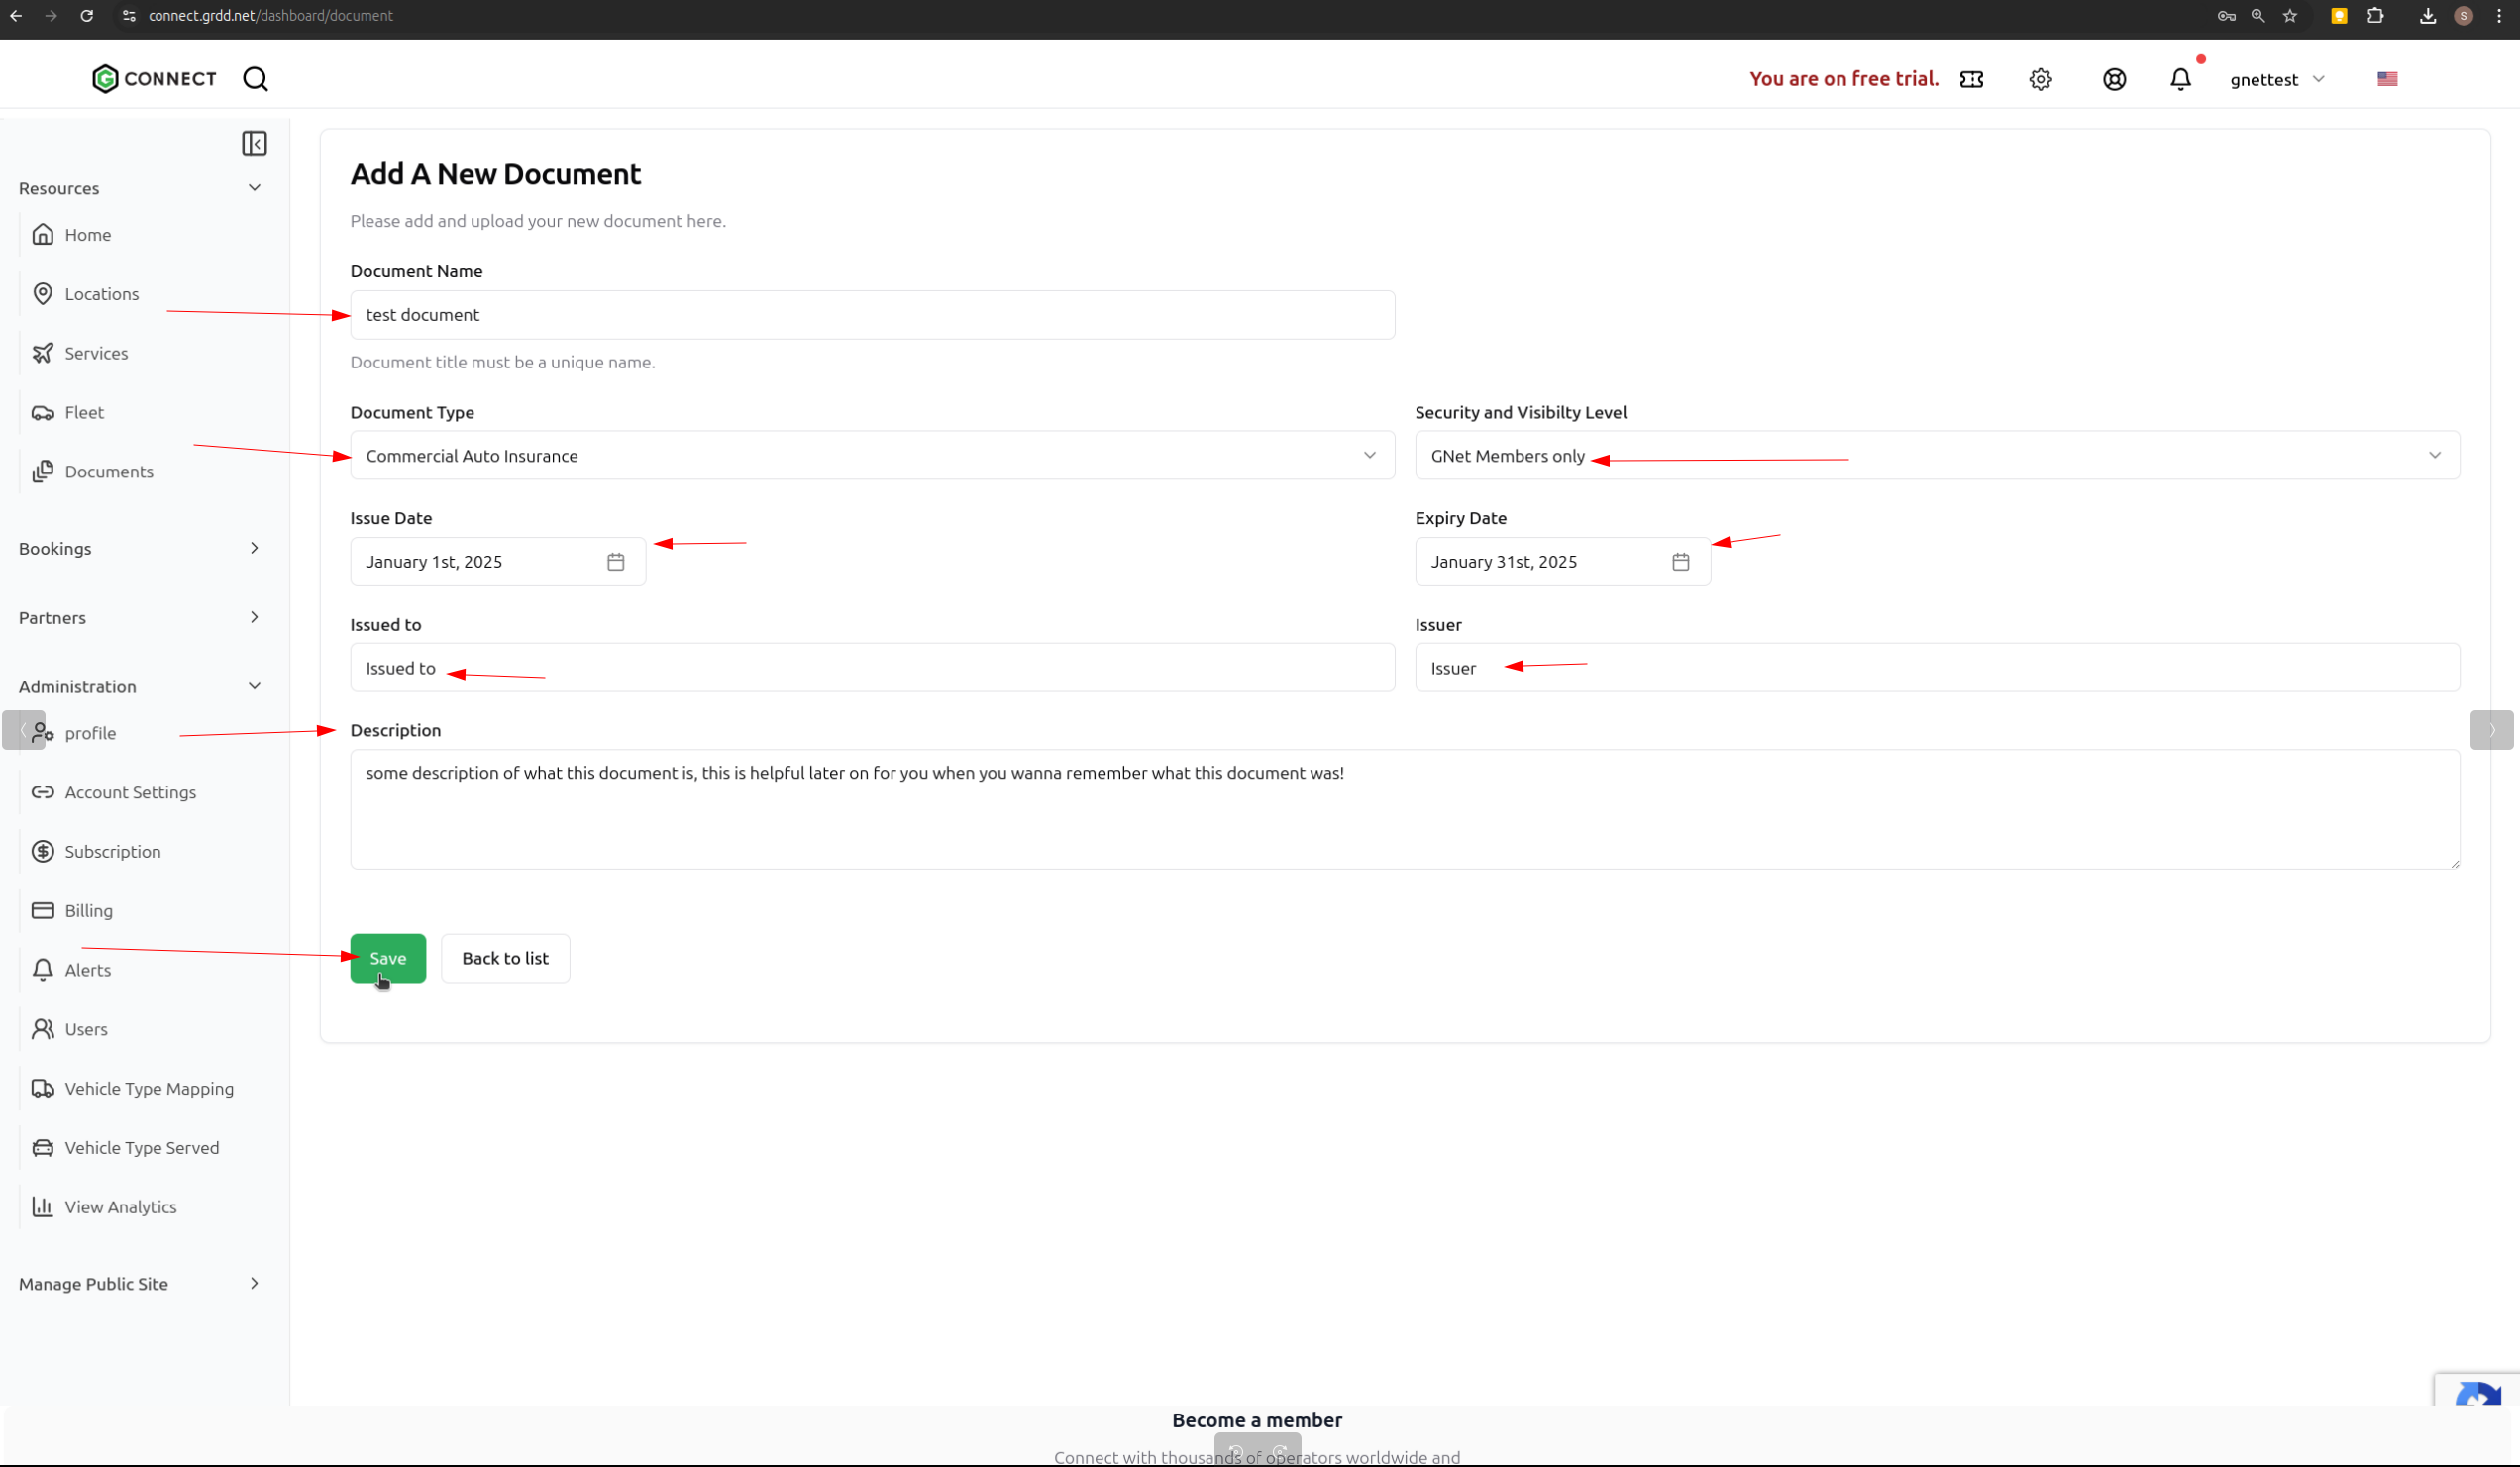
- Fill in the required document details:
- Name
- Document Type
- Visibility Level (controls document access)
- Issue Date
- Expiry Date
- Issued To
- Issuer
- Description
- Click “Save” to create the document entry
- Upload your document file
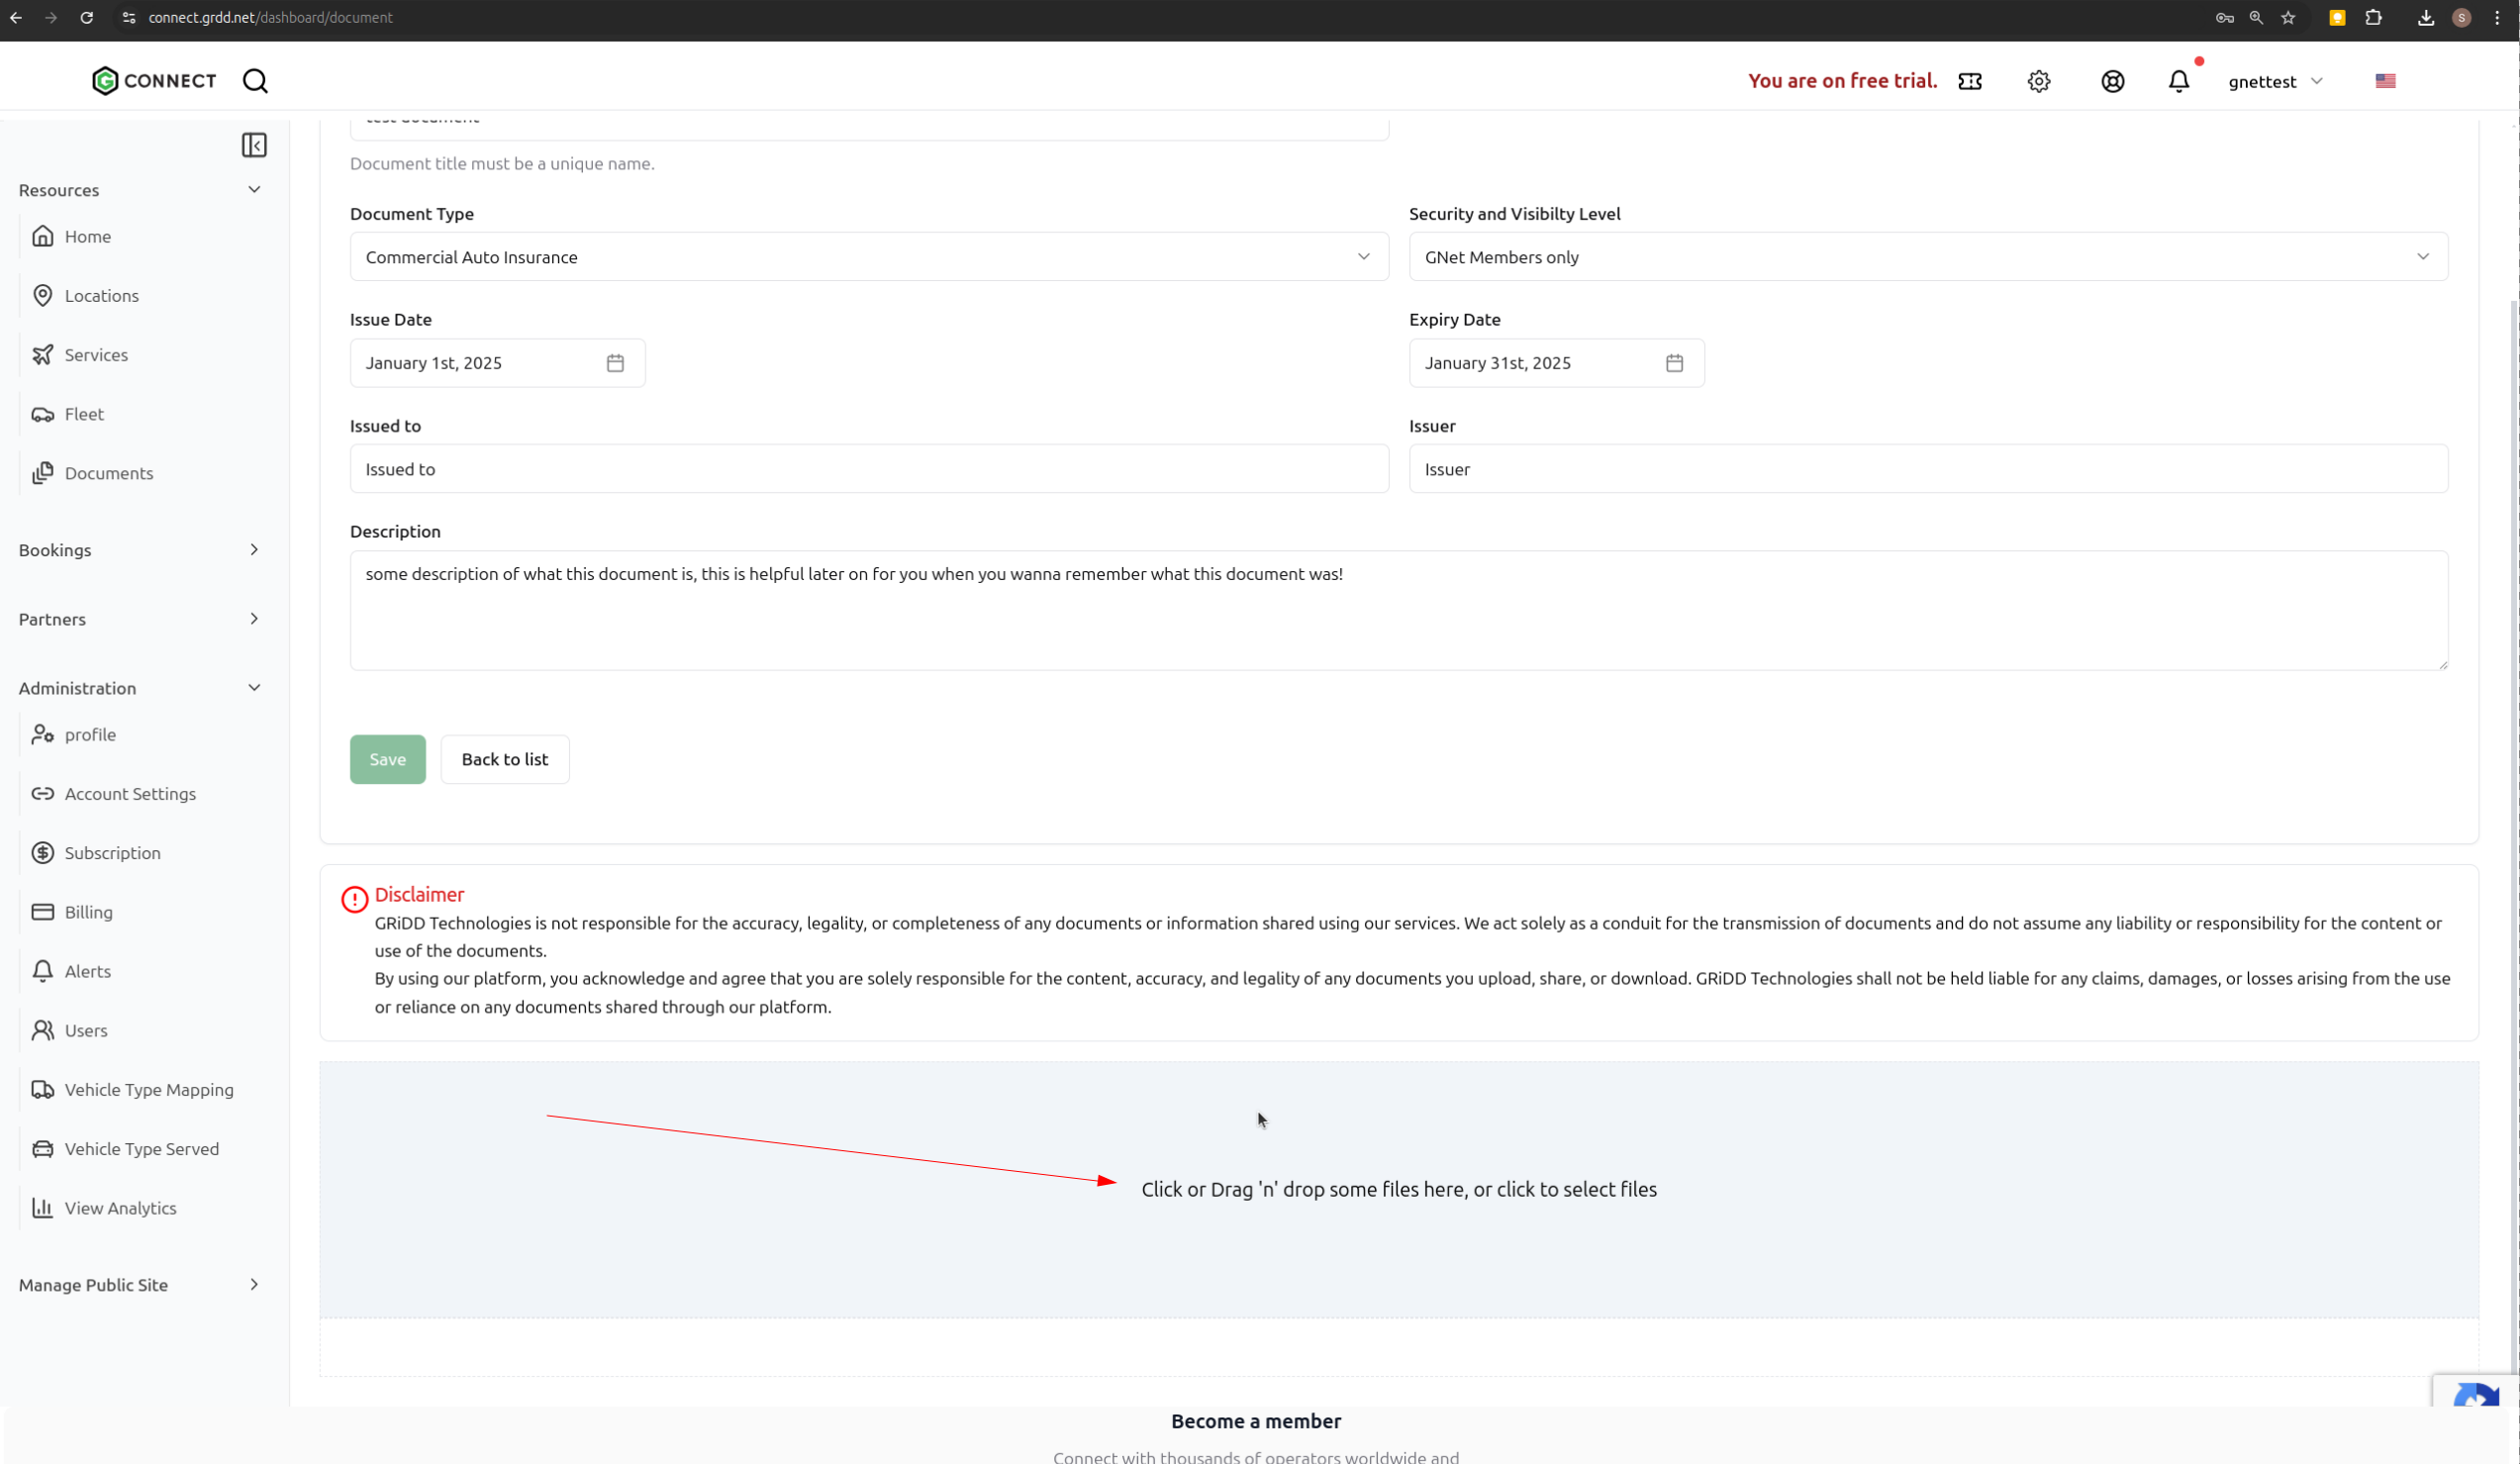
The manual method gives you complete control over document details but requires you to enter all information yourself.
Method 2: AI-Assisted Verification
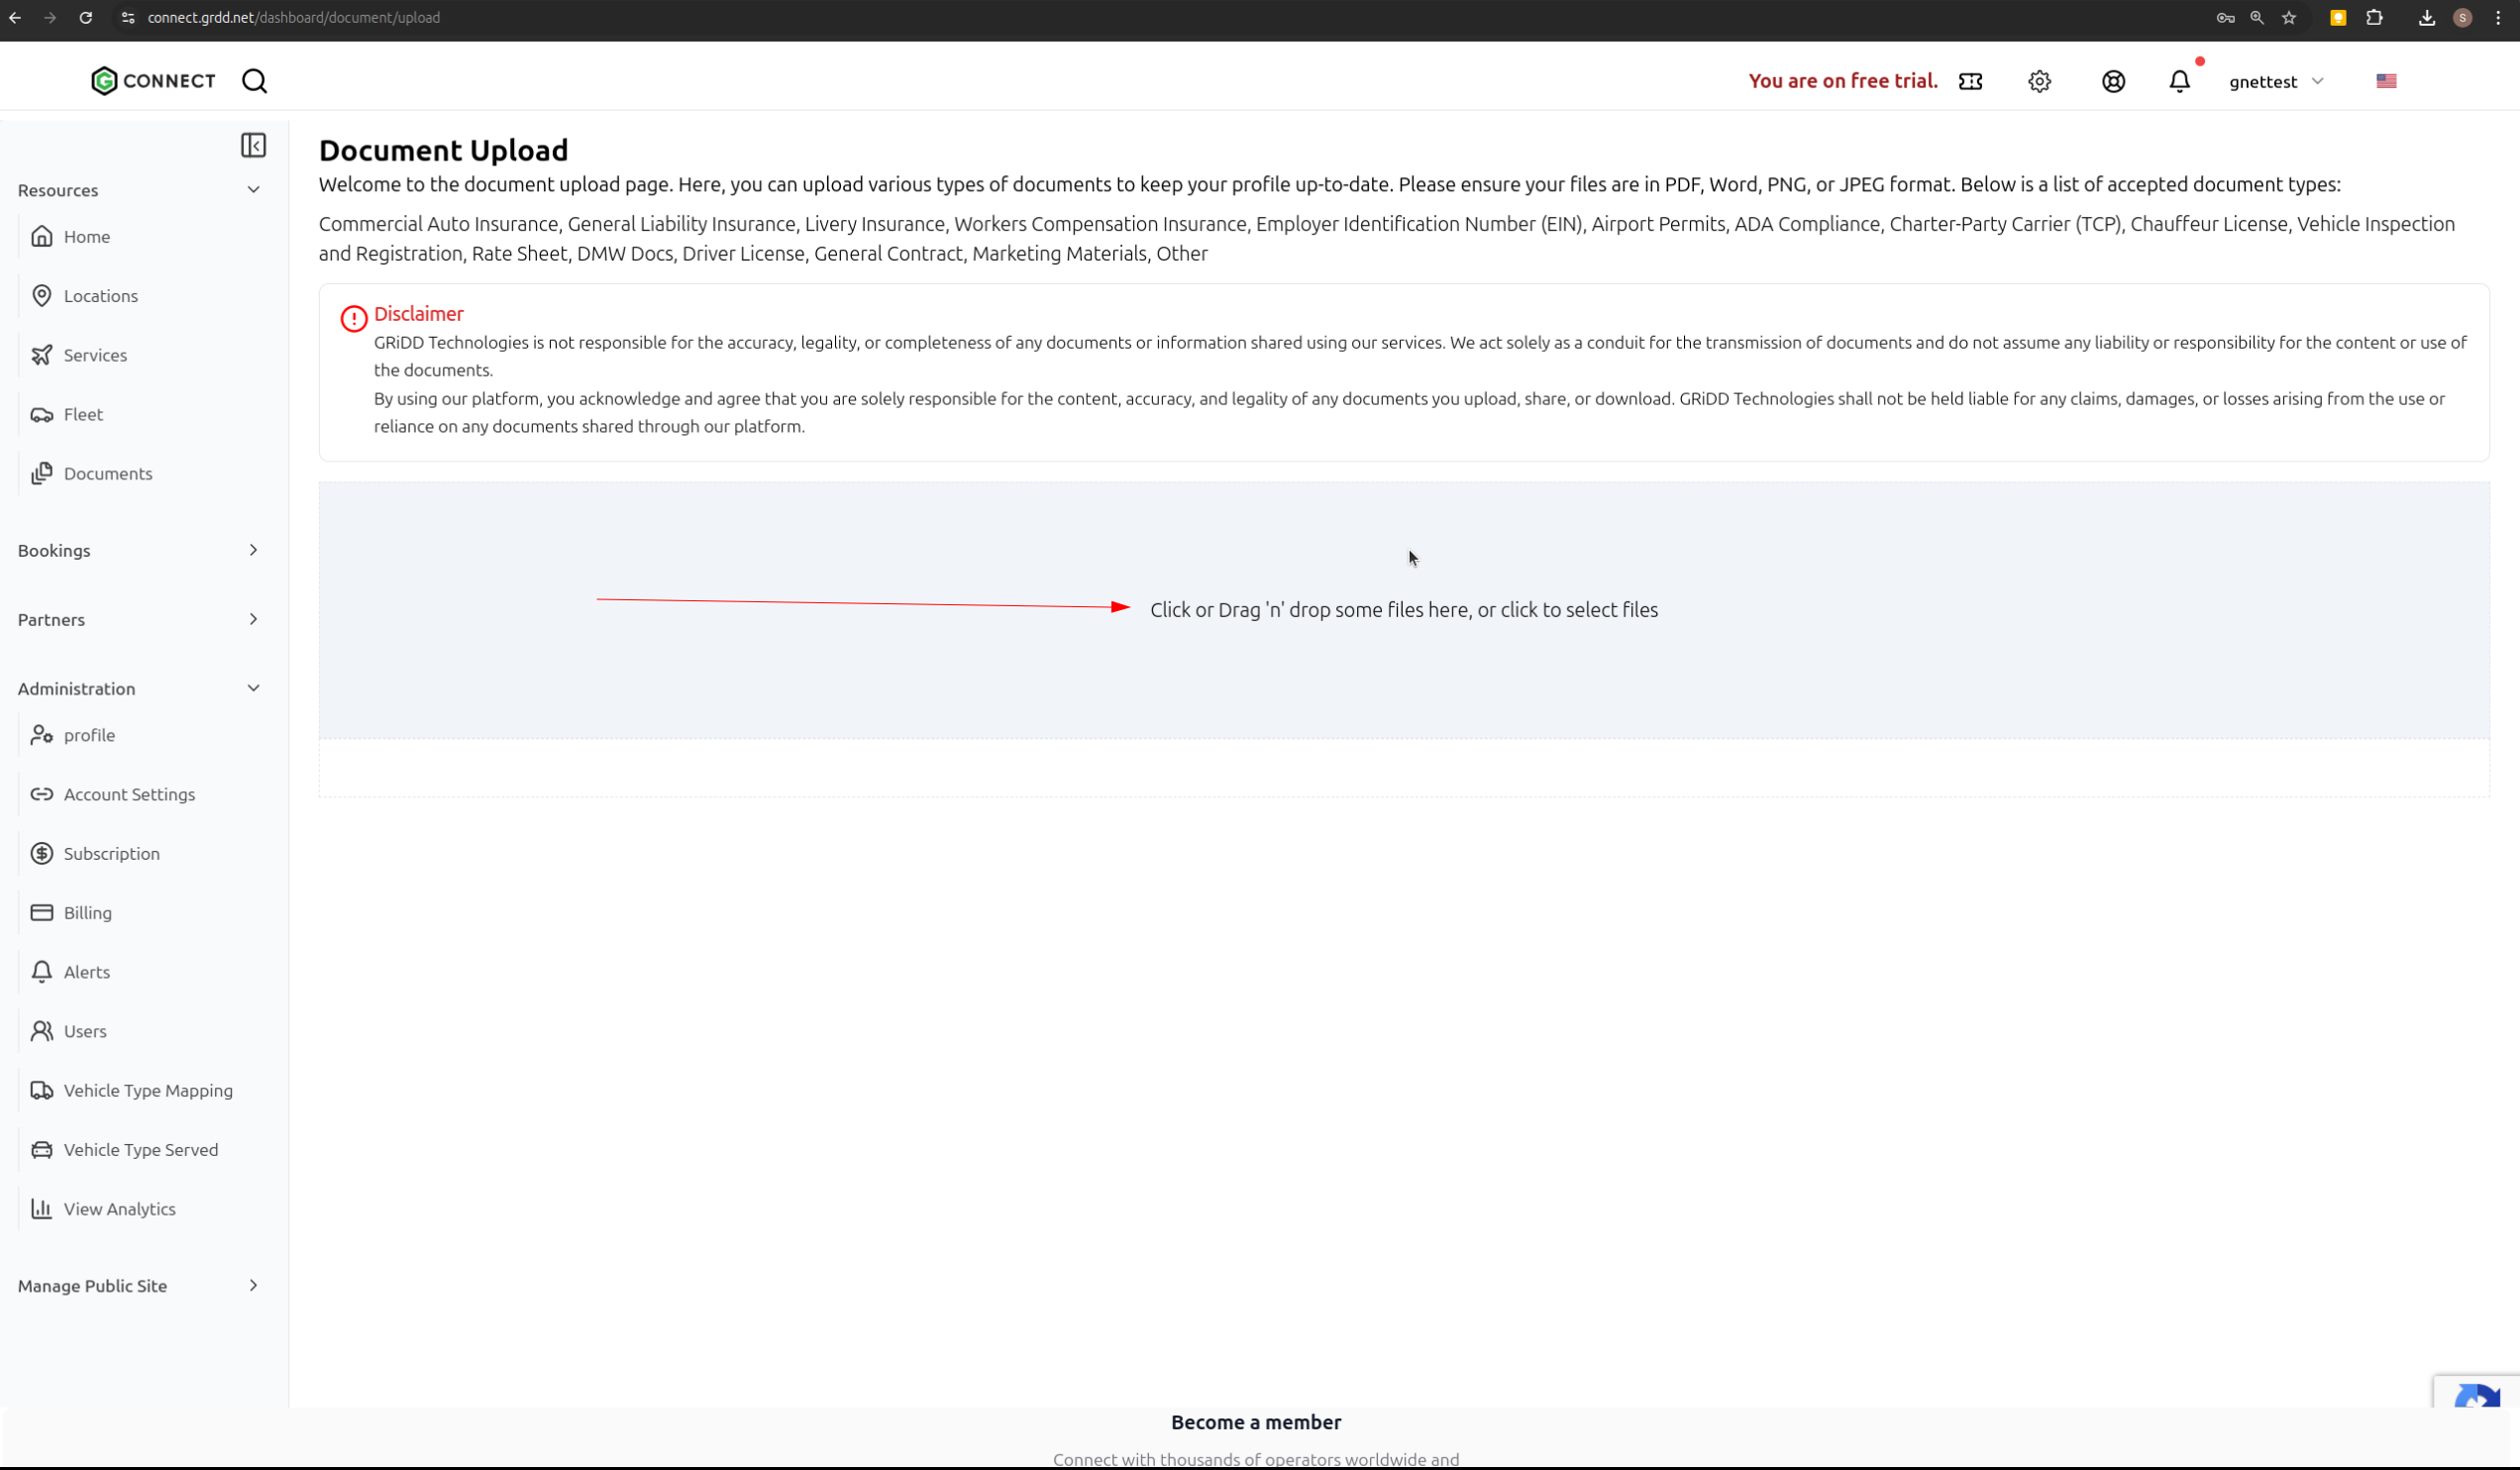
For automated document processing and verification:- Navigate to your documents list
- Click “Upload with AI Verification”

- Upload your document file
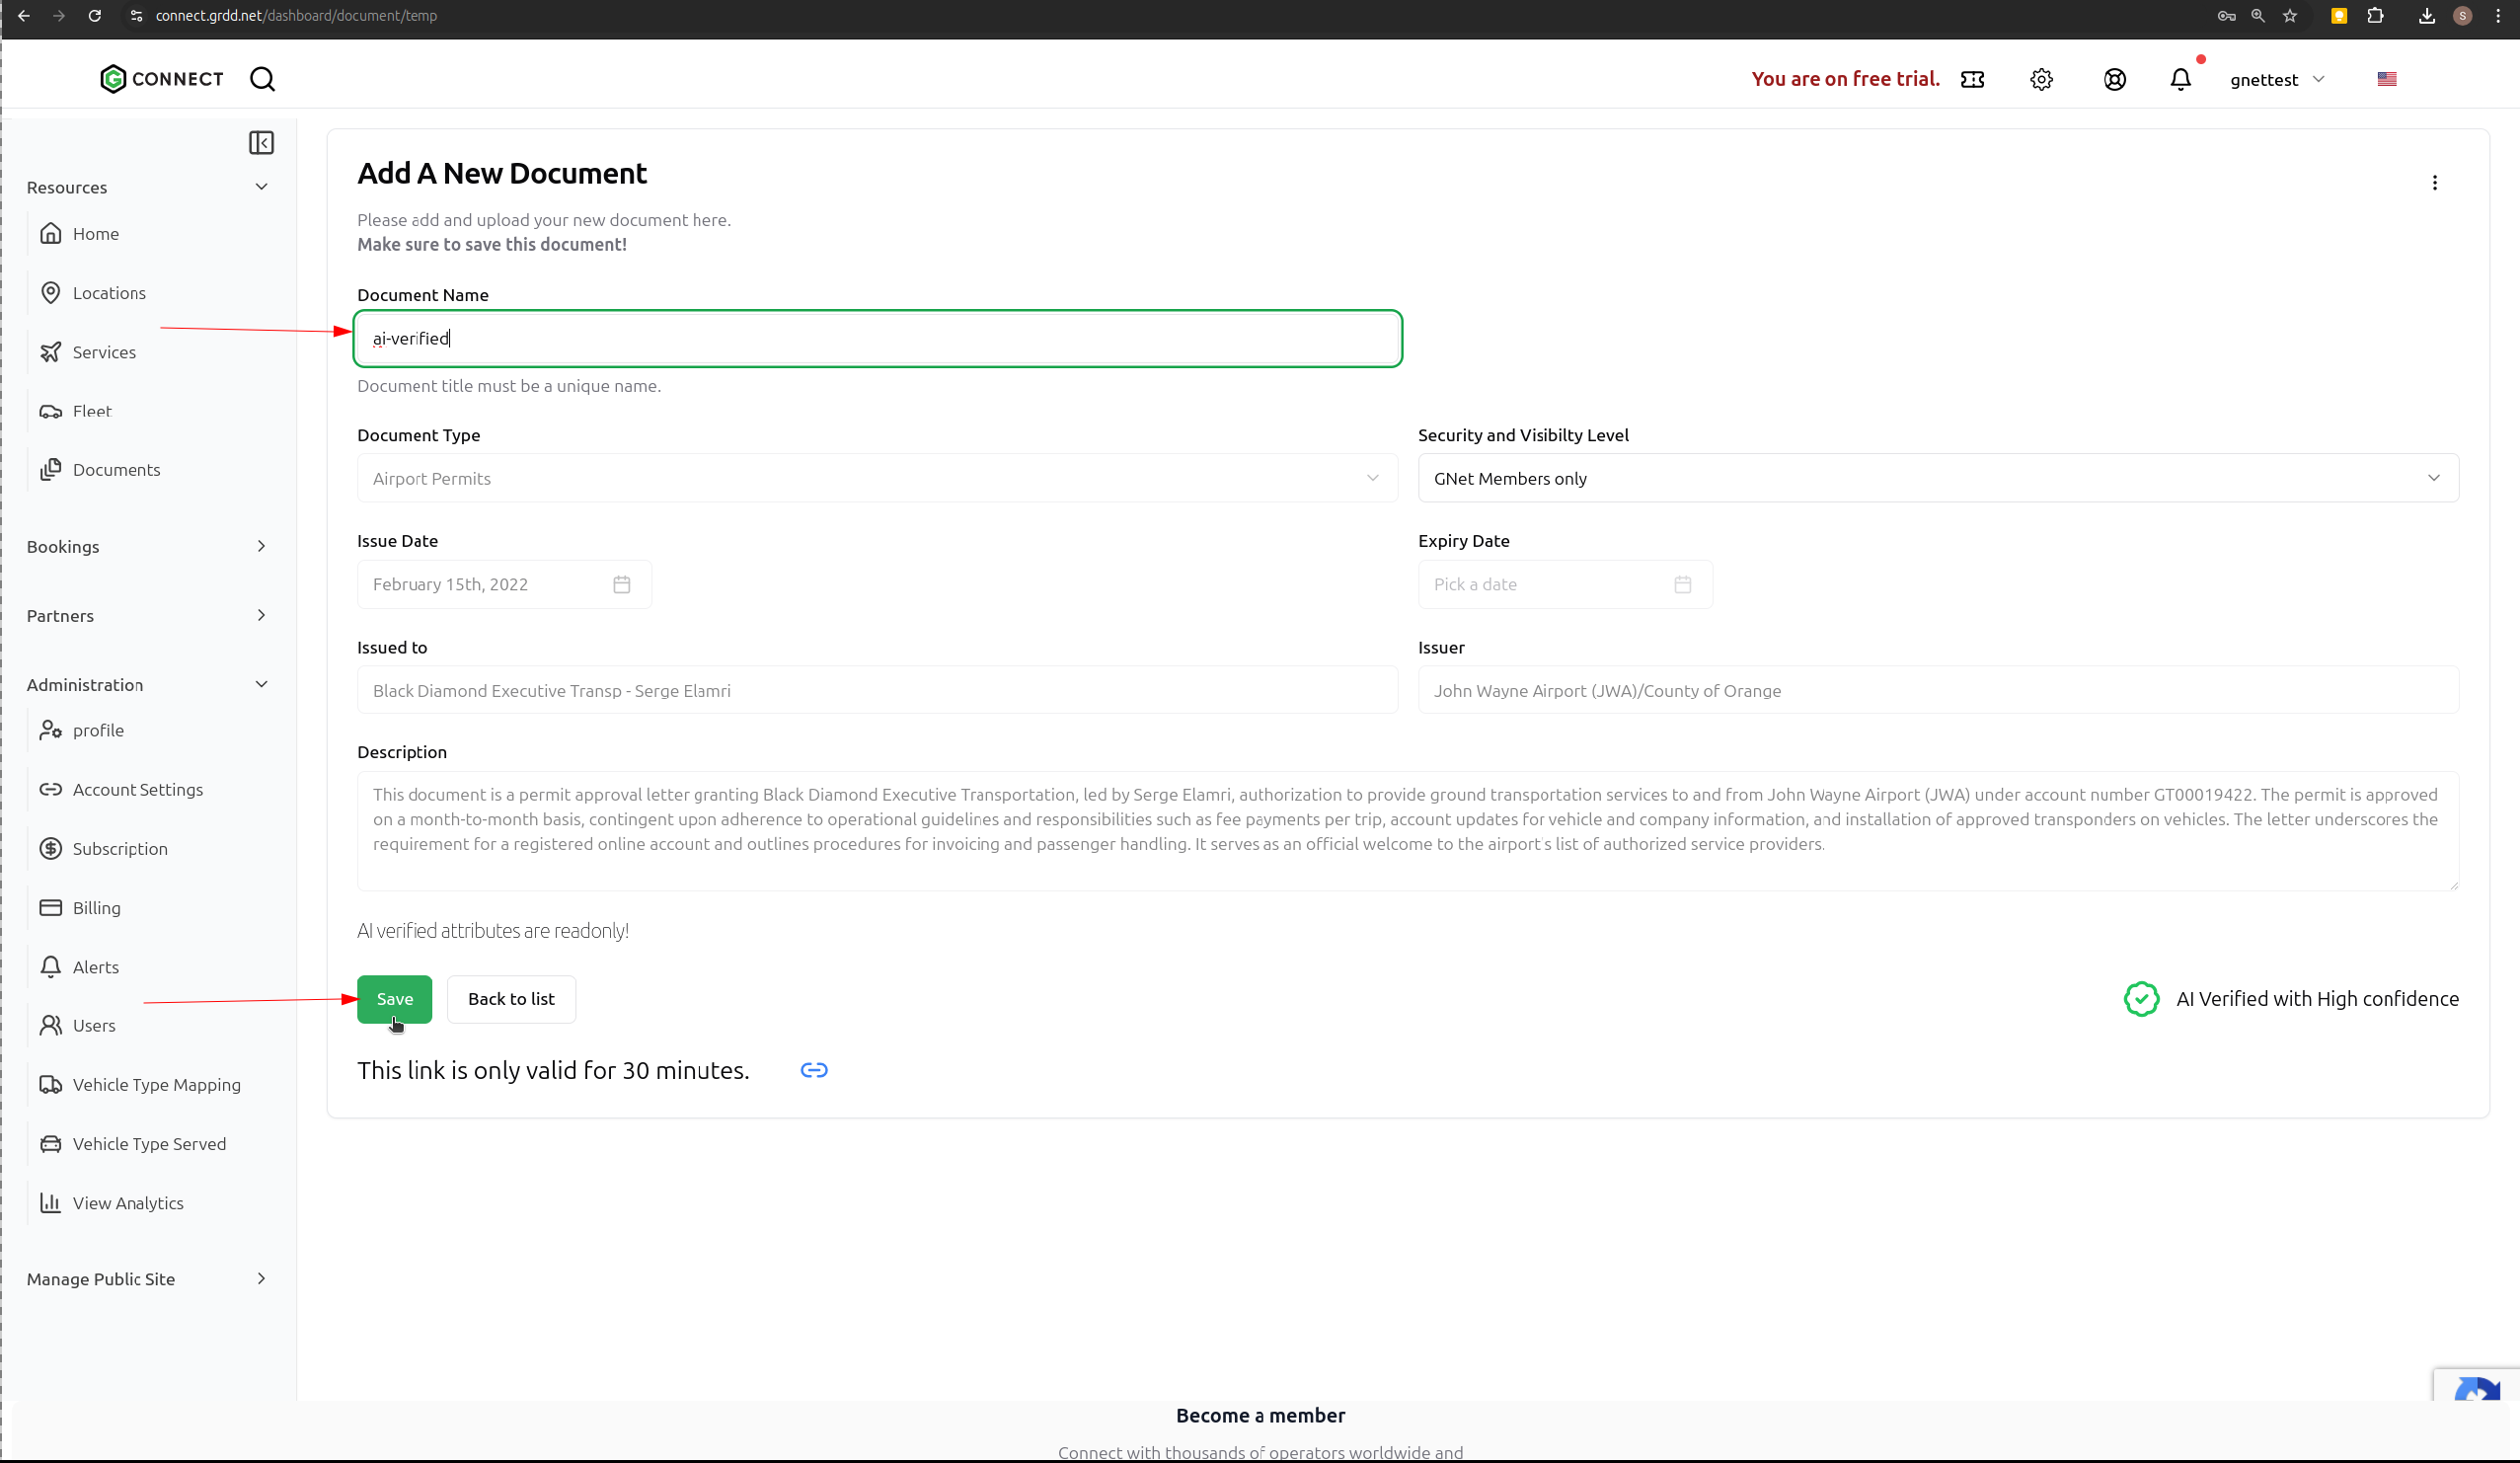
- The AI will automatically extract and verify document details
- Review the extracted information
- Set your preferred:
- Document Name
- Visibility Level
- Click “Save” to complete the process
Document Visibility Levels
When adding documents, you can set different visibility levels to control access:- Private - Only visible to your organization
- Public - Visible to all GNet Connect users
- Selected Partners - Visible only to chosen business partners