Welcome to GNet Connect! This guide will walk you through the steps to set up your profile when you first sign up. Please follow the instructions and refer to the provided screenshots for assistance.
Step 1: Access Score Card Details
Navigate to your dashboard and find the score card section. Clicking on the score card will reveal more detailed information about your account.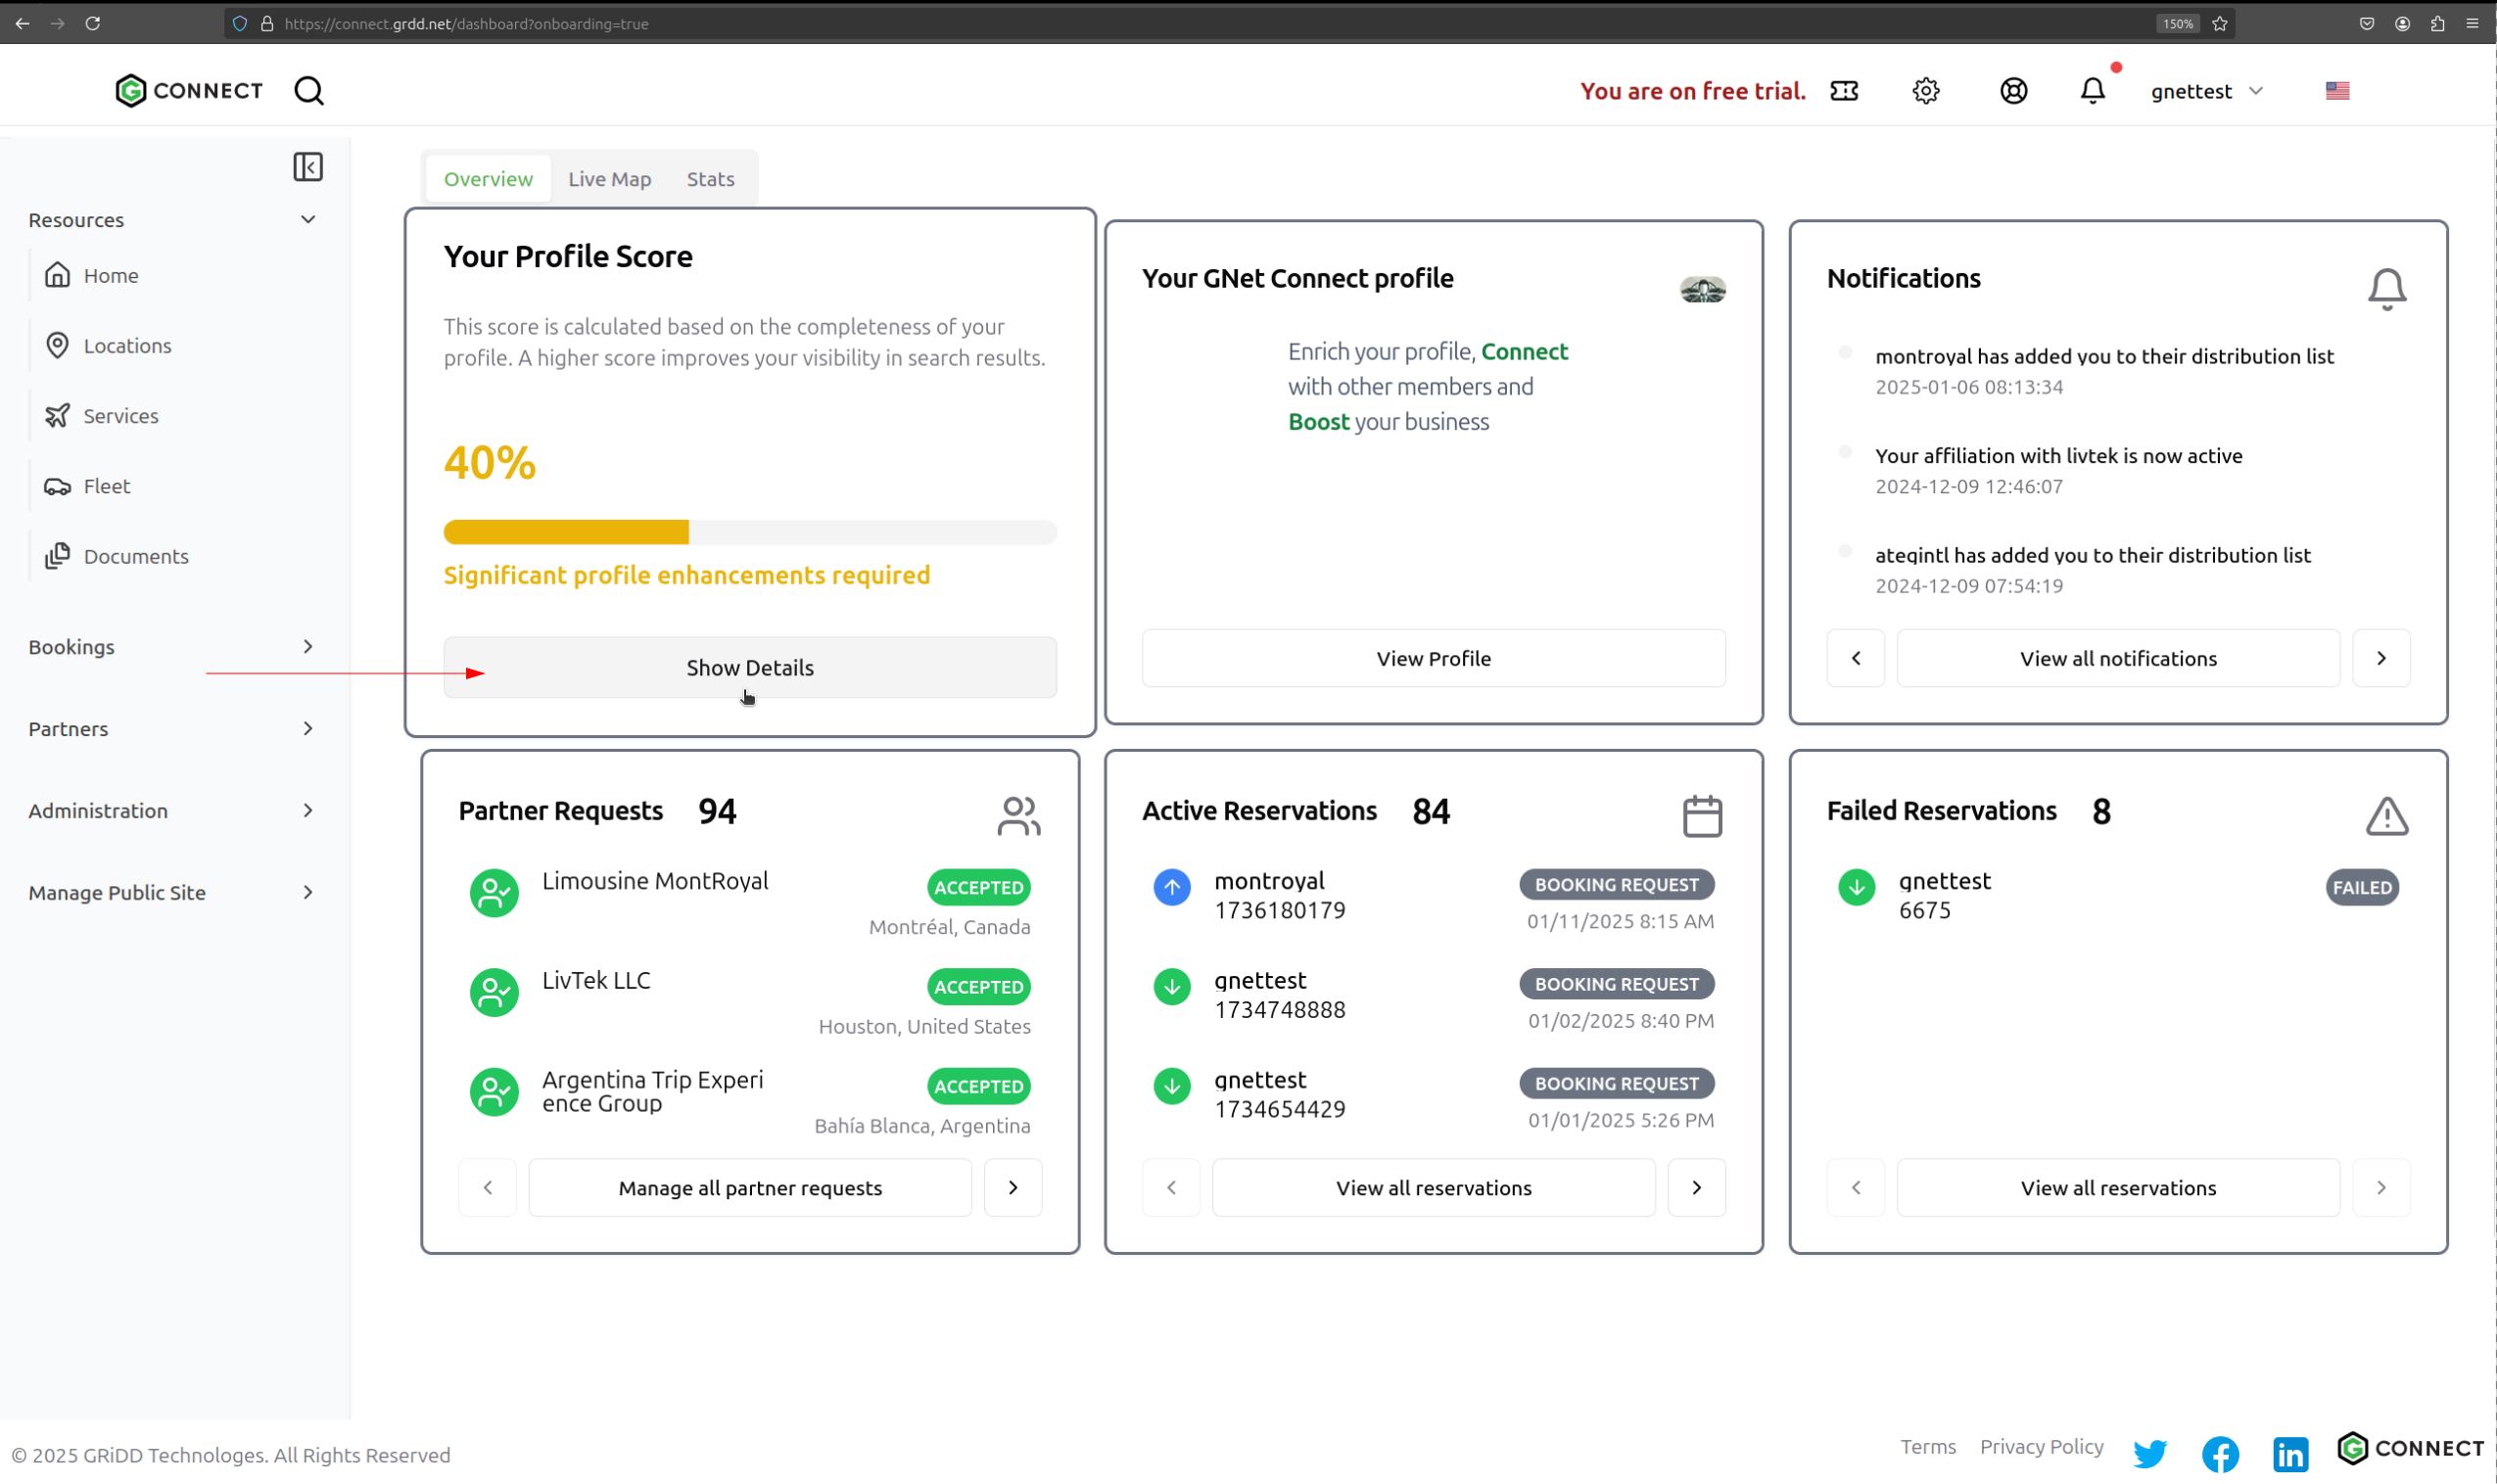
Step 2: Navigate to Profile Section
Click on the “Profile” tab to access your profile settings.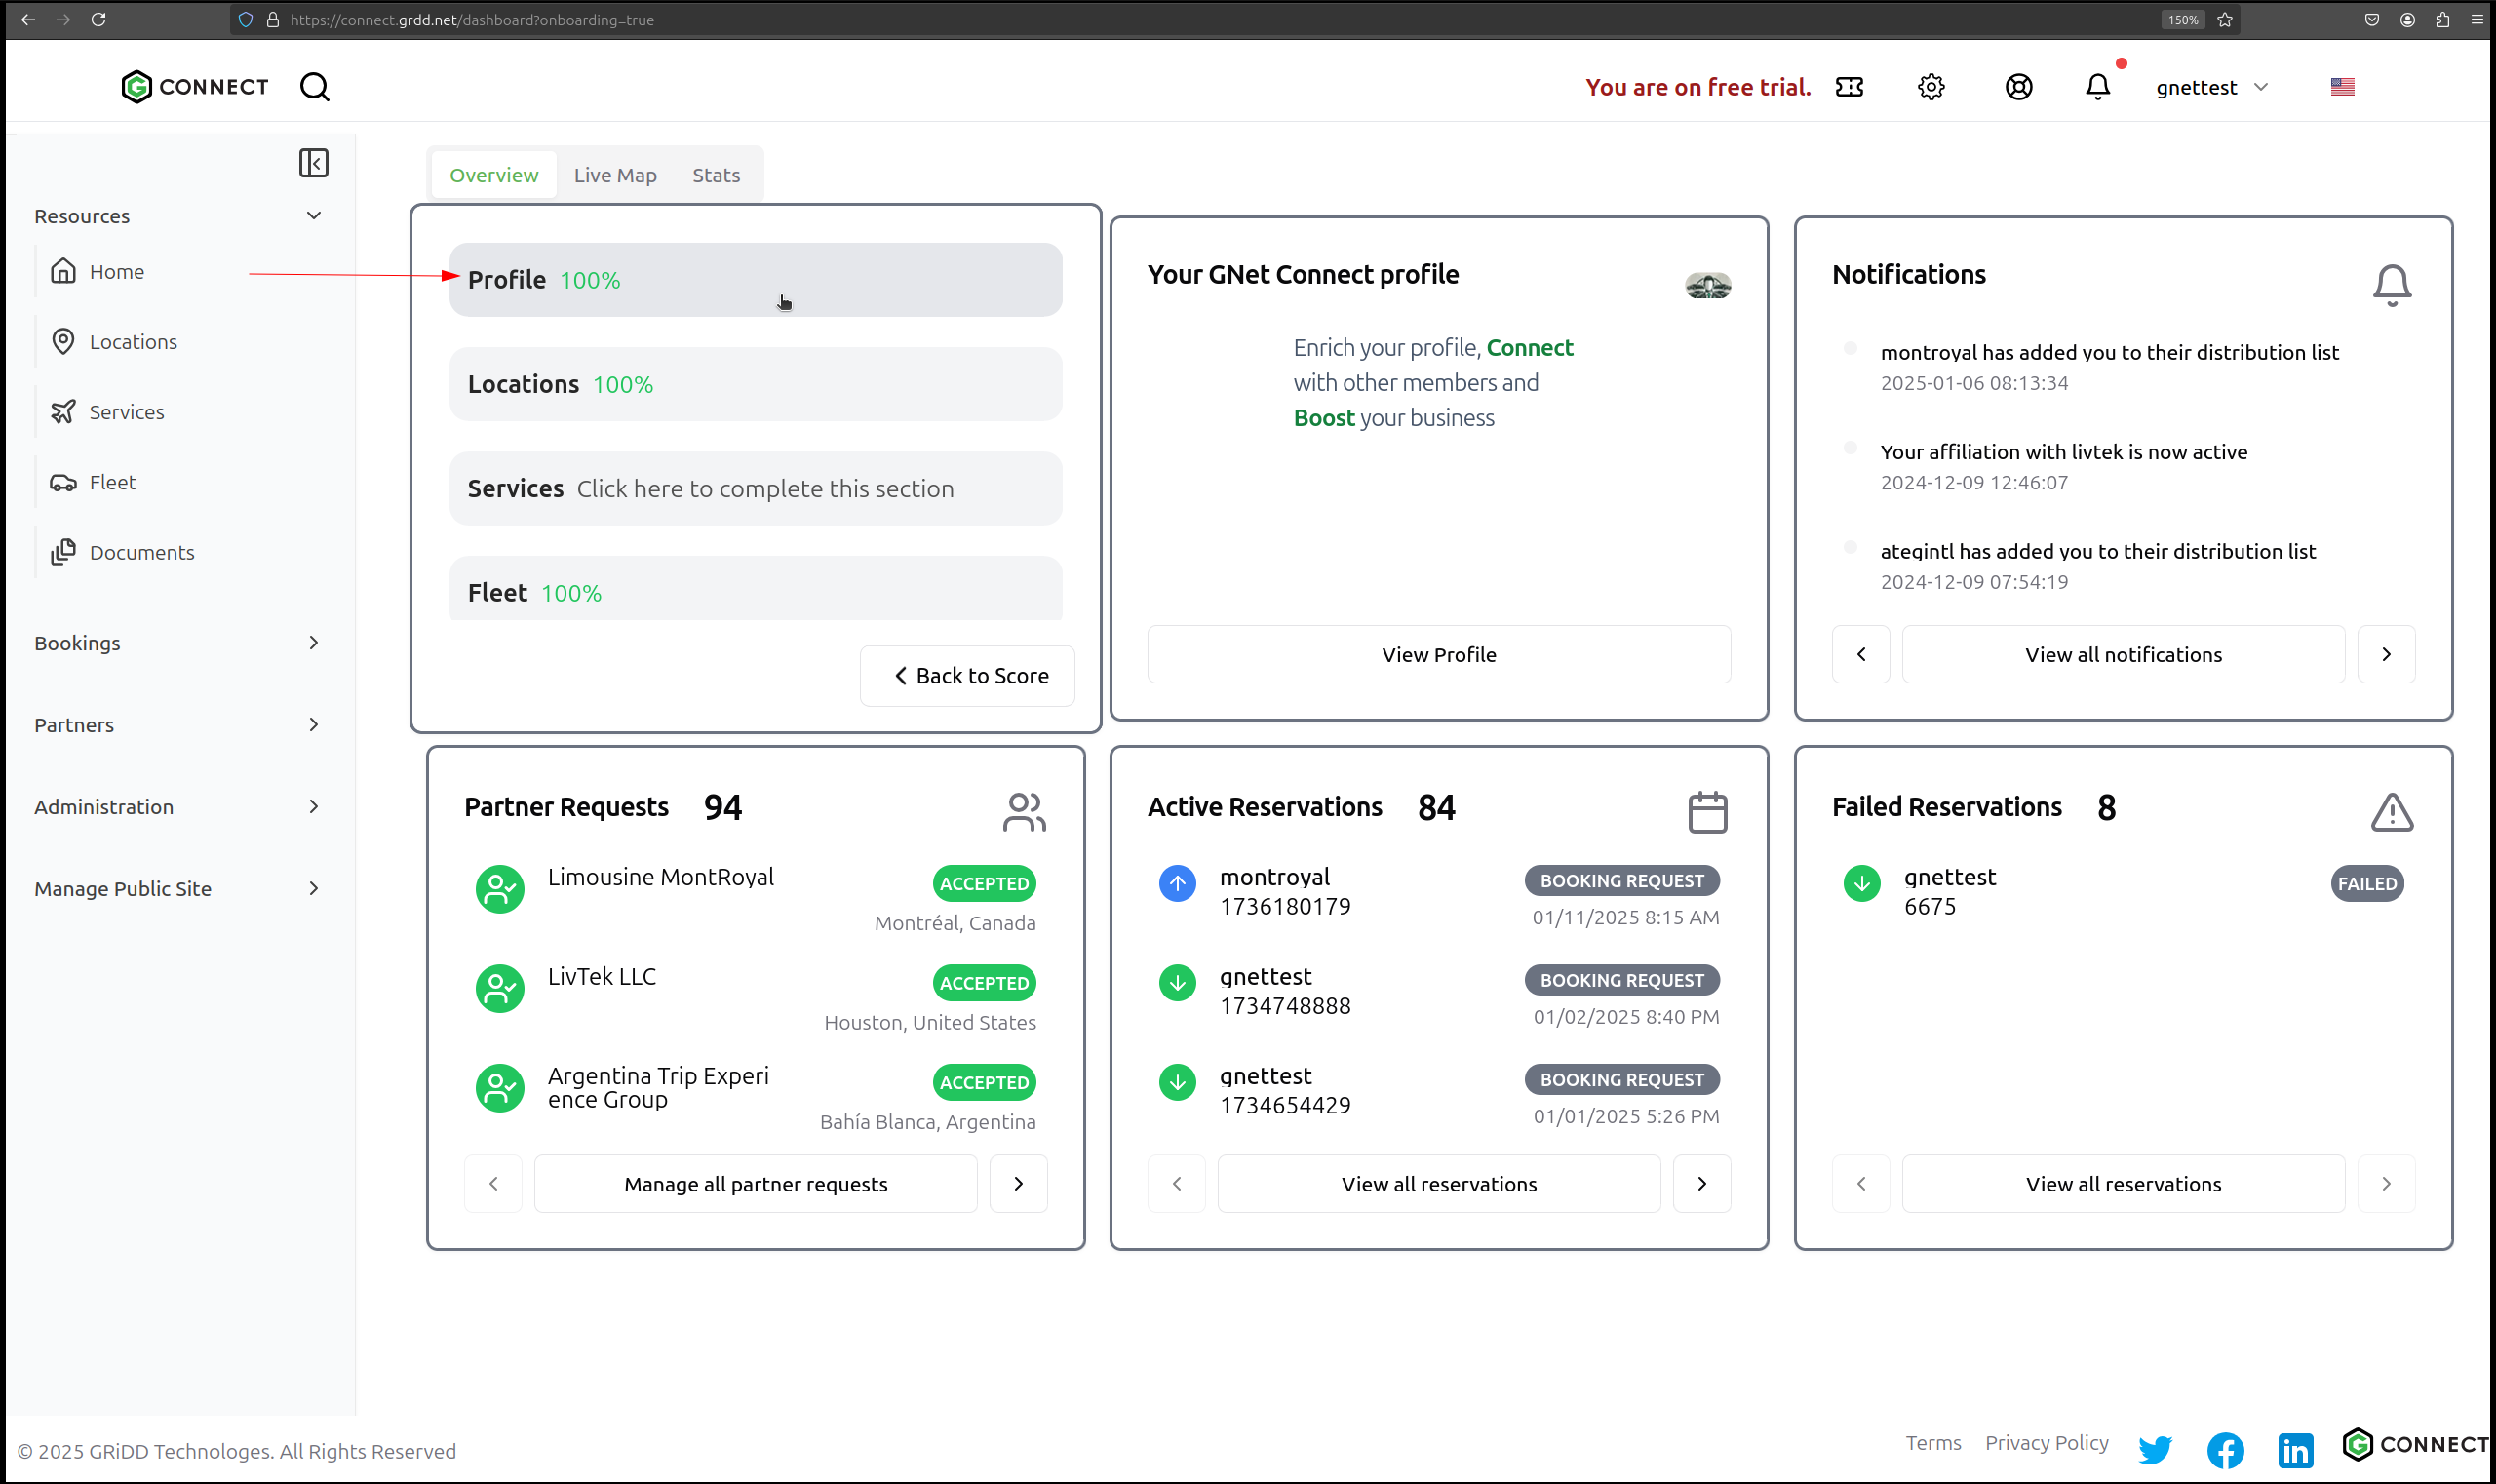
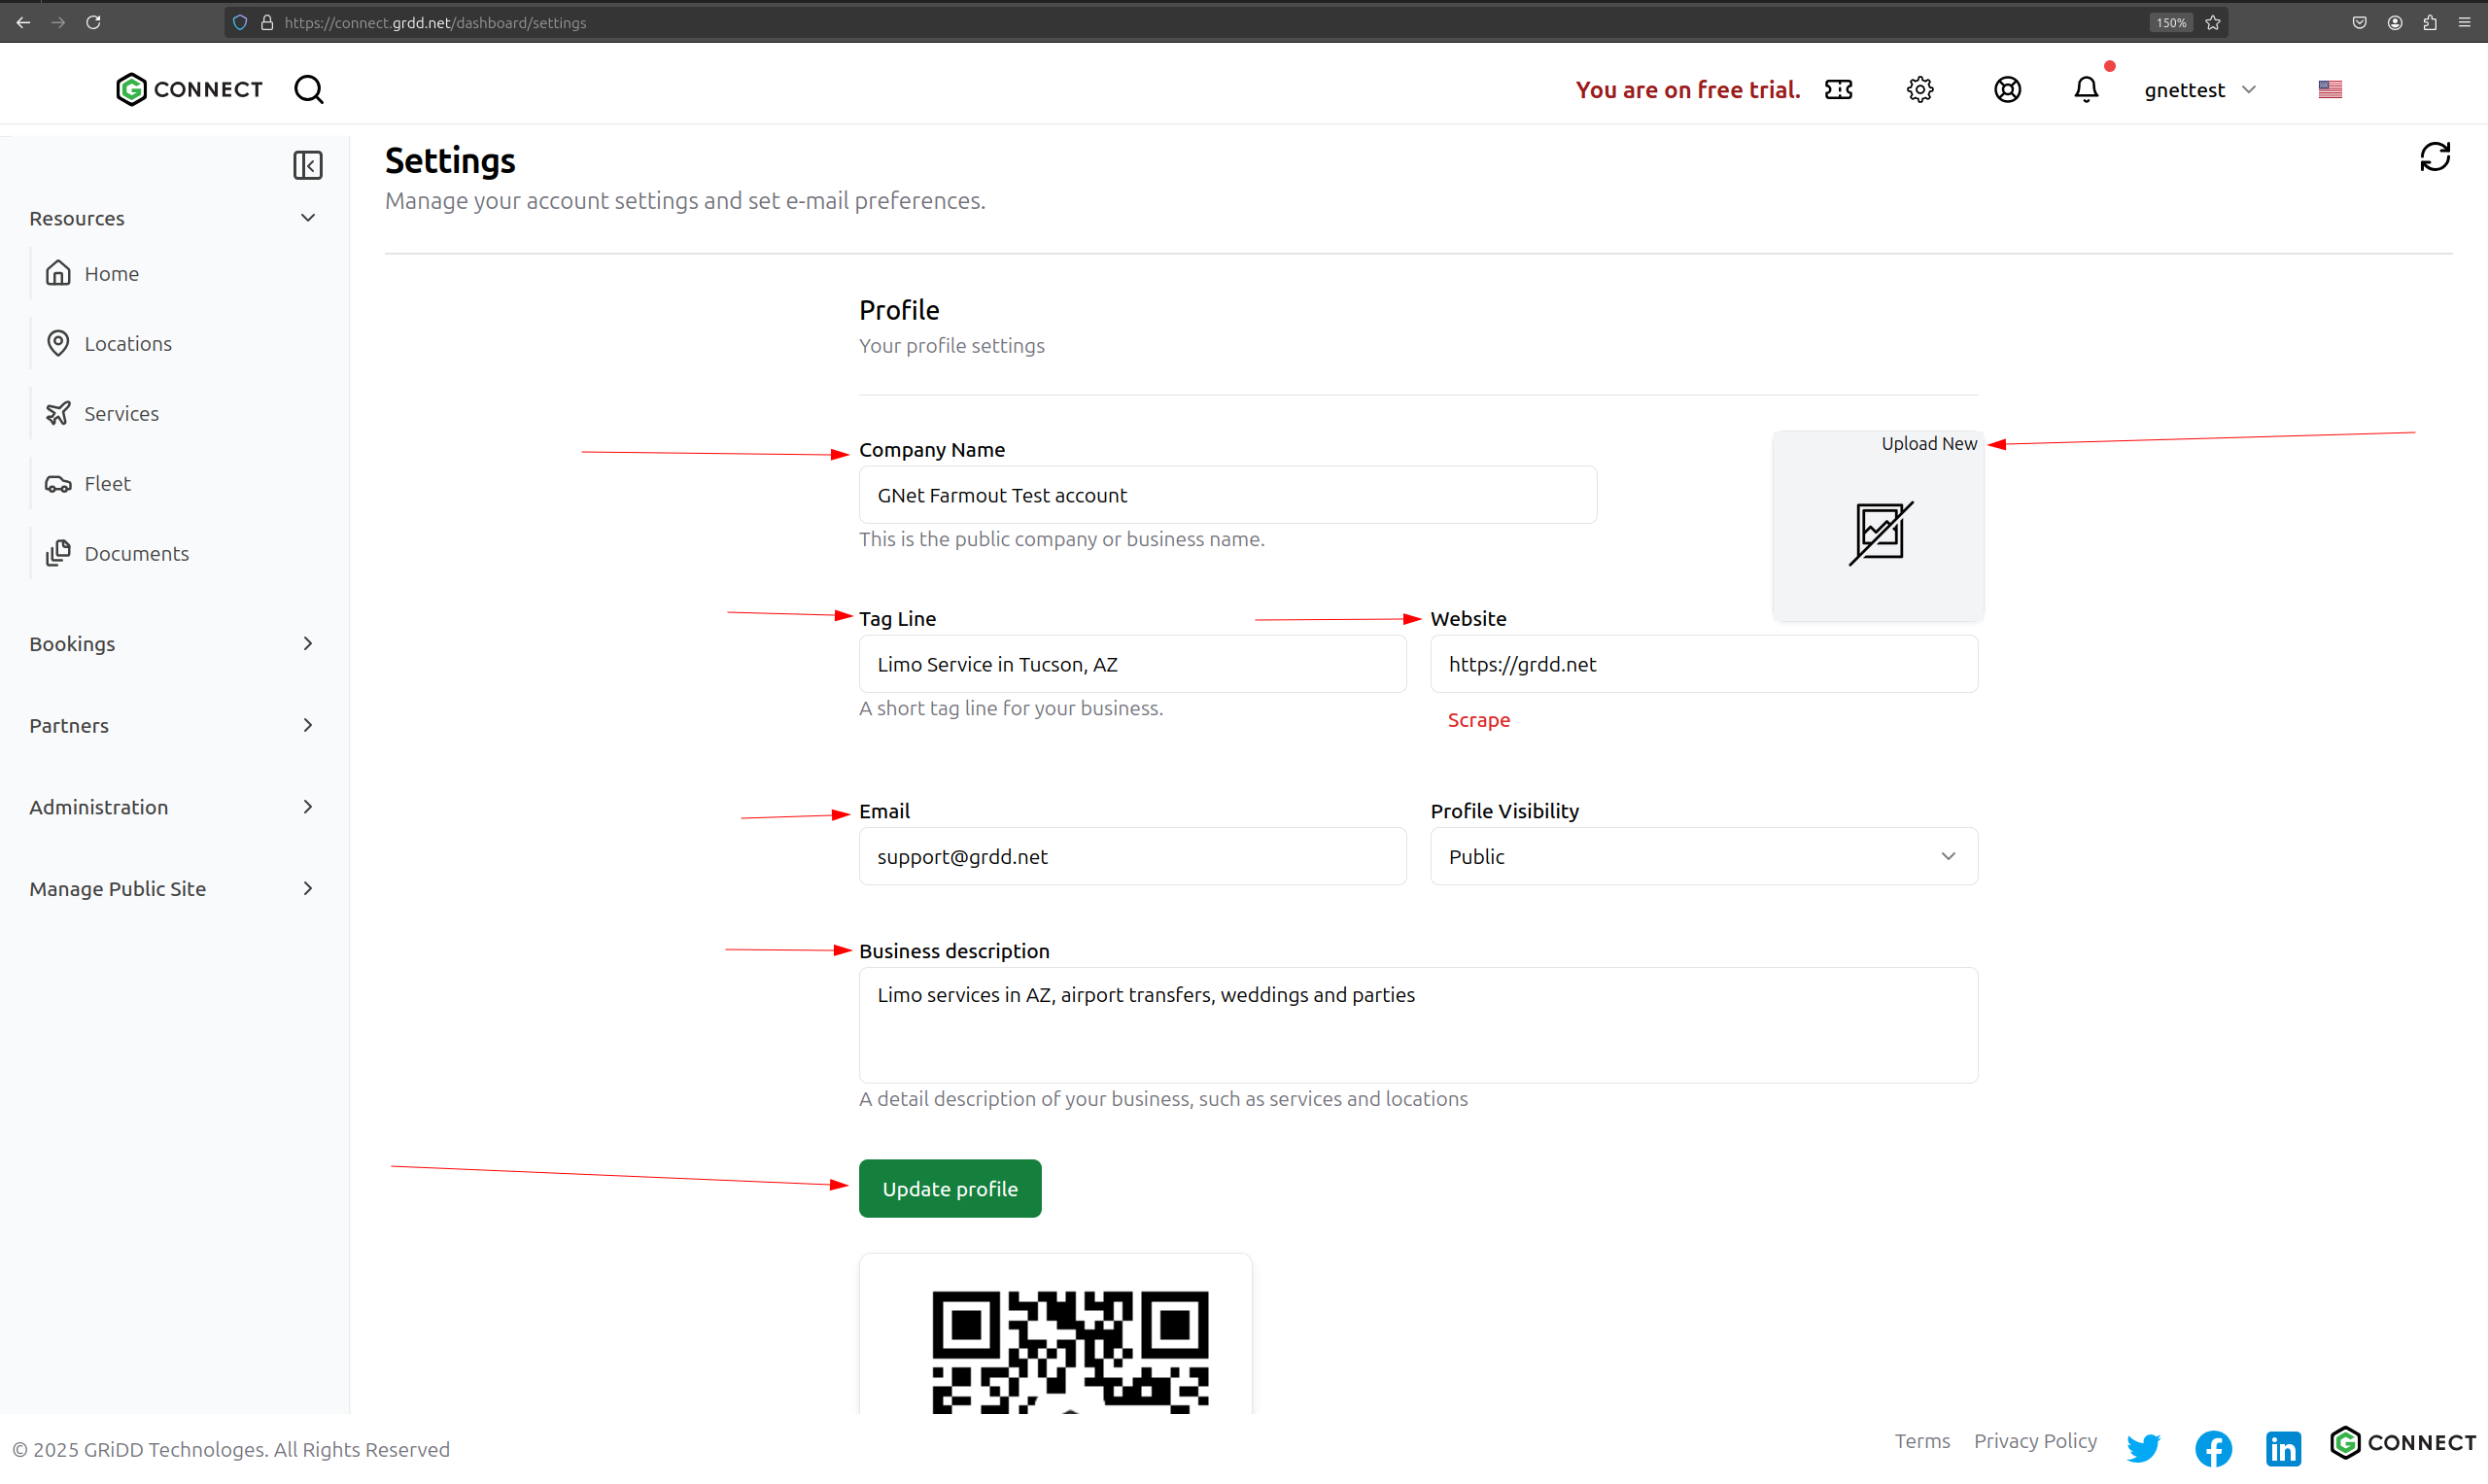
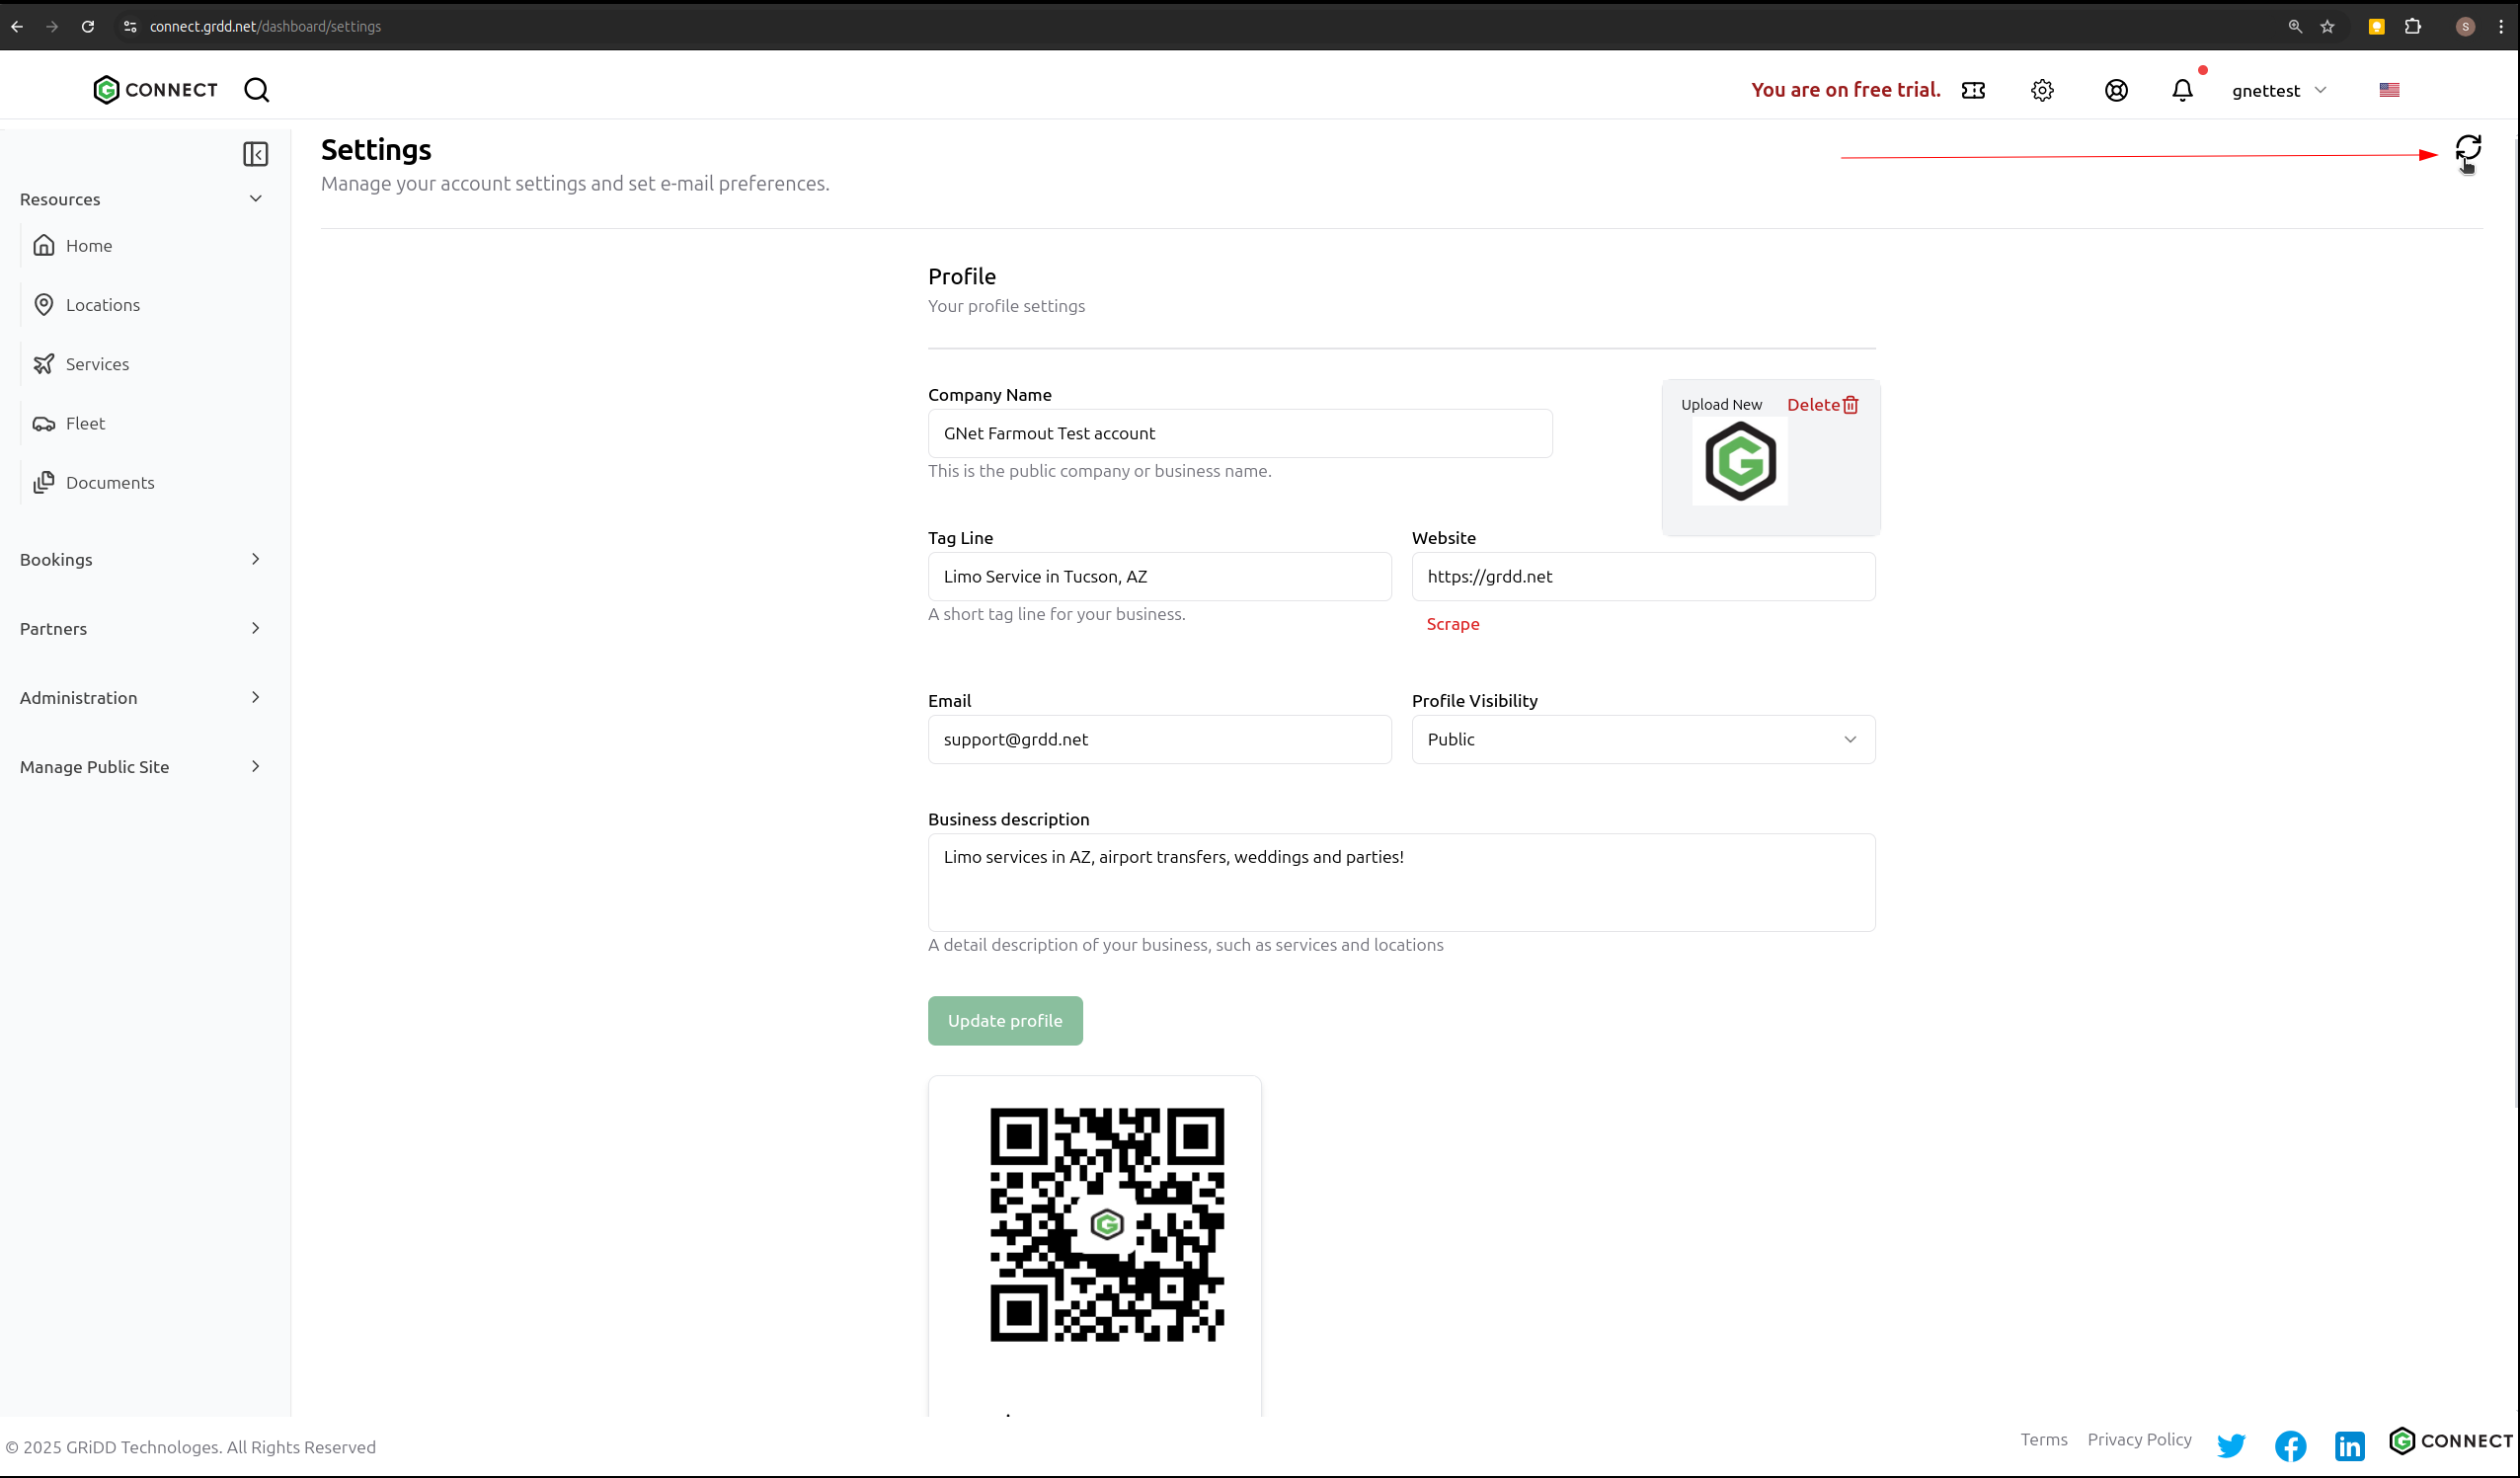
Step 3: Review Profile Fields
Review all the fields in your profile. Make sure to check and update:- Company Name
- Tag Line
- Website
- Business Description
Step 4: Upload Company Logo
Add your company logo or personal brand logo by clicking the “Upload” button.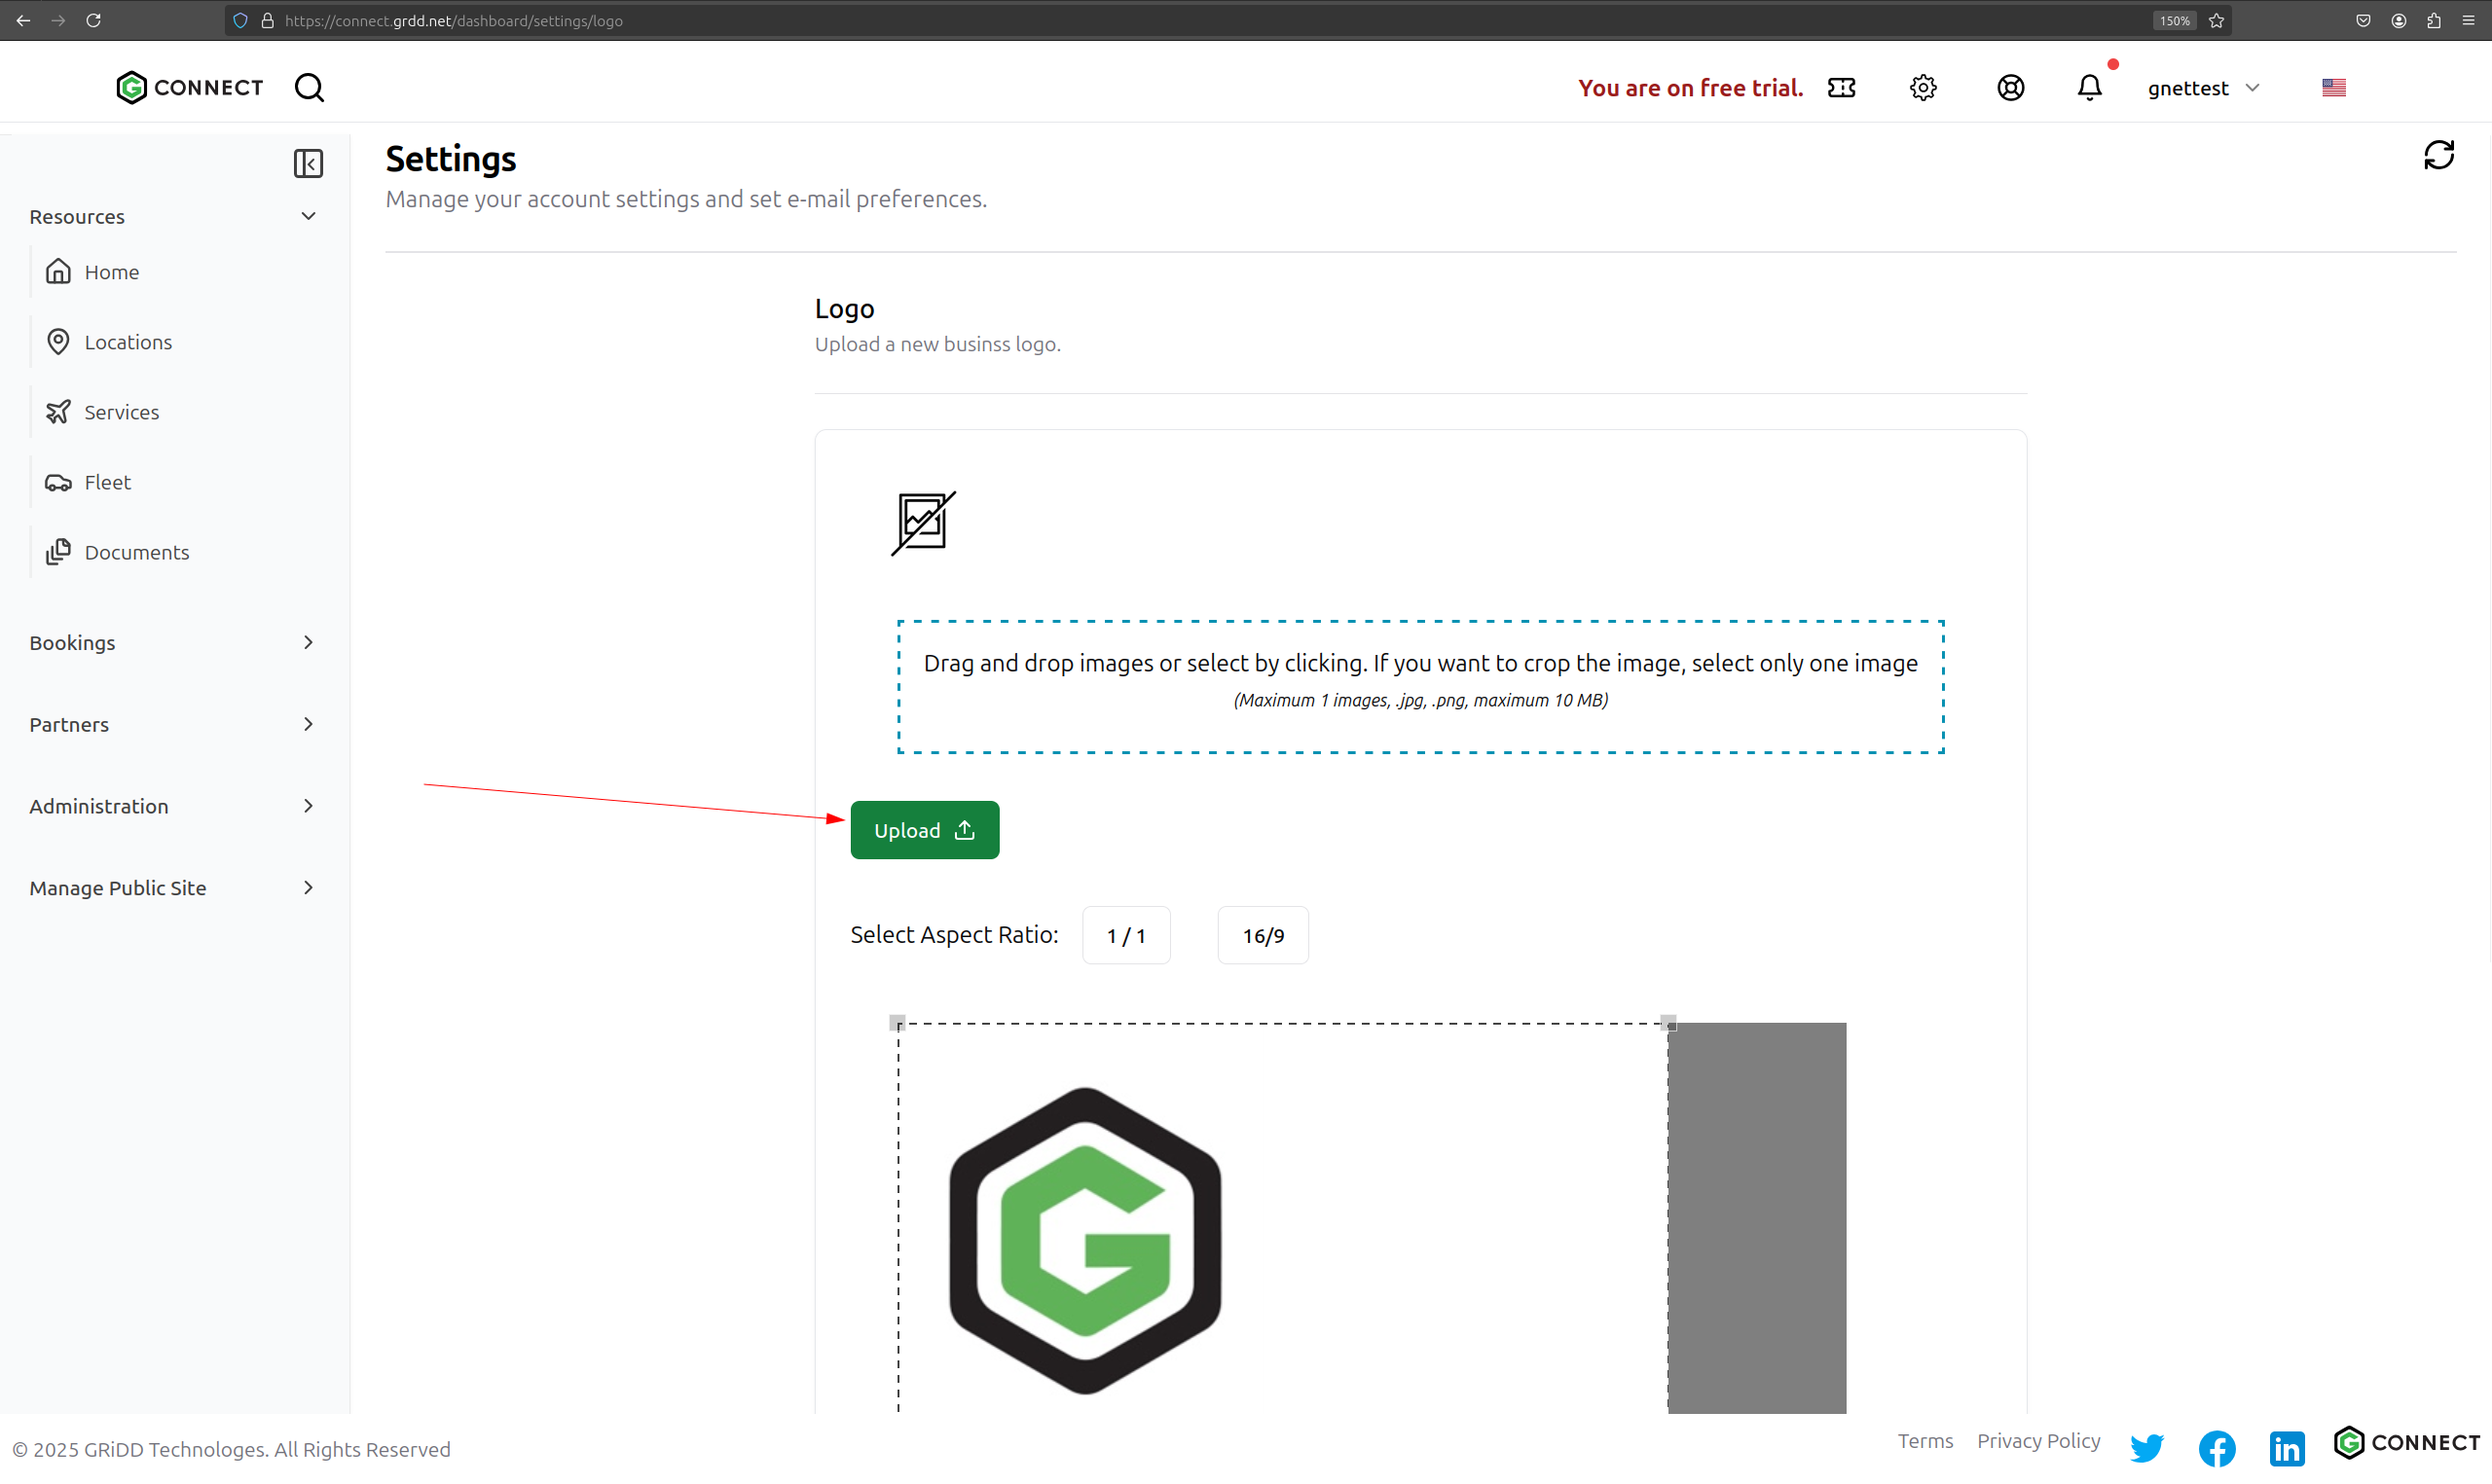
Step 5: Crop Logo
Adjust your logo to fit the required dimensions.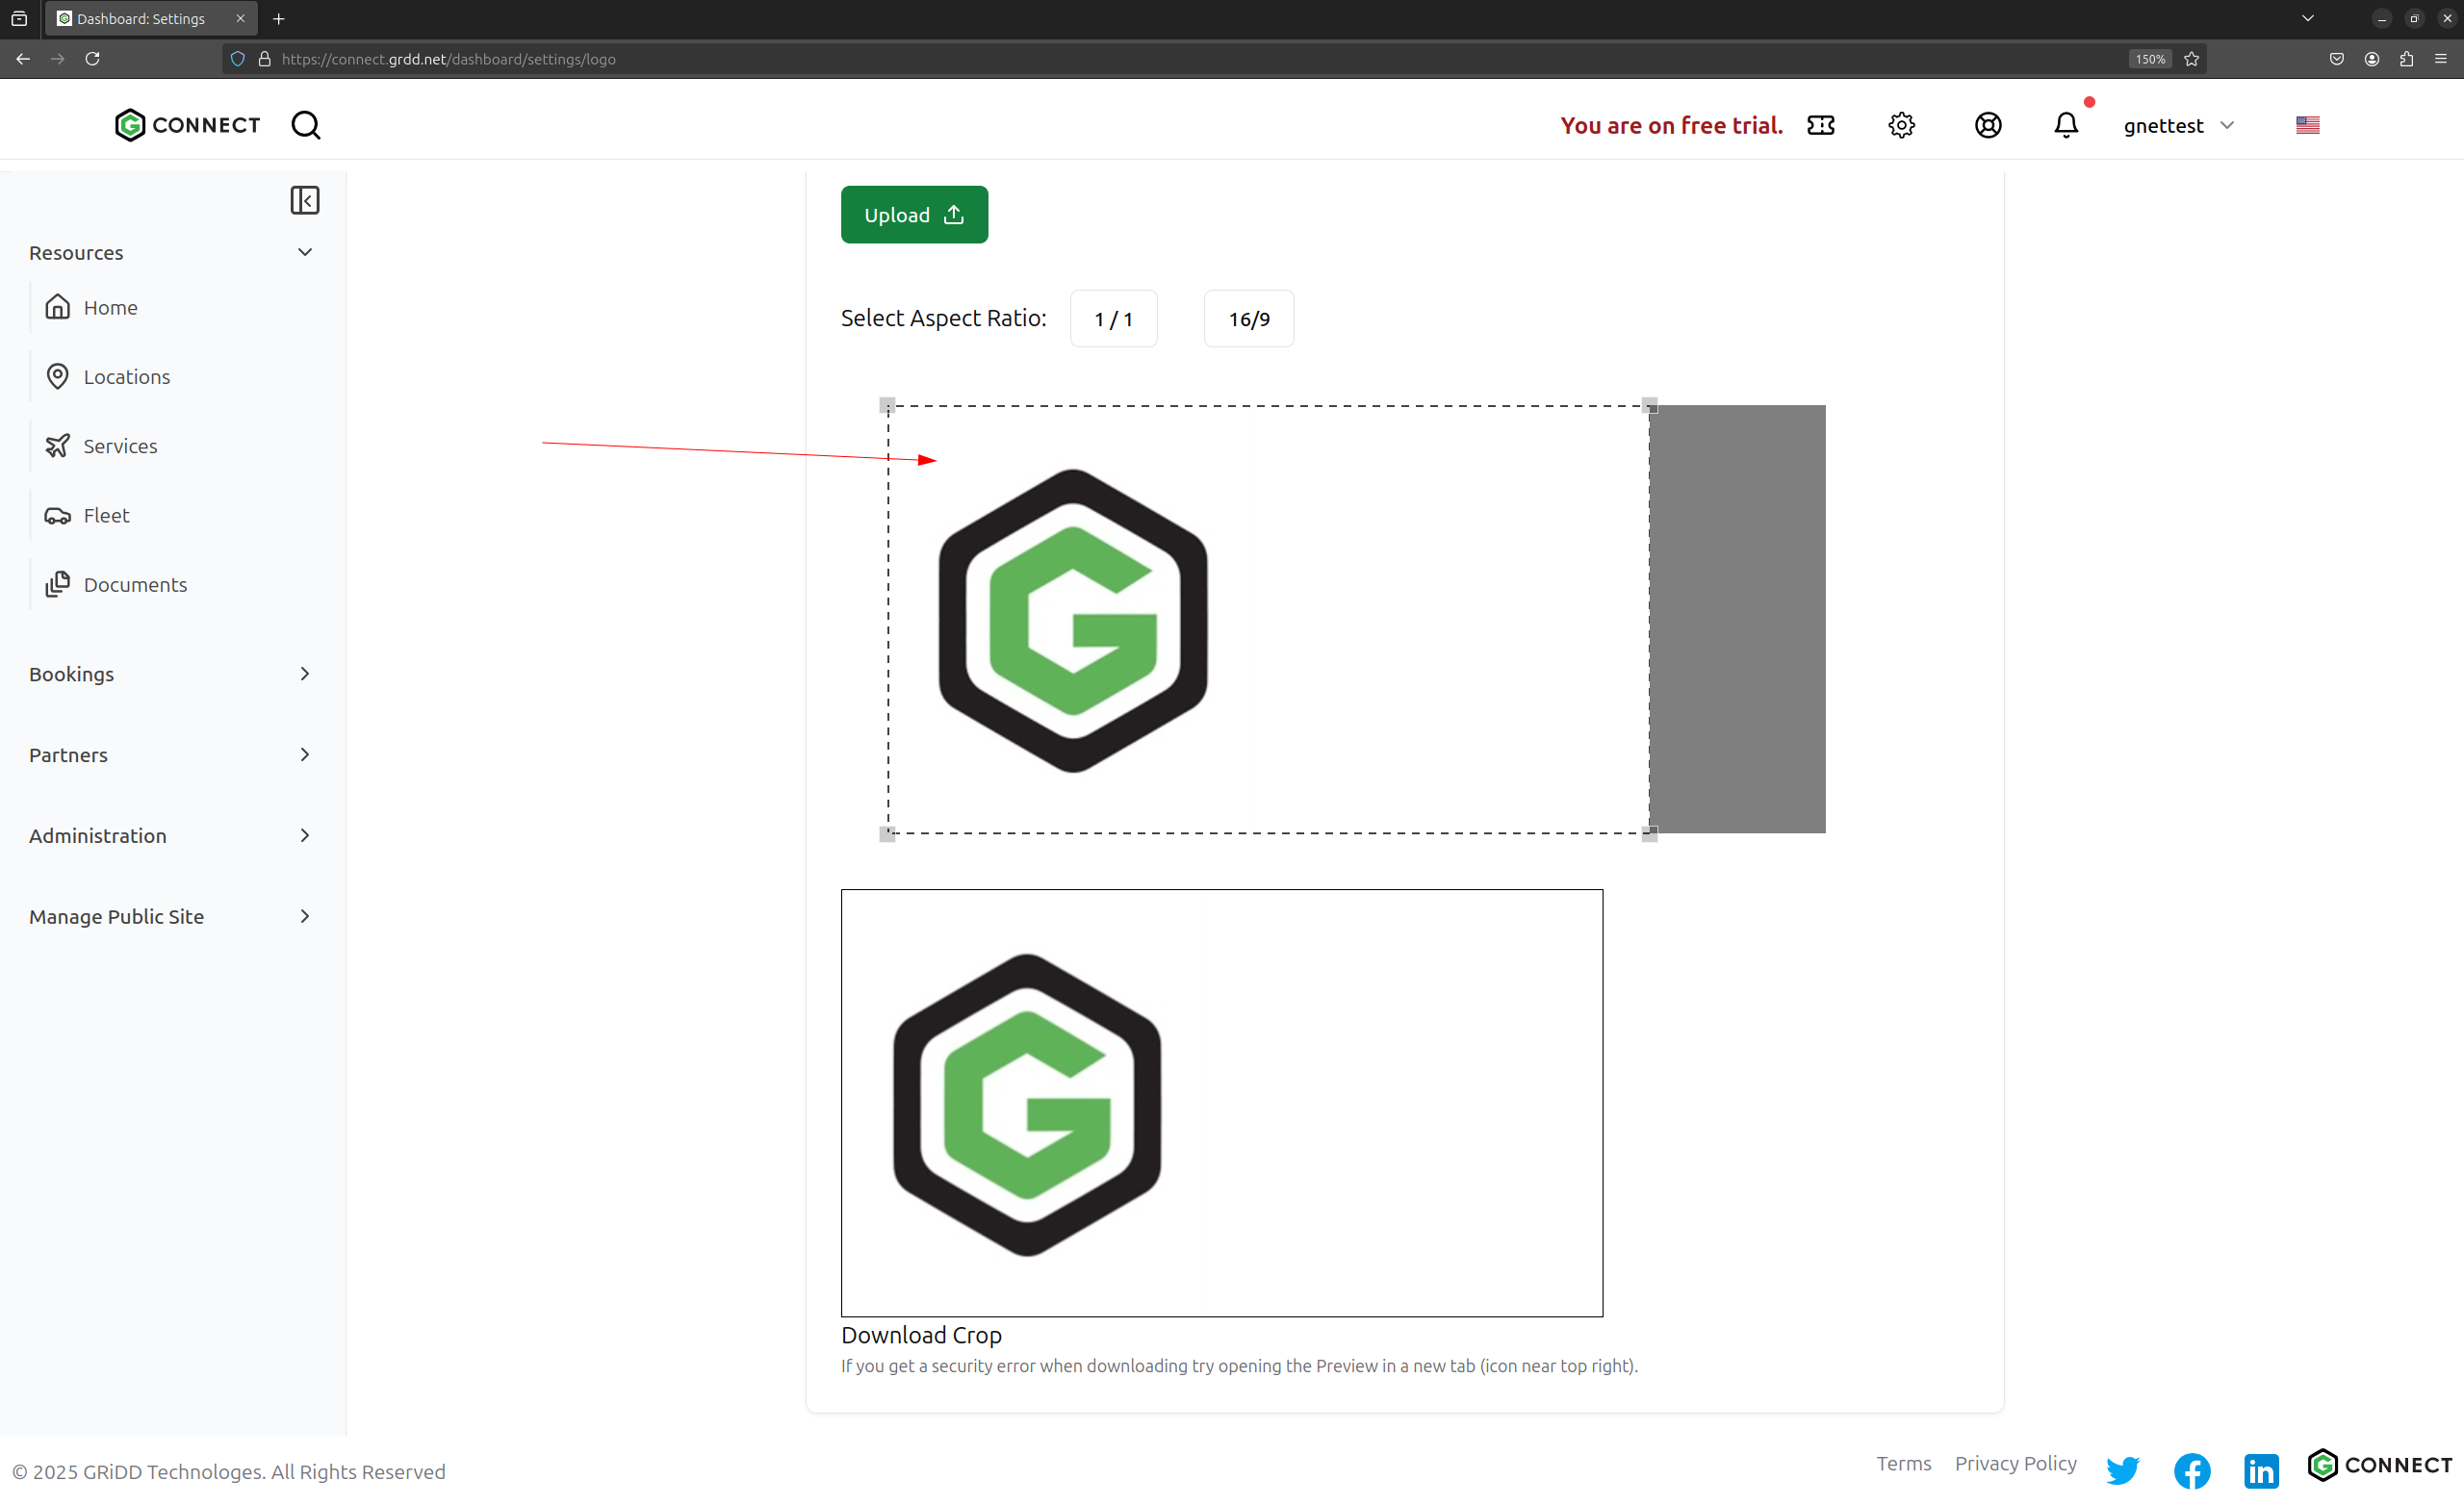
Step 6: Save Changes
Click the “Upload” button to finalize your changes.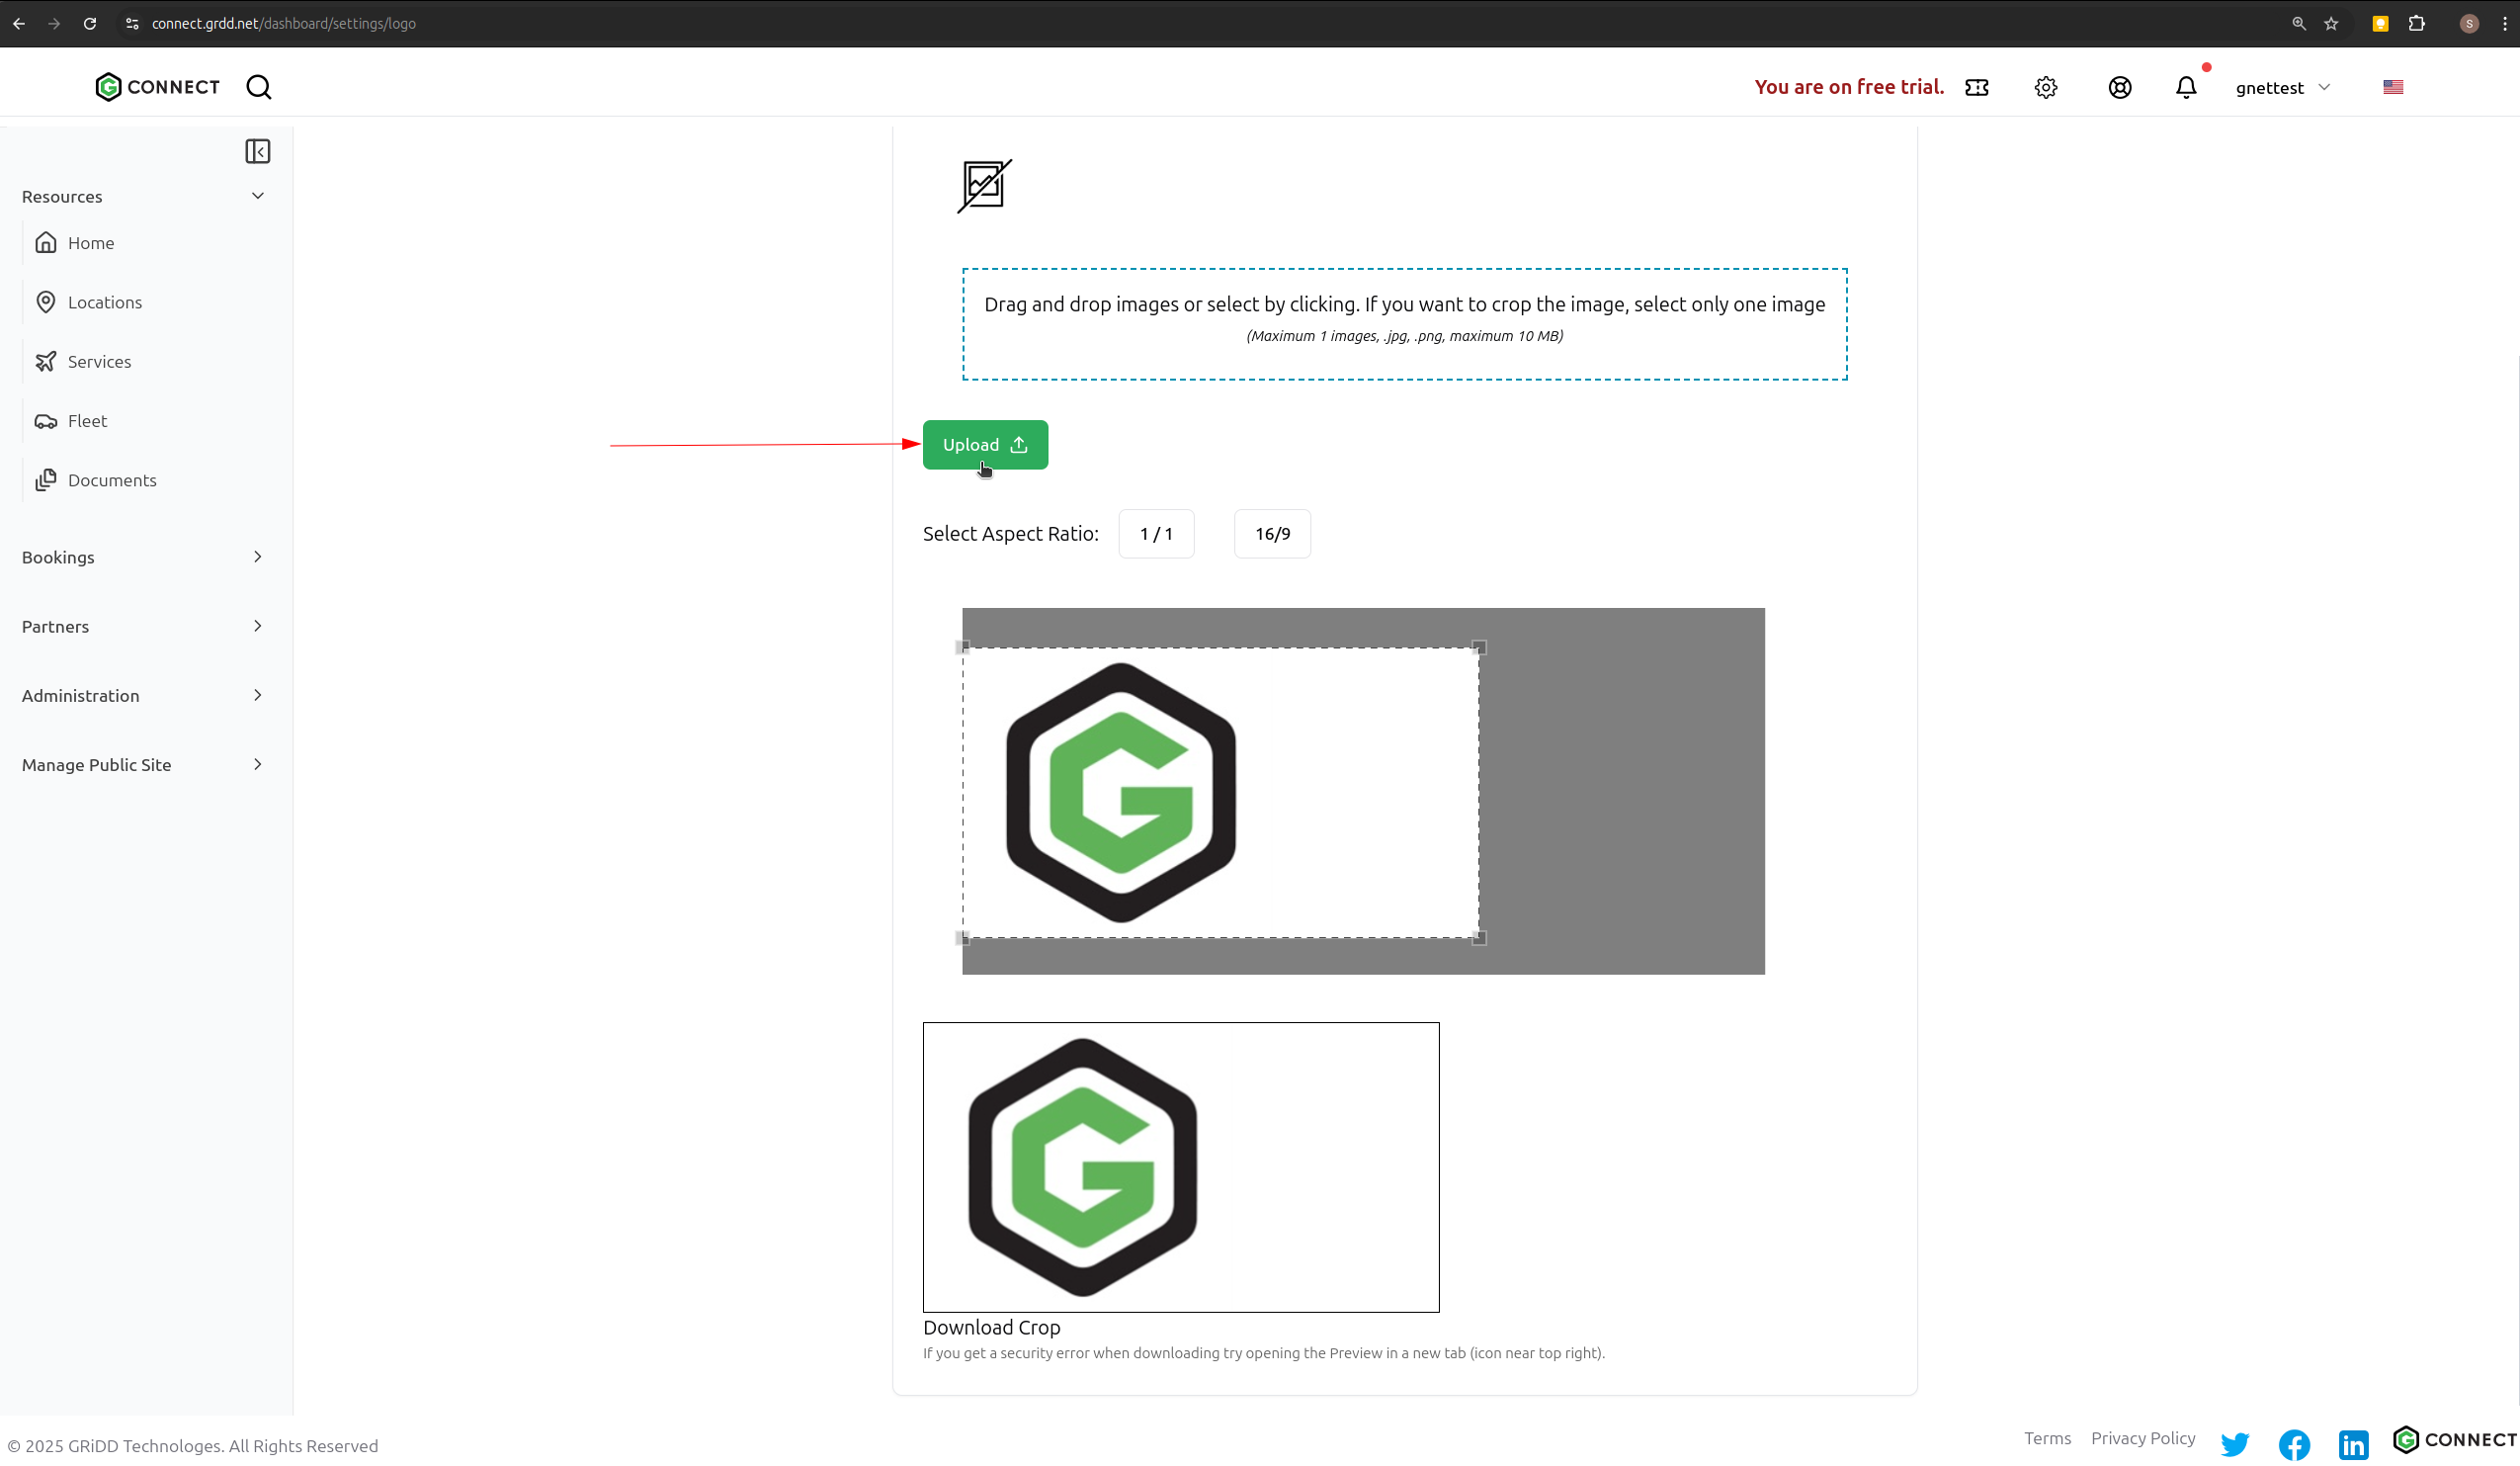
Step 7: Click on Edit Profile
Double check your profile to make sure all the information is correct.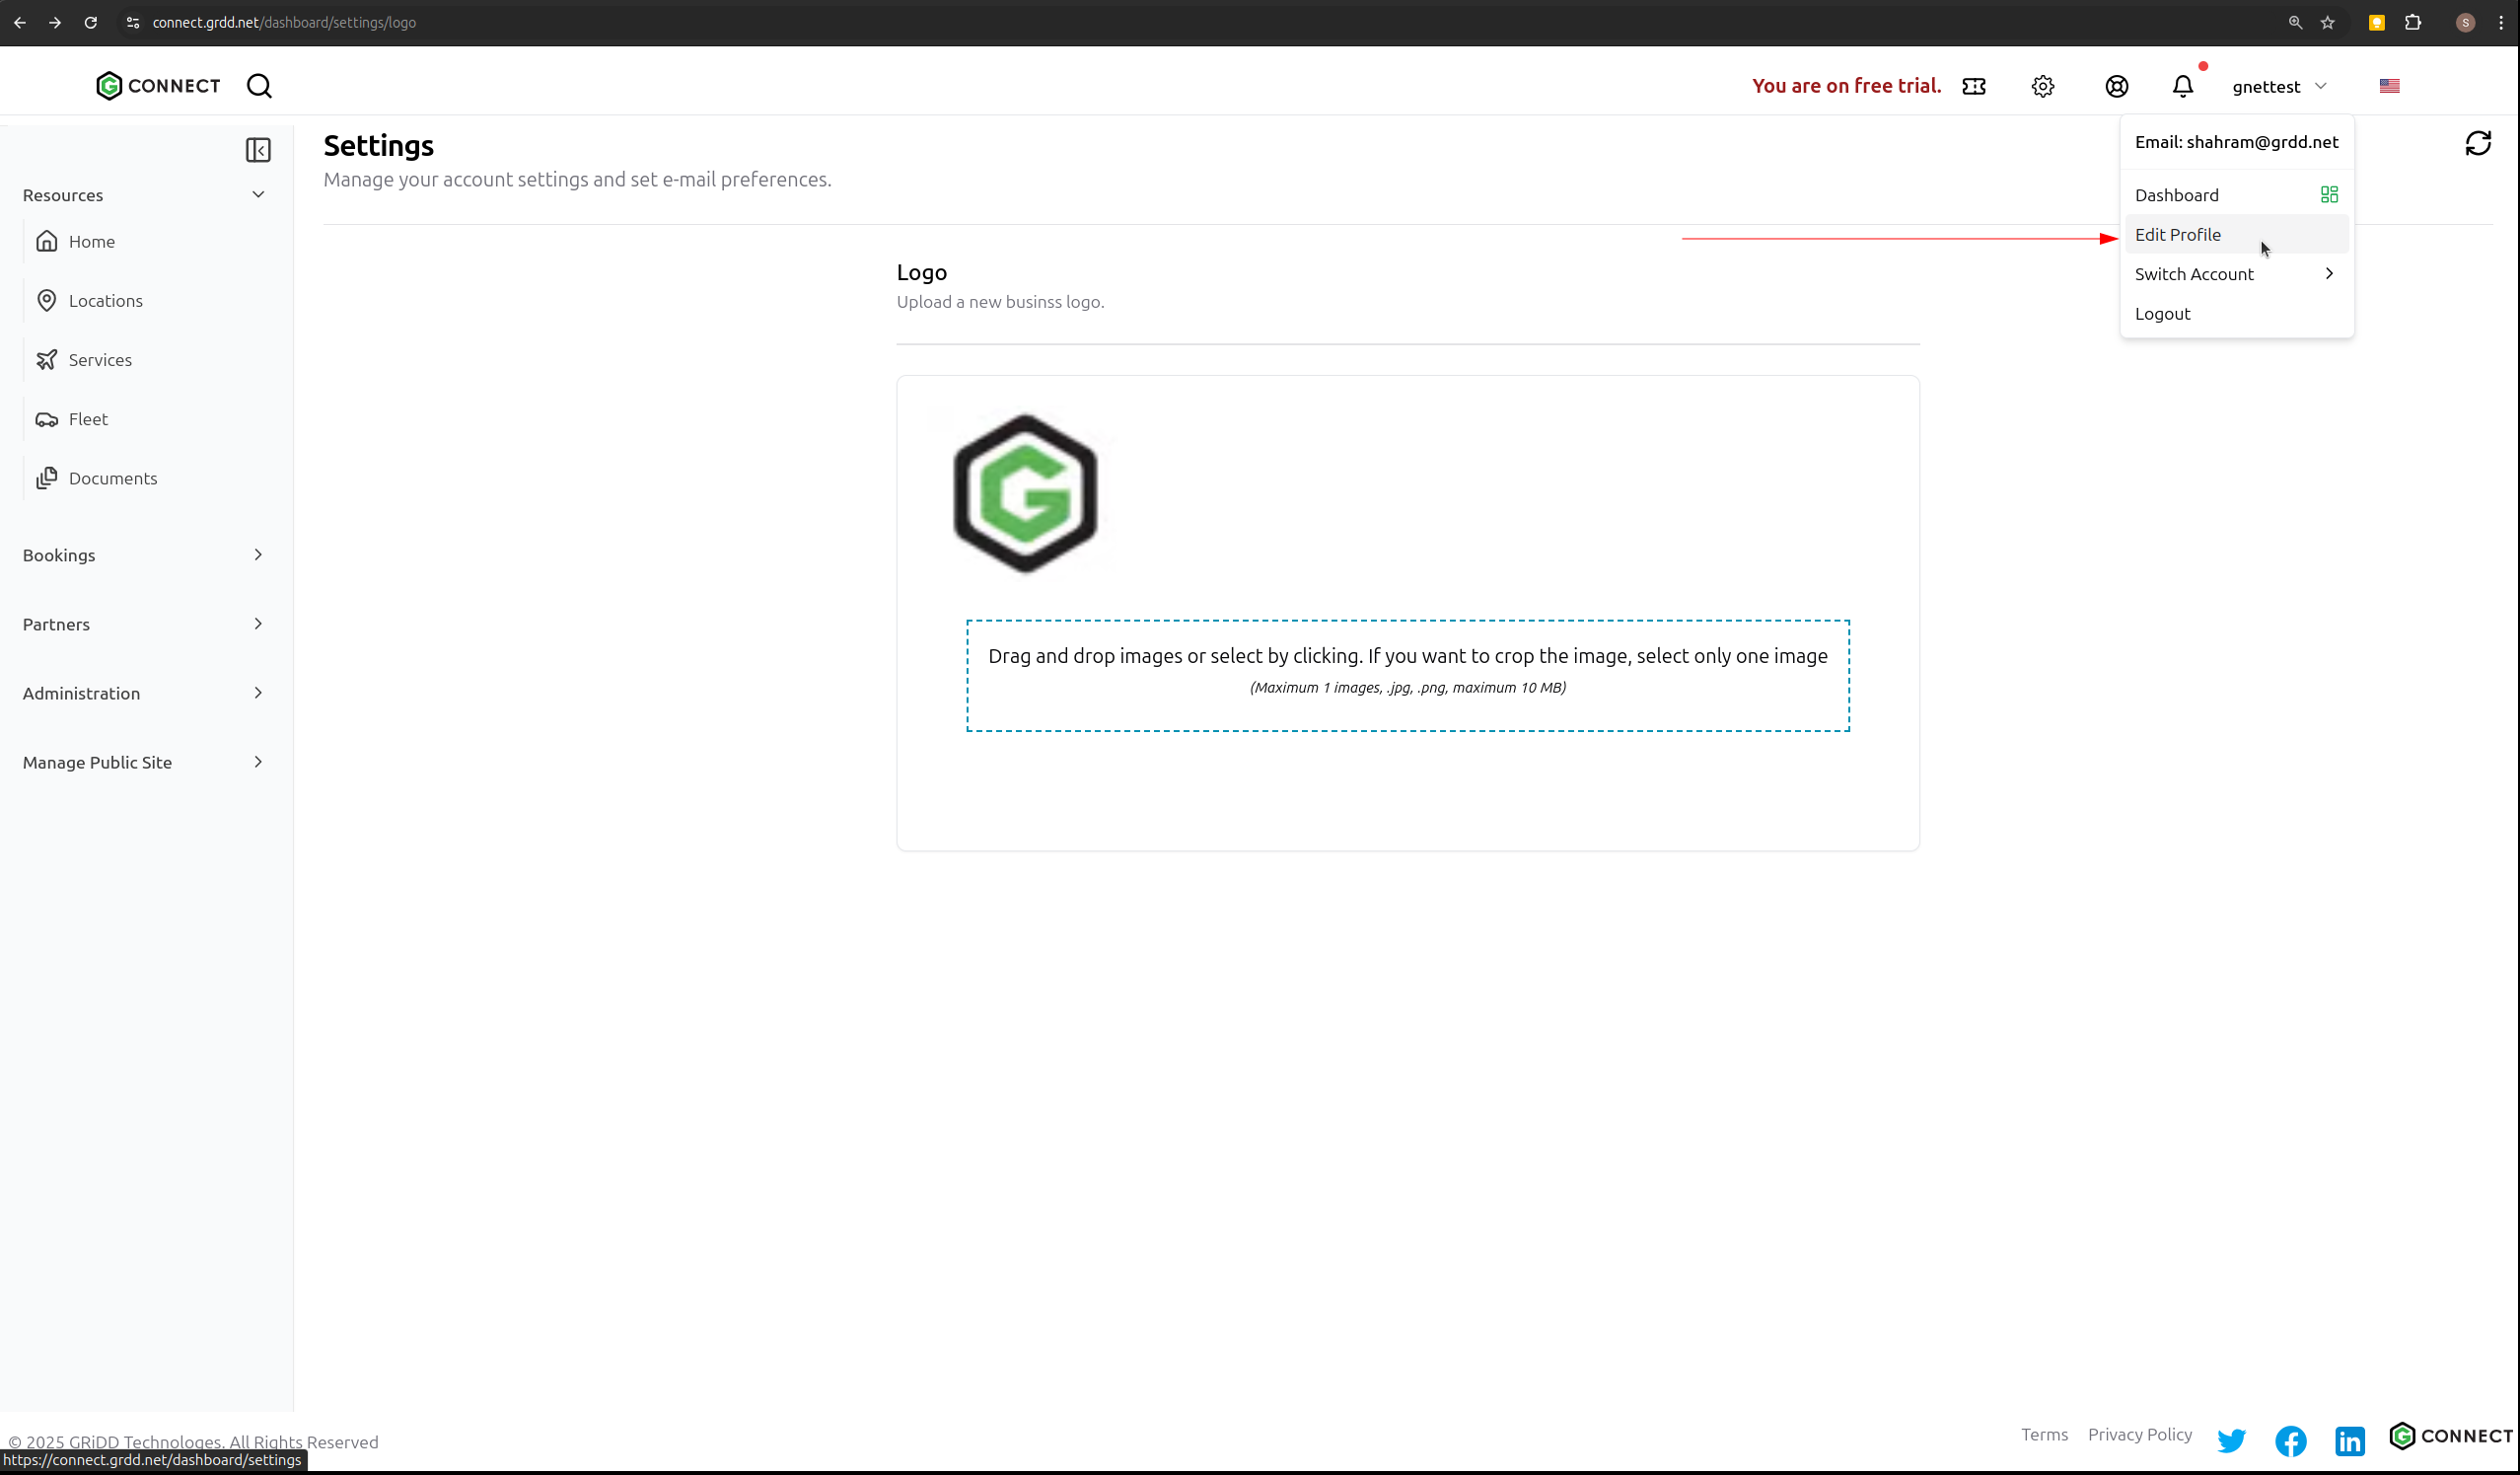
Step 8: Click on link to view your public profile presense on the web.
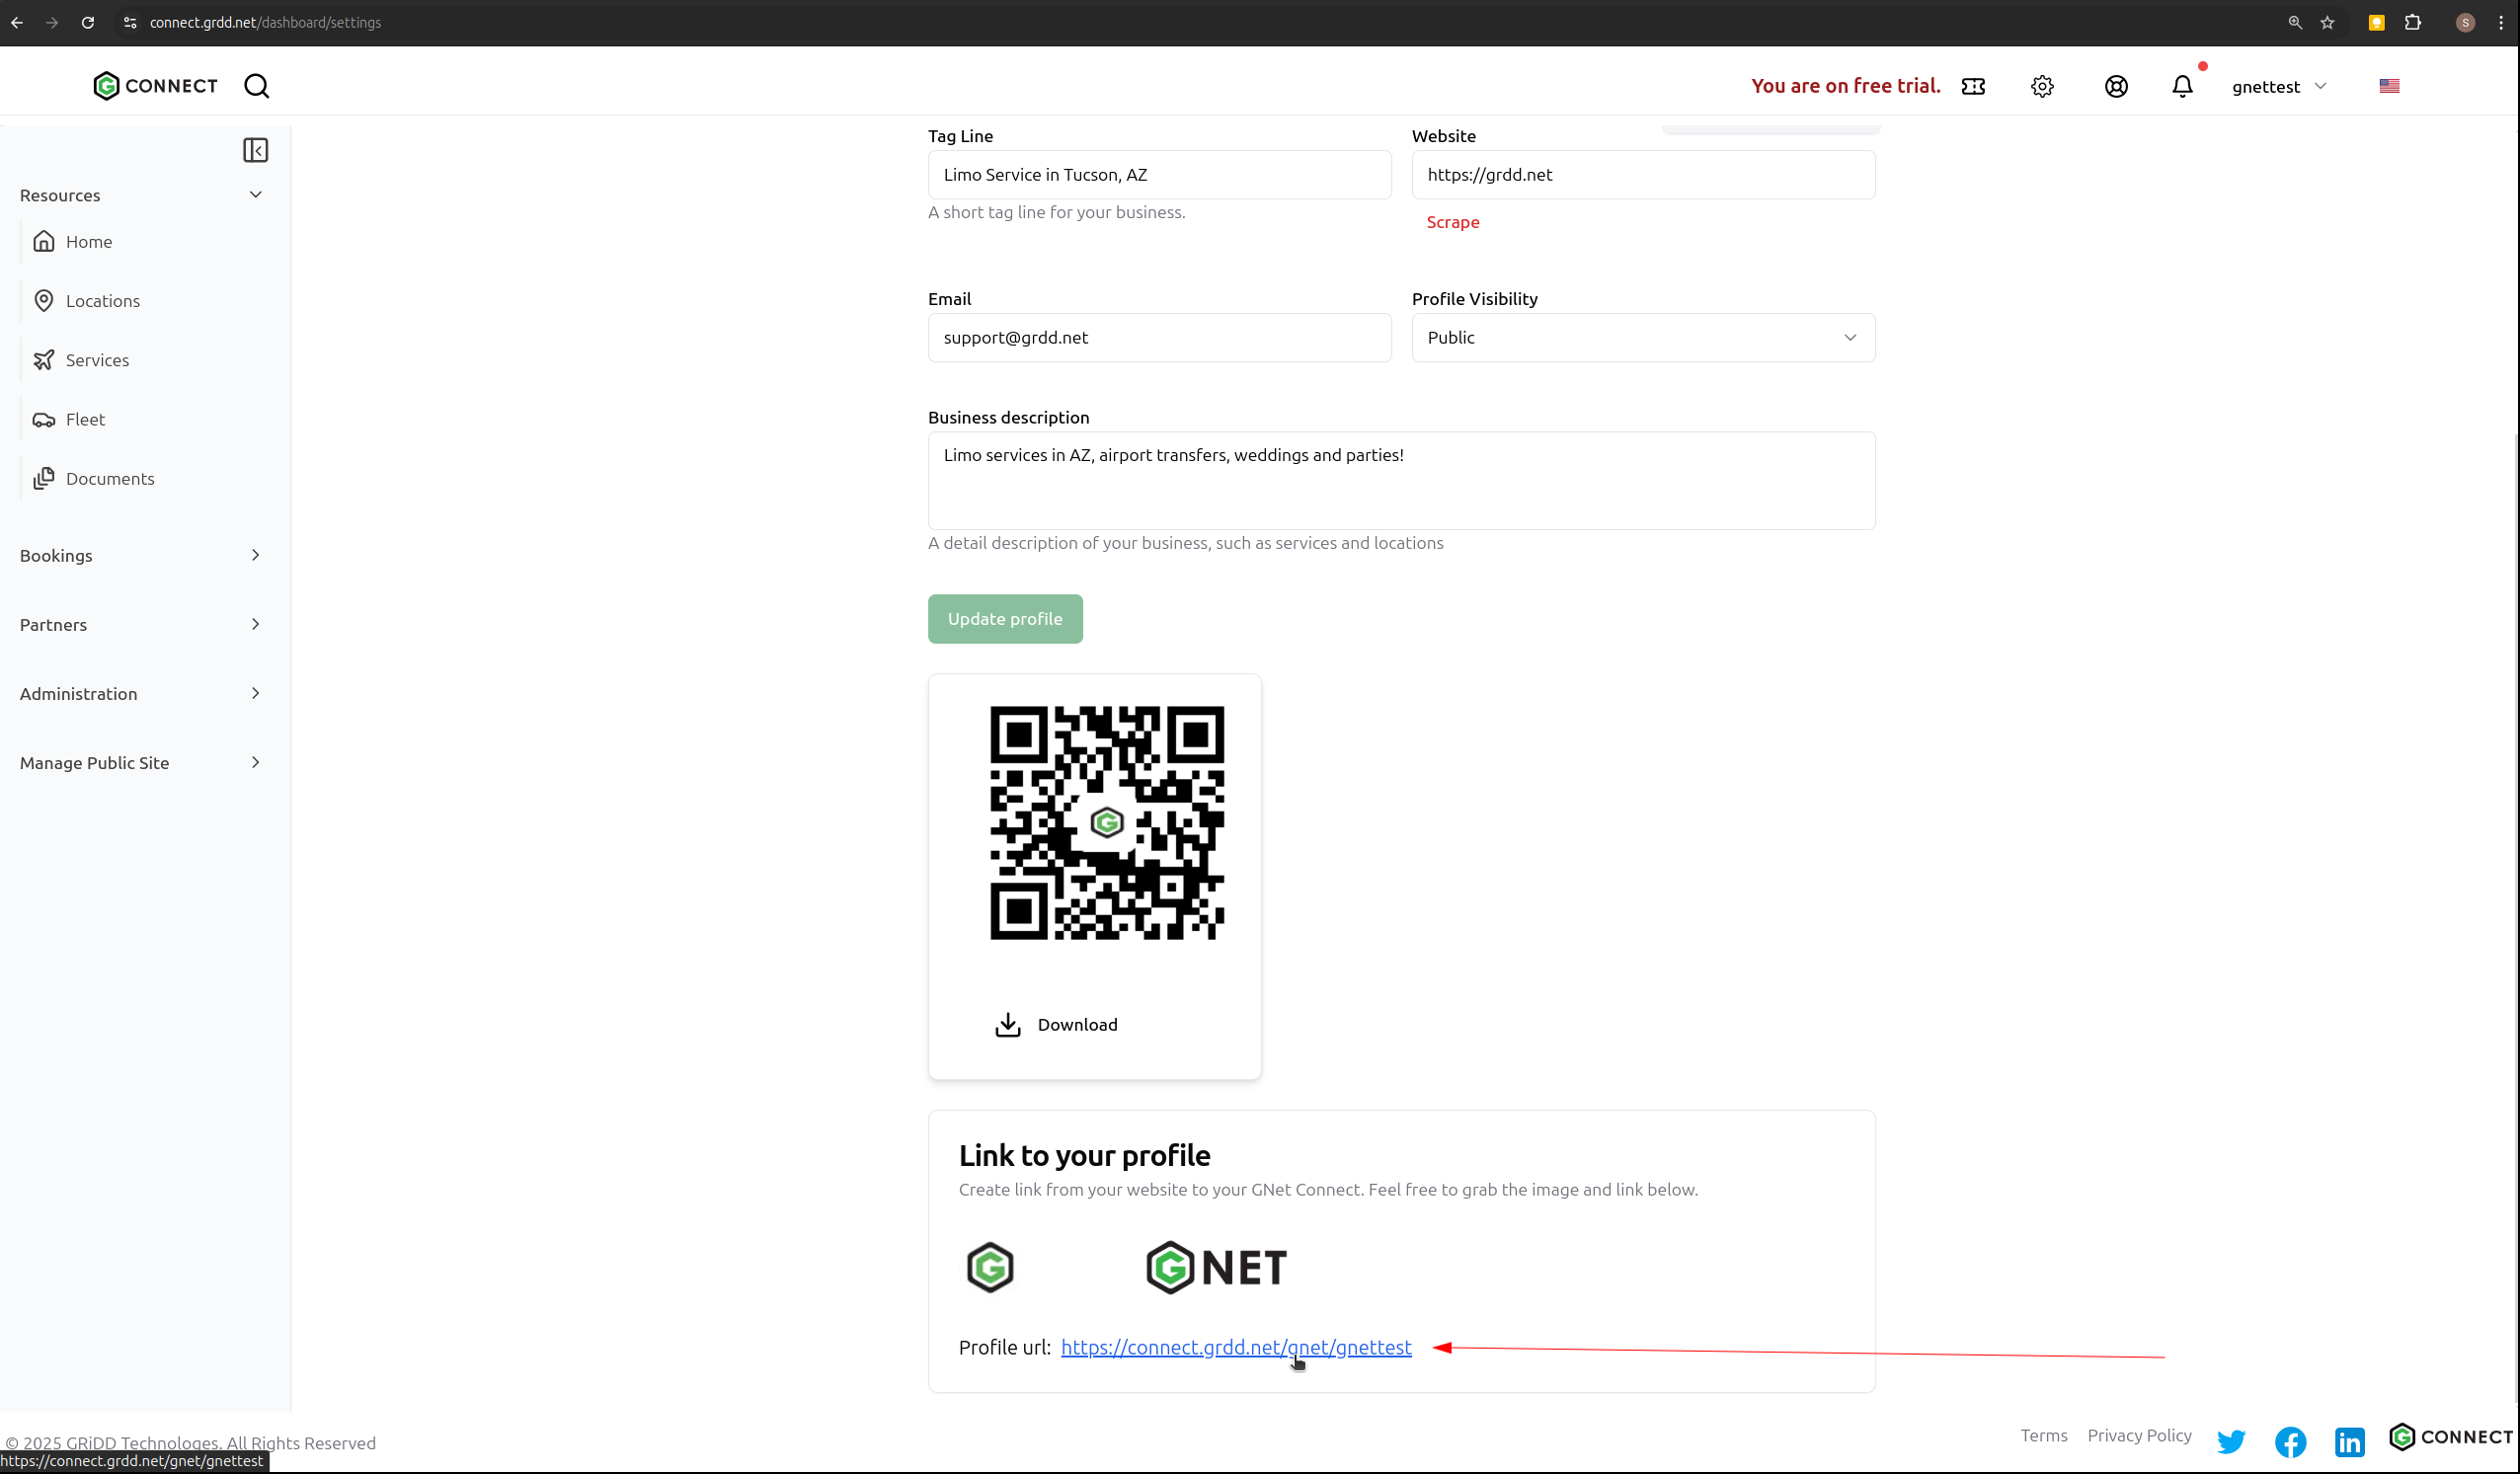
Step 9: If the changes you made are not showing up, please click on the “Refresh” button.
If you have any questions or need further assistance, please contact our support team.