> ## Documentation Index
> Fetch the complete documentation index at: https://docs.grdd.dev/llms.txt
> Use this file to discover all available pages before exploring further.
# Adding Services
> Step-by-step guide to add and manage your service offerings
Welcome to the service management guide. Follow these steps to add services to your GNet Connect profile. Please refer to the provided screenshots for assistance.
## Step 1: Access Score Card Details
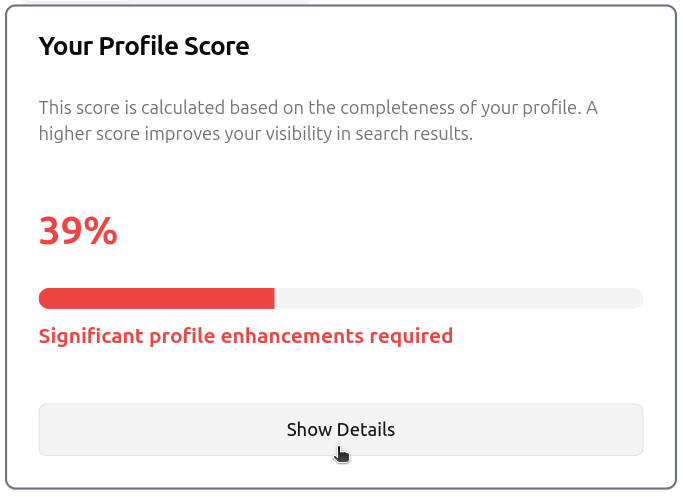
Navigate to your dashboard and find the score card section. Clicking on the score card will reveal more detailed information about your account.
 ## Step 2: Navigate to Services Section
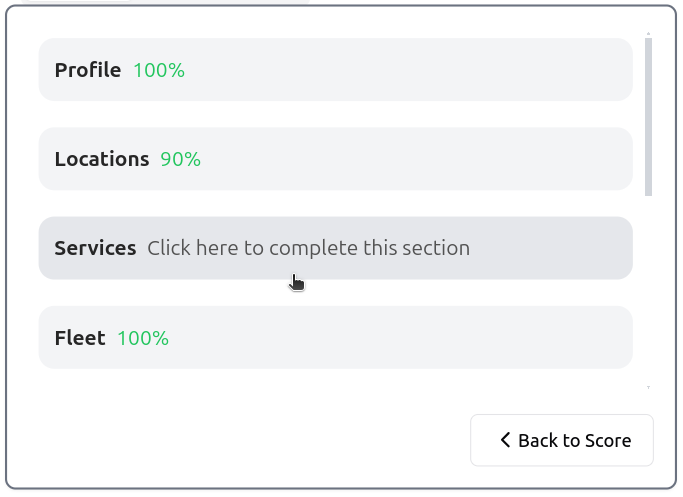
Click on the "Services" tab to access your service management settings.
## Step 2: Navigate to Services Section
Click on the "Services" tab to access your service management settings.
 ## Step 3: Advanced Edit Options
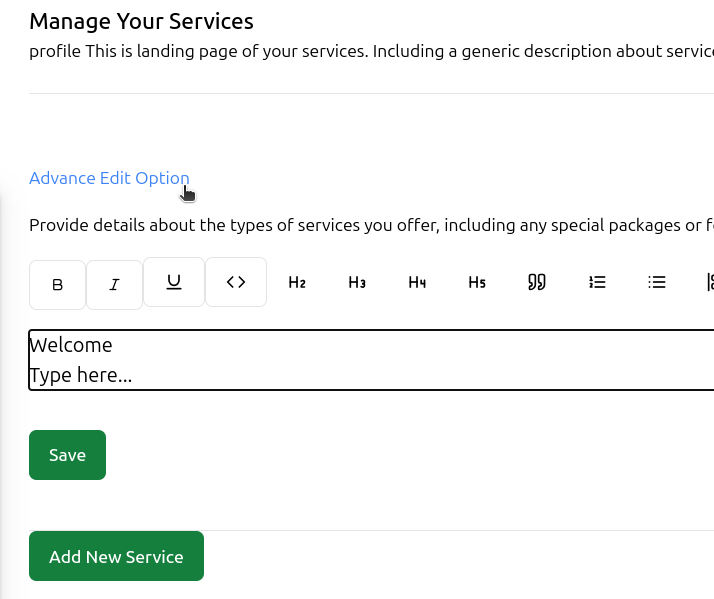
Click on "Advanced Edit Options" to customize your services page header text.
## Step 3: Advanced Edit Options
Click on "Advanced Edit Options" to customize your services page header text.
 ## Step 4: Save Header Text
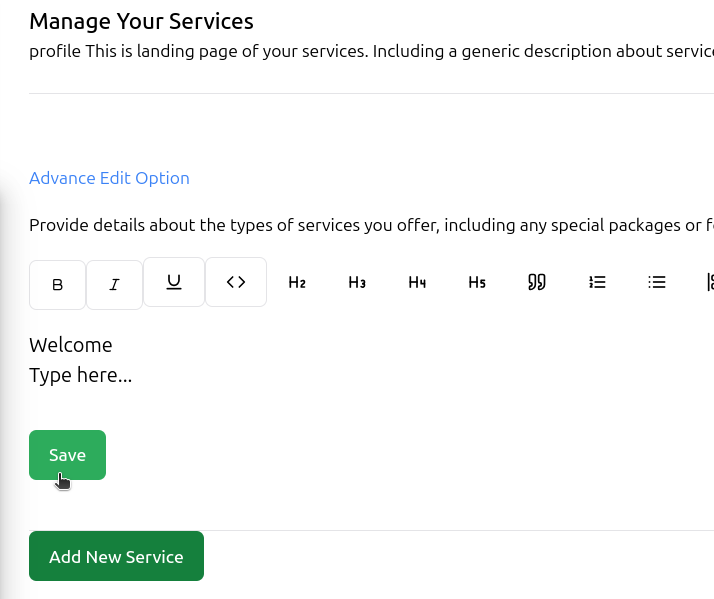
After entering your custom header text, click the "Save" button to confirm changes.
## Step 4: Save Header Text
After entering your custom header text, click the "Save" button to confirm changes.
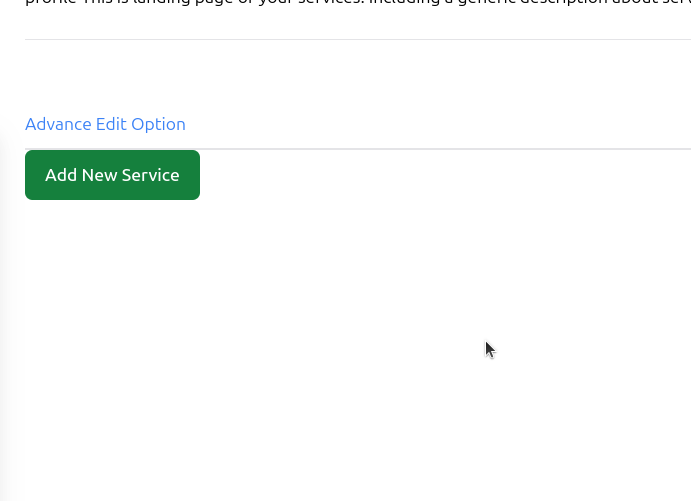
 ## Step 5: Add New Service
Click on the "Add New Service" button to begin adding a service.
## Step 5: Add New Service
Click on the "Add New Service" button to begin adding a service.
 ## Step 6: Enter Service Details
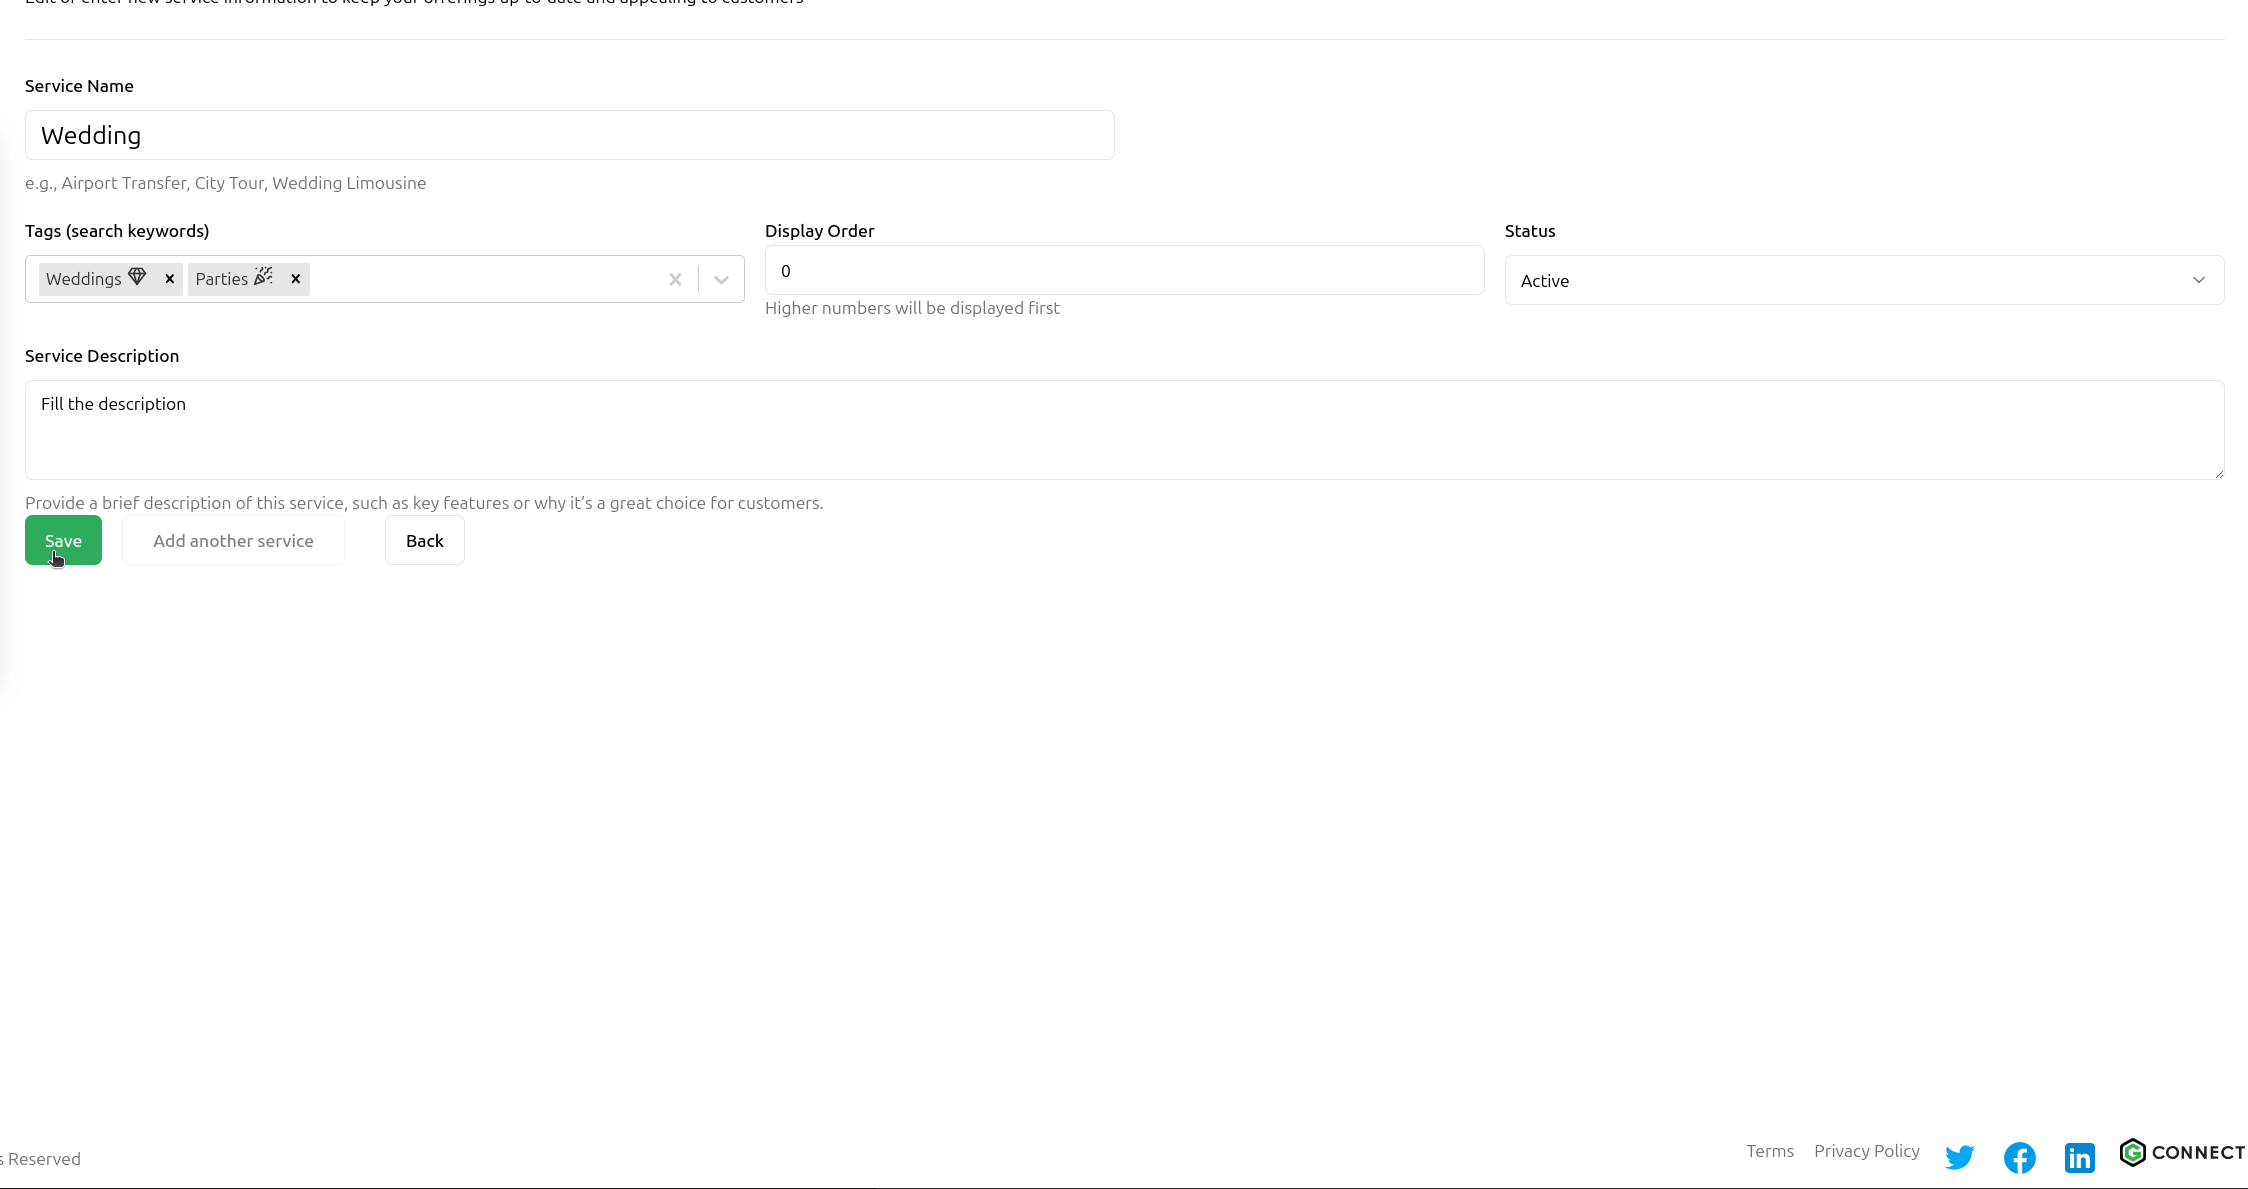
Complete all required service information:
* Service Name
* Tags (to help users find your service)
* Display Order (controls the order of appearance)
* Status (Active/Inactive)
* Description (detailed information about your service)
Click "Save" to store your service details.
## Step 6: Enter Service Details
Complete all required service information:
* Service Name
* Tags (to help users find your service)
* Display Order (controls the order of appearance)
* Status (Active/Inactive)
* Description (detailed information about your service)
Click "Save" to store your service details.
 ## Step 7: Select Image
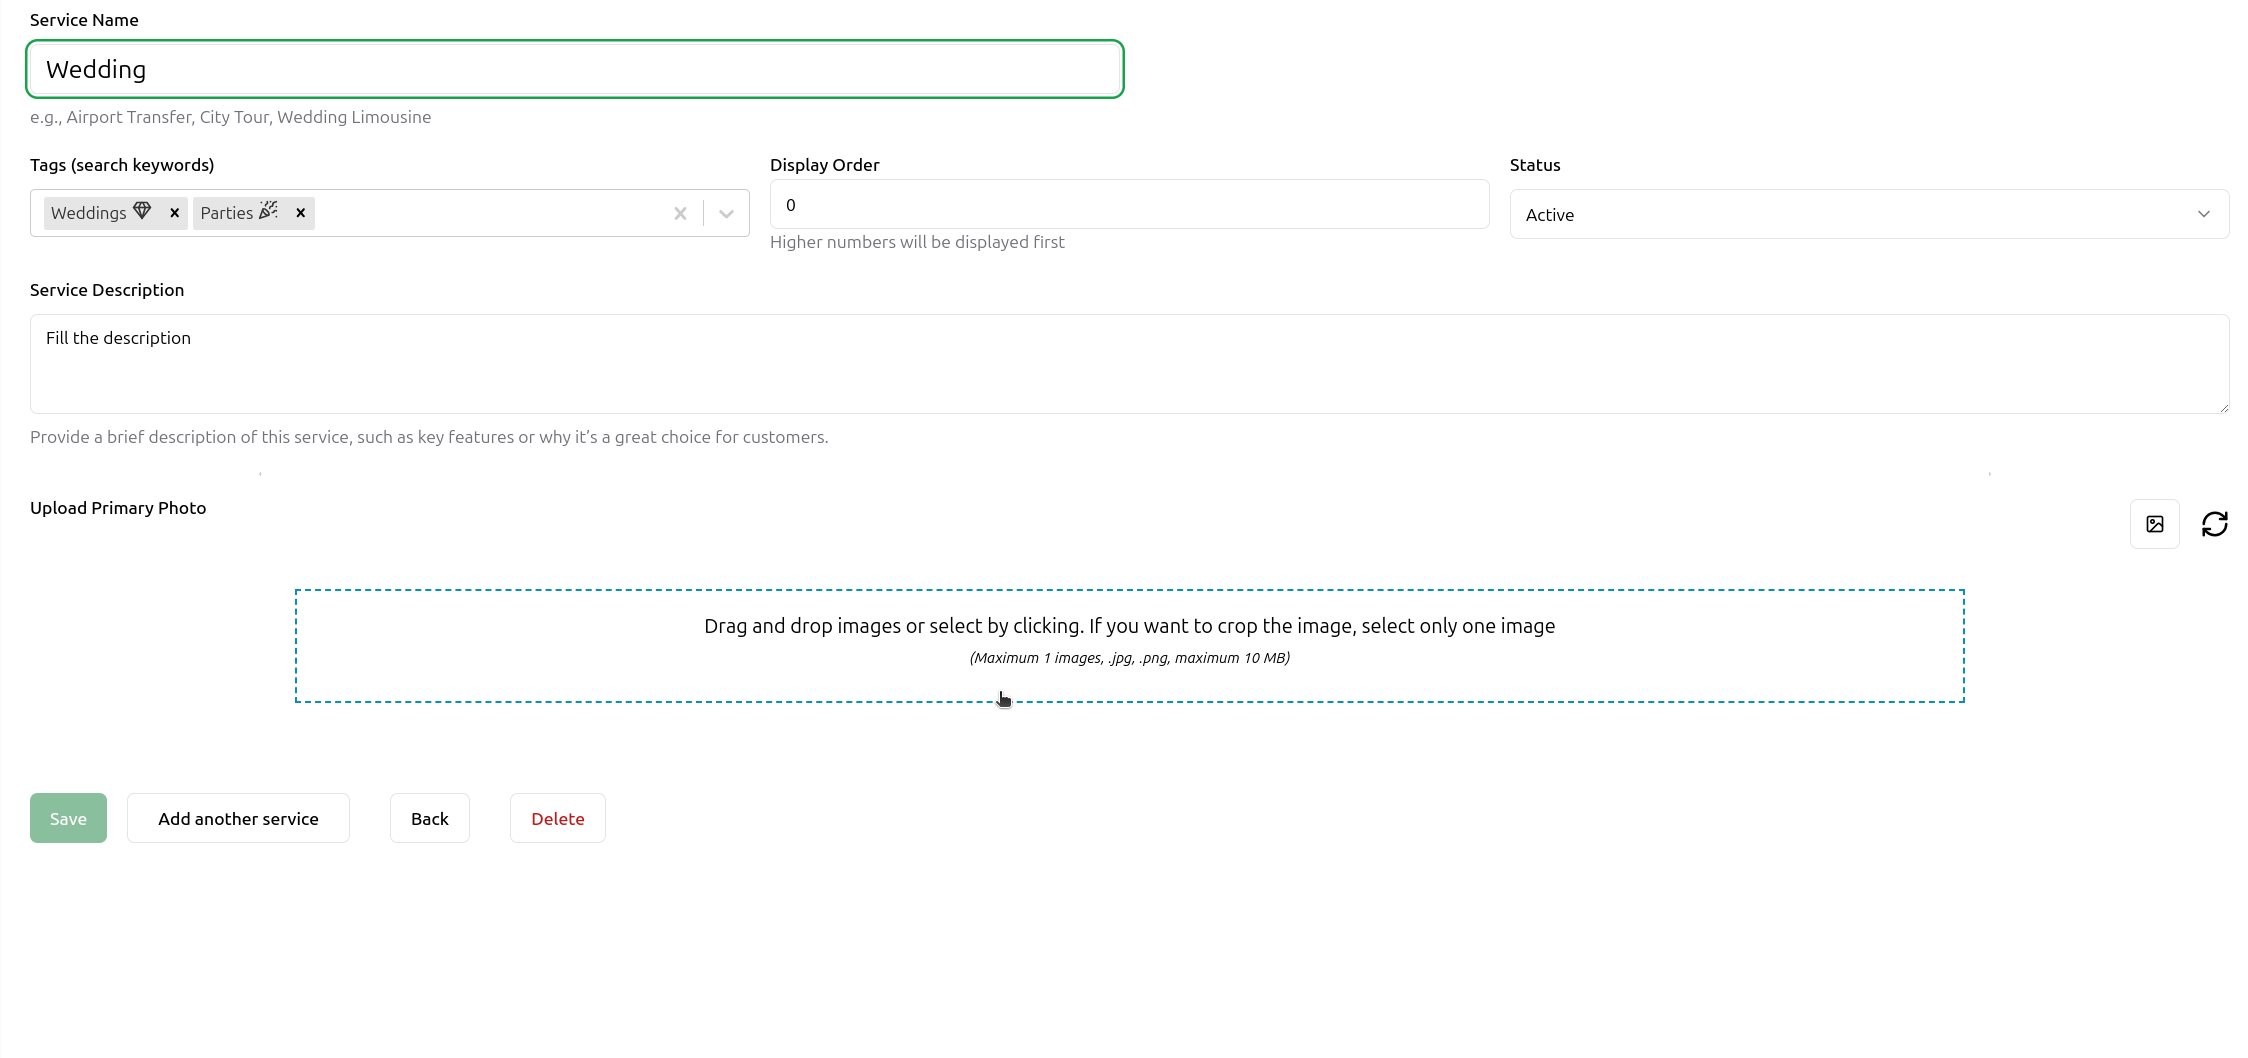
Click on the image box to select a photo for your service.
## Step 7: Select Image
Click on the image box to select a photo for your service.
 ## Step 8: Upload Image
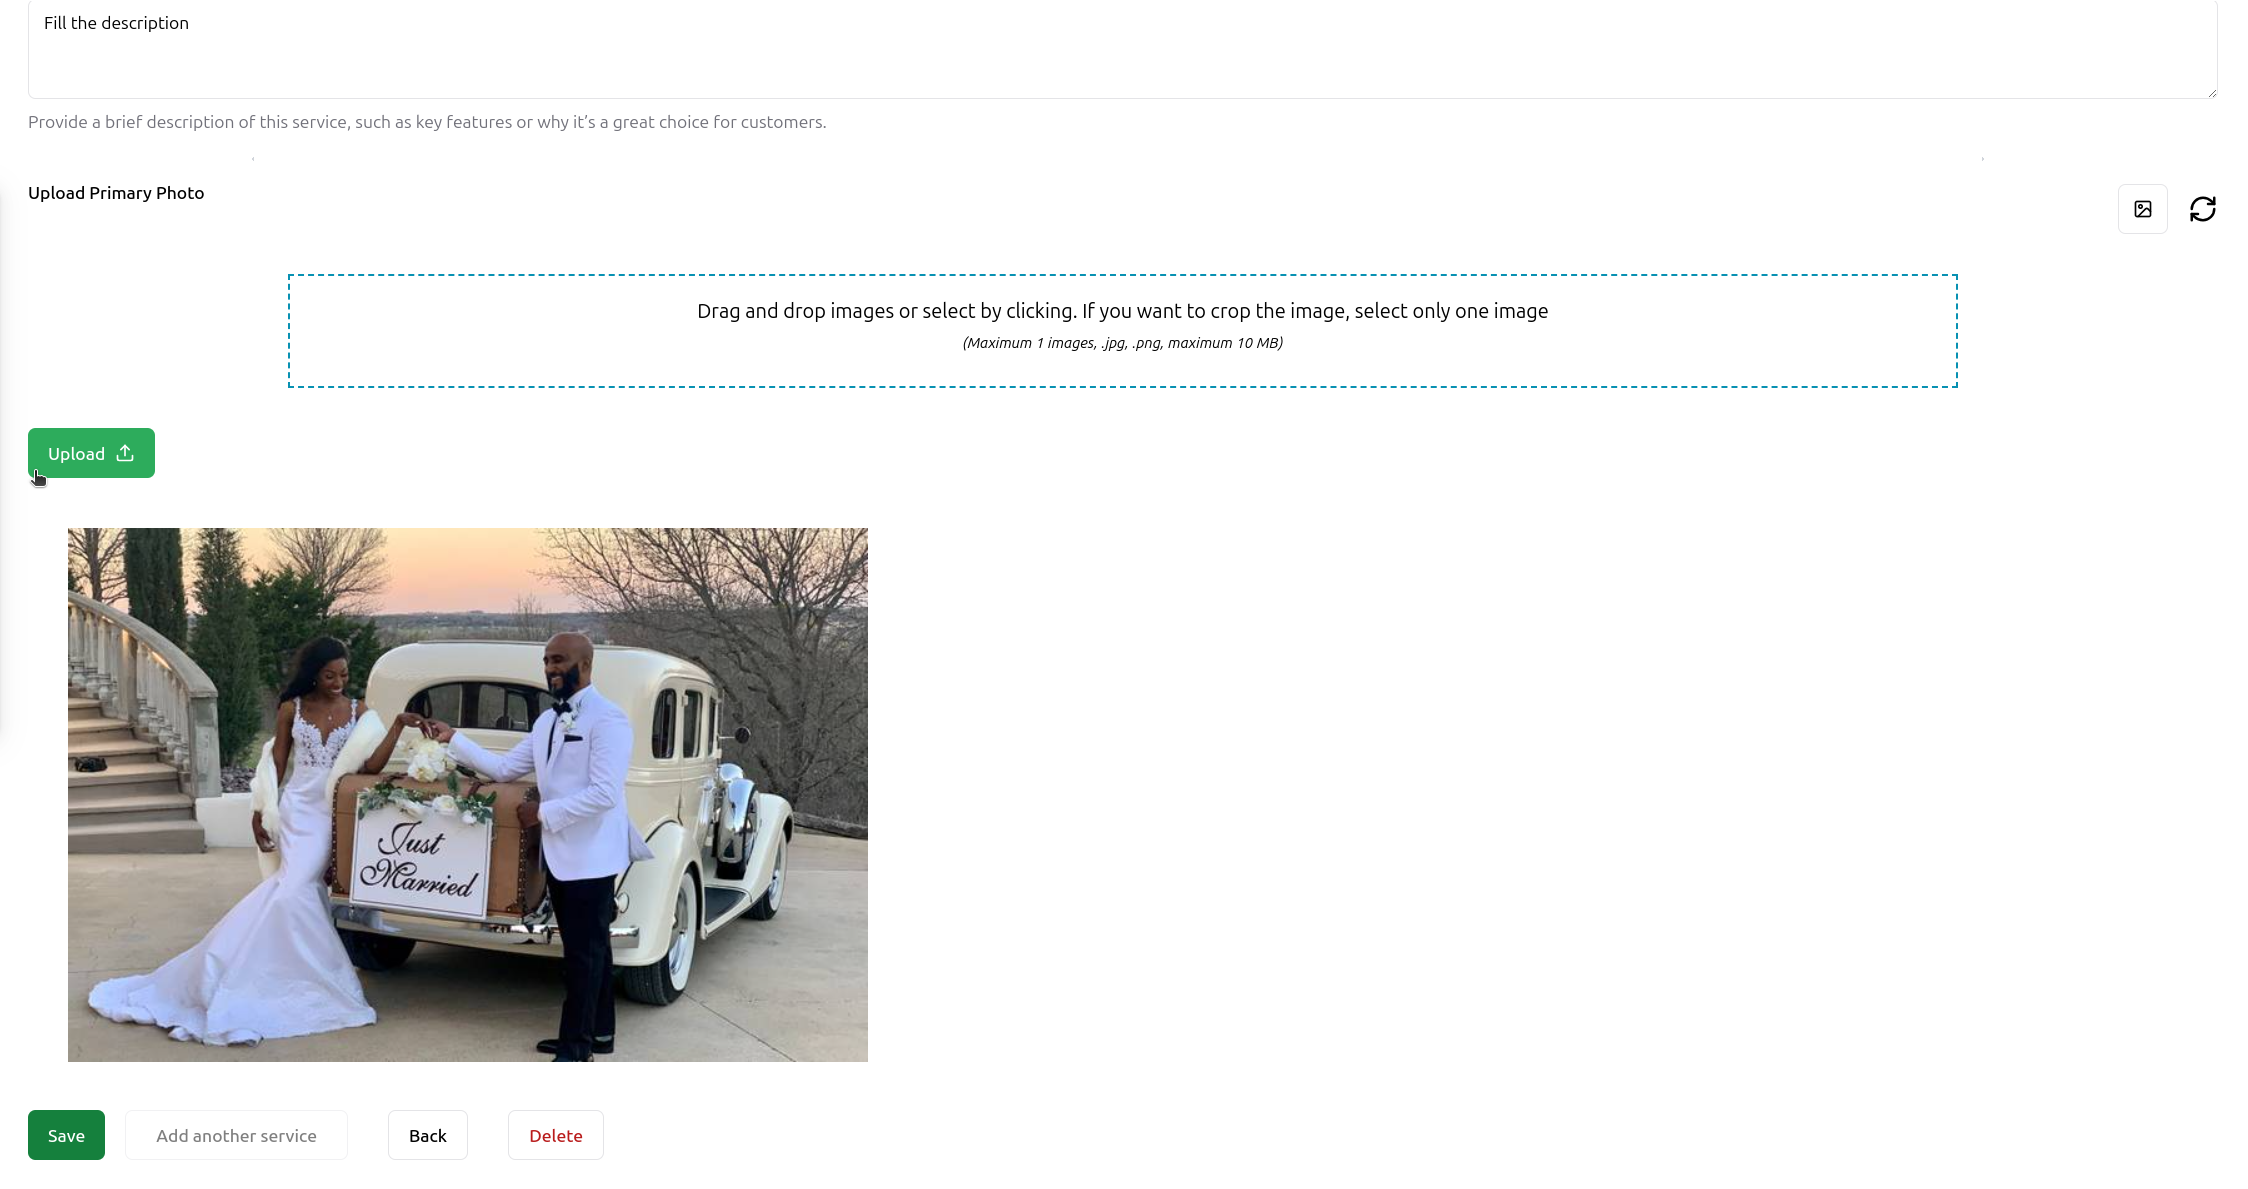
After selecting your image, click the "Upload" button to add it to your service.
## Step 8: Upload Image
After selecting your image, click the "Upload" button to add it to your service.
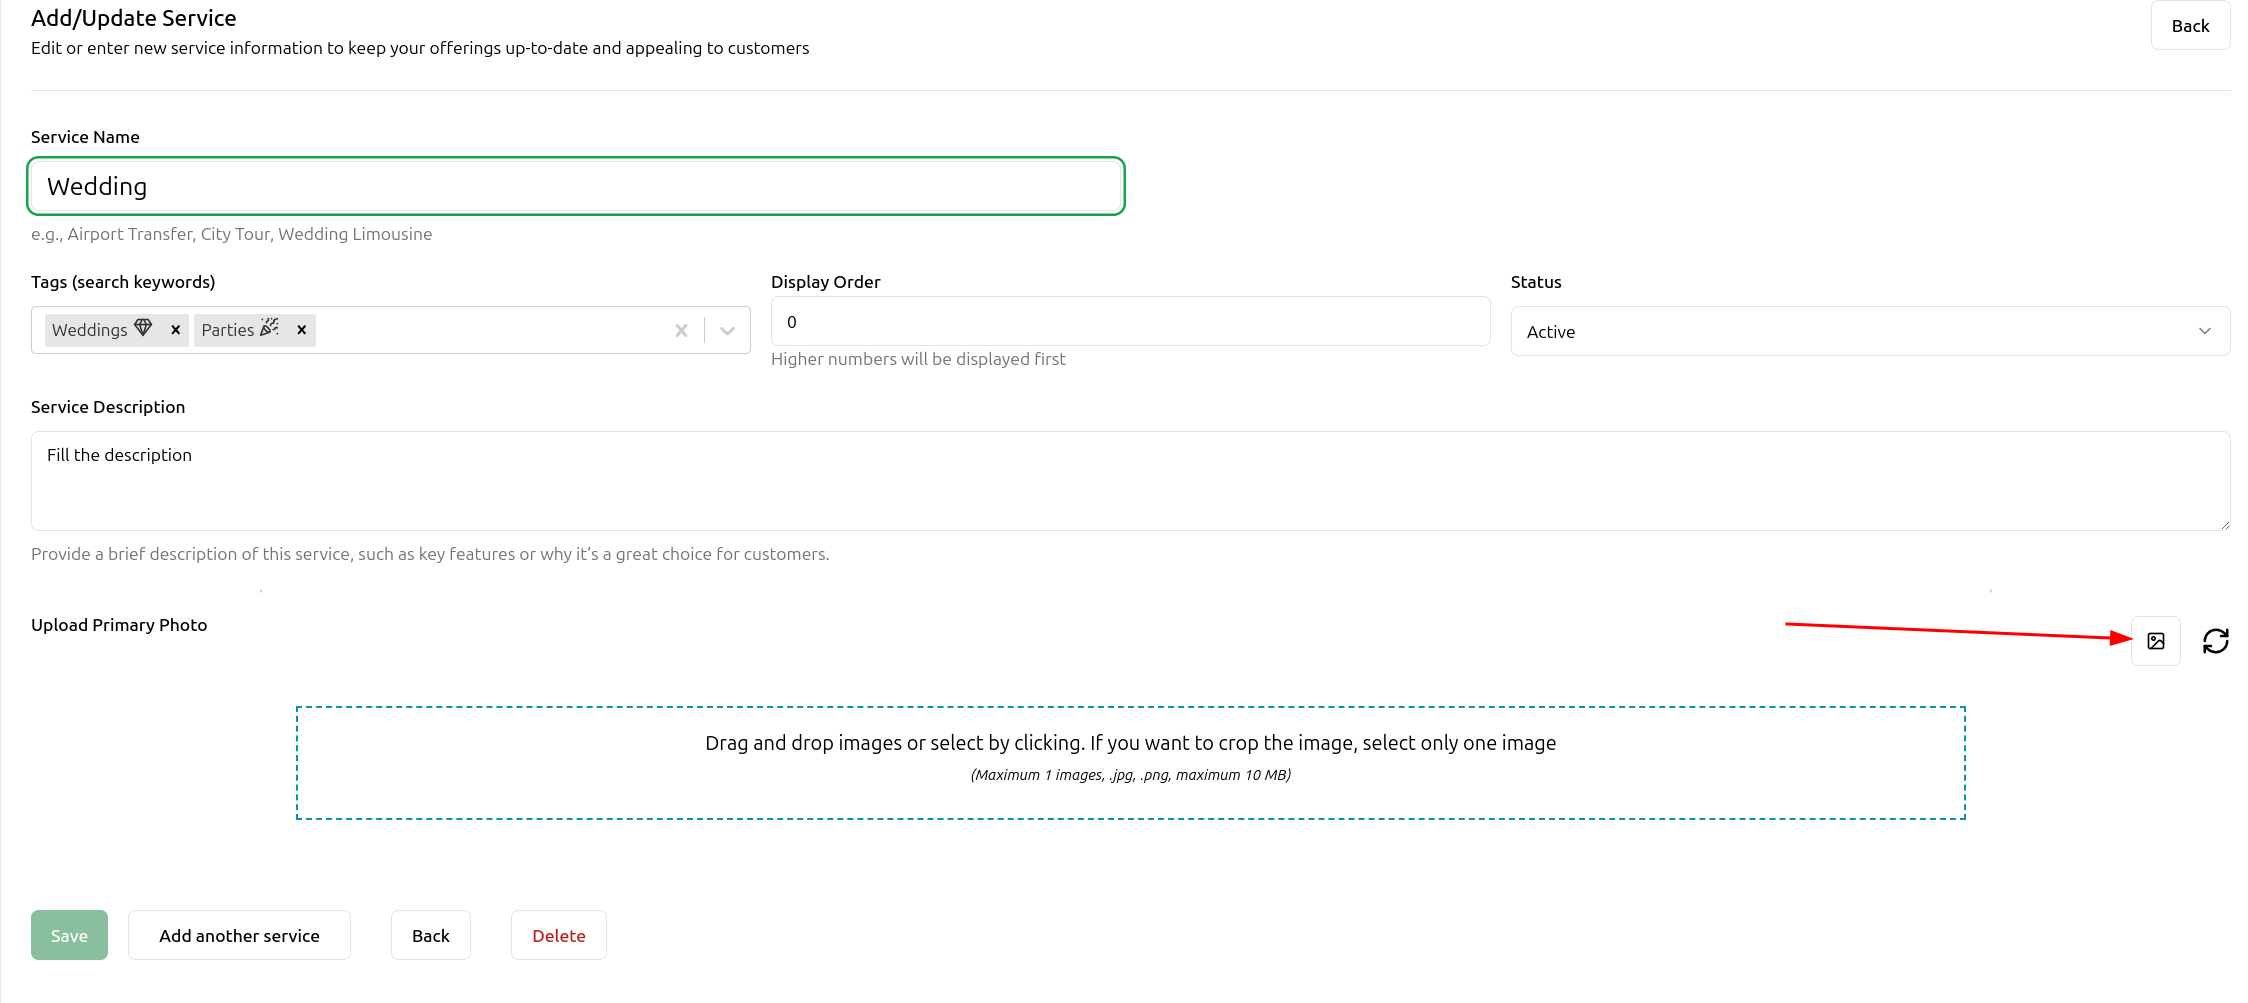
 ## Step 9: AI Image Generation Option
Don't have an image? Click on the AI generation icon on the right side of the image box to create one.
## Step 9: AI Image Generation Option
Don't have an image? Click on the AI generation icon on the right side of the image box to create one.
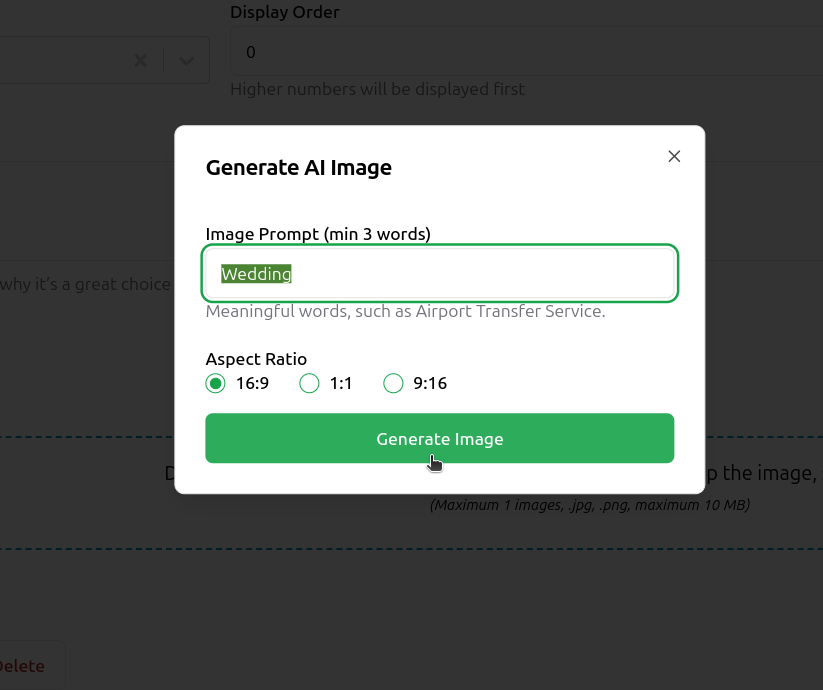
 ## Step 10: Generate AI Image
Enter your image prompt and click "Generate Image". The default aspect ratio is optimized for service images.
## Step 10: Generate AI Image
Enter your image prompt and click "Generate Image". The default aspect ratio is optimized for service images.
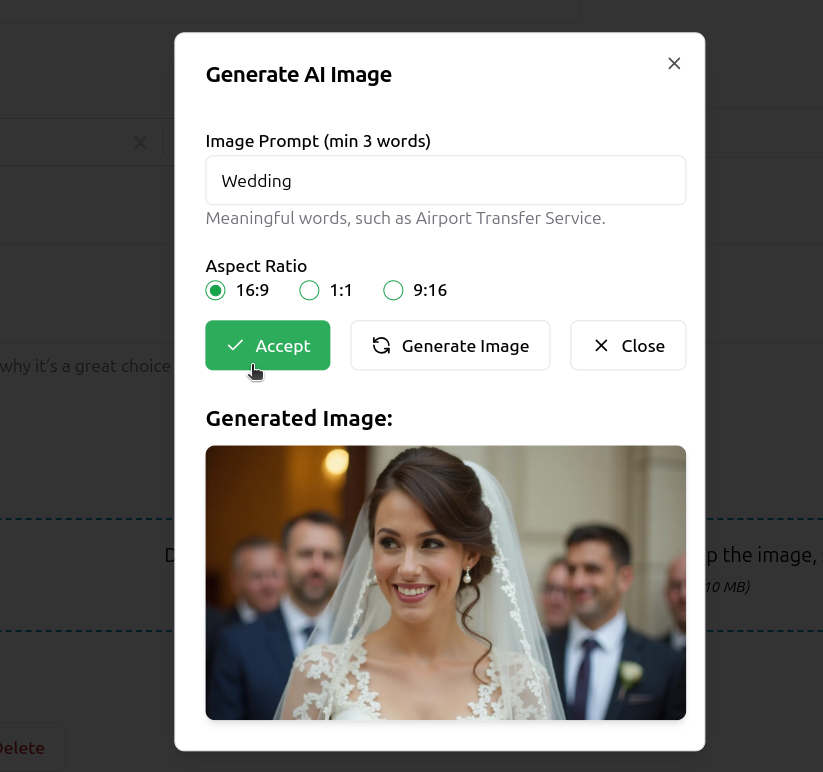
 ## Step 11: Review Generated Image
Review the generated image. You can either accept it or generate a new one.
## Step 11: Review Generated Image
Review the generated image. You can either accept it or generate a new one.
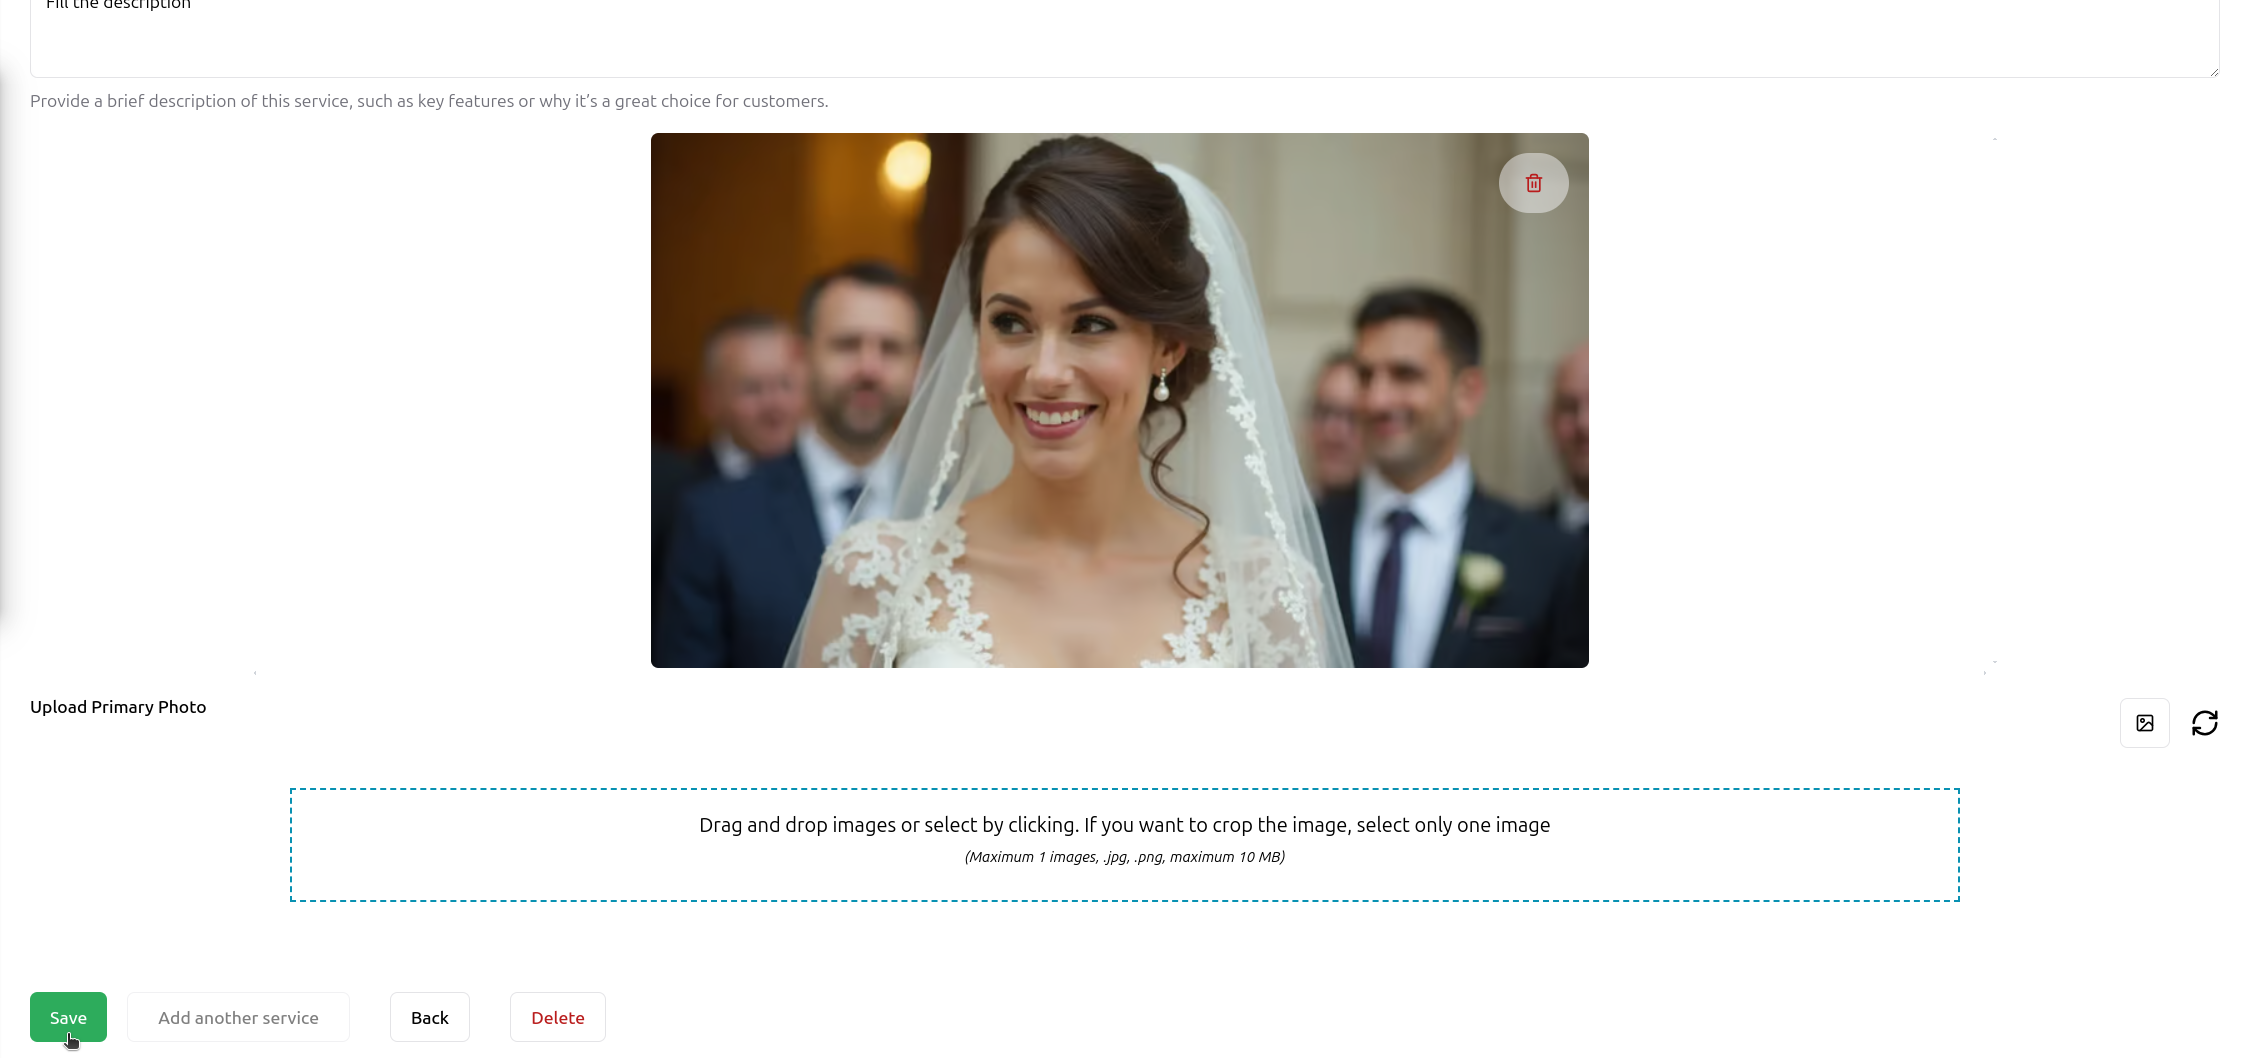
 ## Step 12: Save Changes
Make sure to click the "Save" button to finalize all your changes.
## Step 12: Save Changes
Make sure to click the "Save" button to finalize all your changes.
 * You can edit your service details and images at any time
* AI-generated images are unique to your service
* Make sure all information accurately represents your service offering
* You can edit your service details and images at any time
* AI-generated images are unique to your service
* Make sure all information accurately represents your service offering