> ## Documentation Index
> Fetch the complete documentation index at: https://docs.grdd.dev/llms.txt
> Use this file to discover all available pages before exploring further.
# Adding Locations
> Step-by-step guide to add and manage your business locations
Welcome to the location management guide. Follow these steps to add locations to your GNet Connect profile. Please refer to the provided screenshots for assistance.
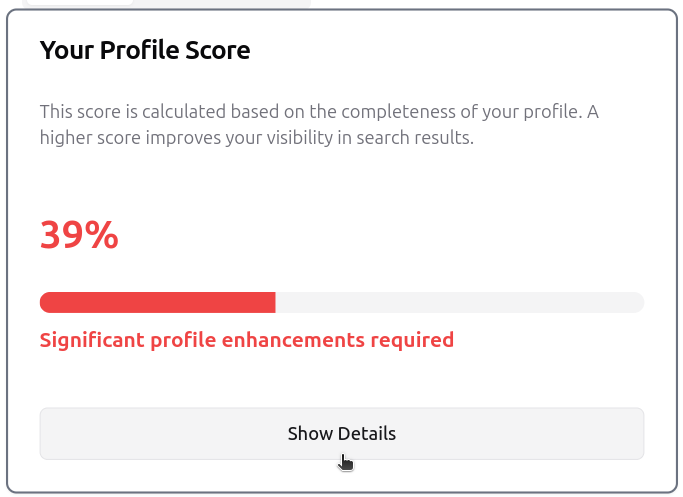
## Step 1: Access Score Card Details
Navigate to your dashboard and find the score card section. Clicking on the score card will reveal more detailed information about your account.
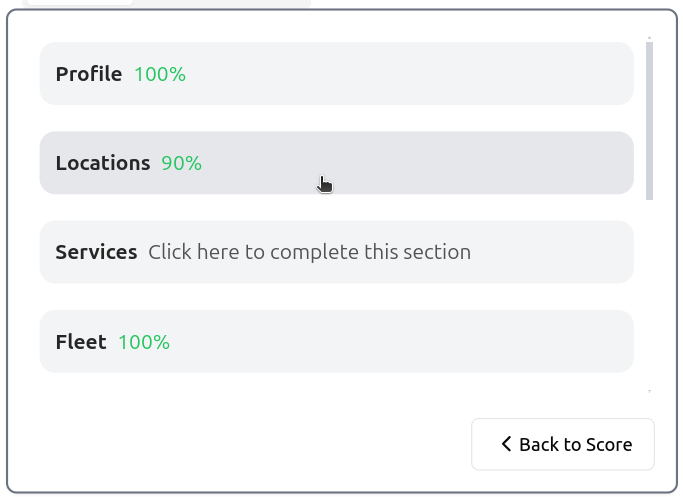
 ## Step 2: Navigate to Location Section
Click on the "Location" tab to access your location settings.
## Step 2: Navigate to Location Section
Click on the "Location" tab to access your location settings.
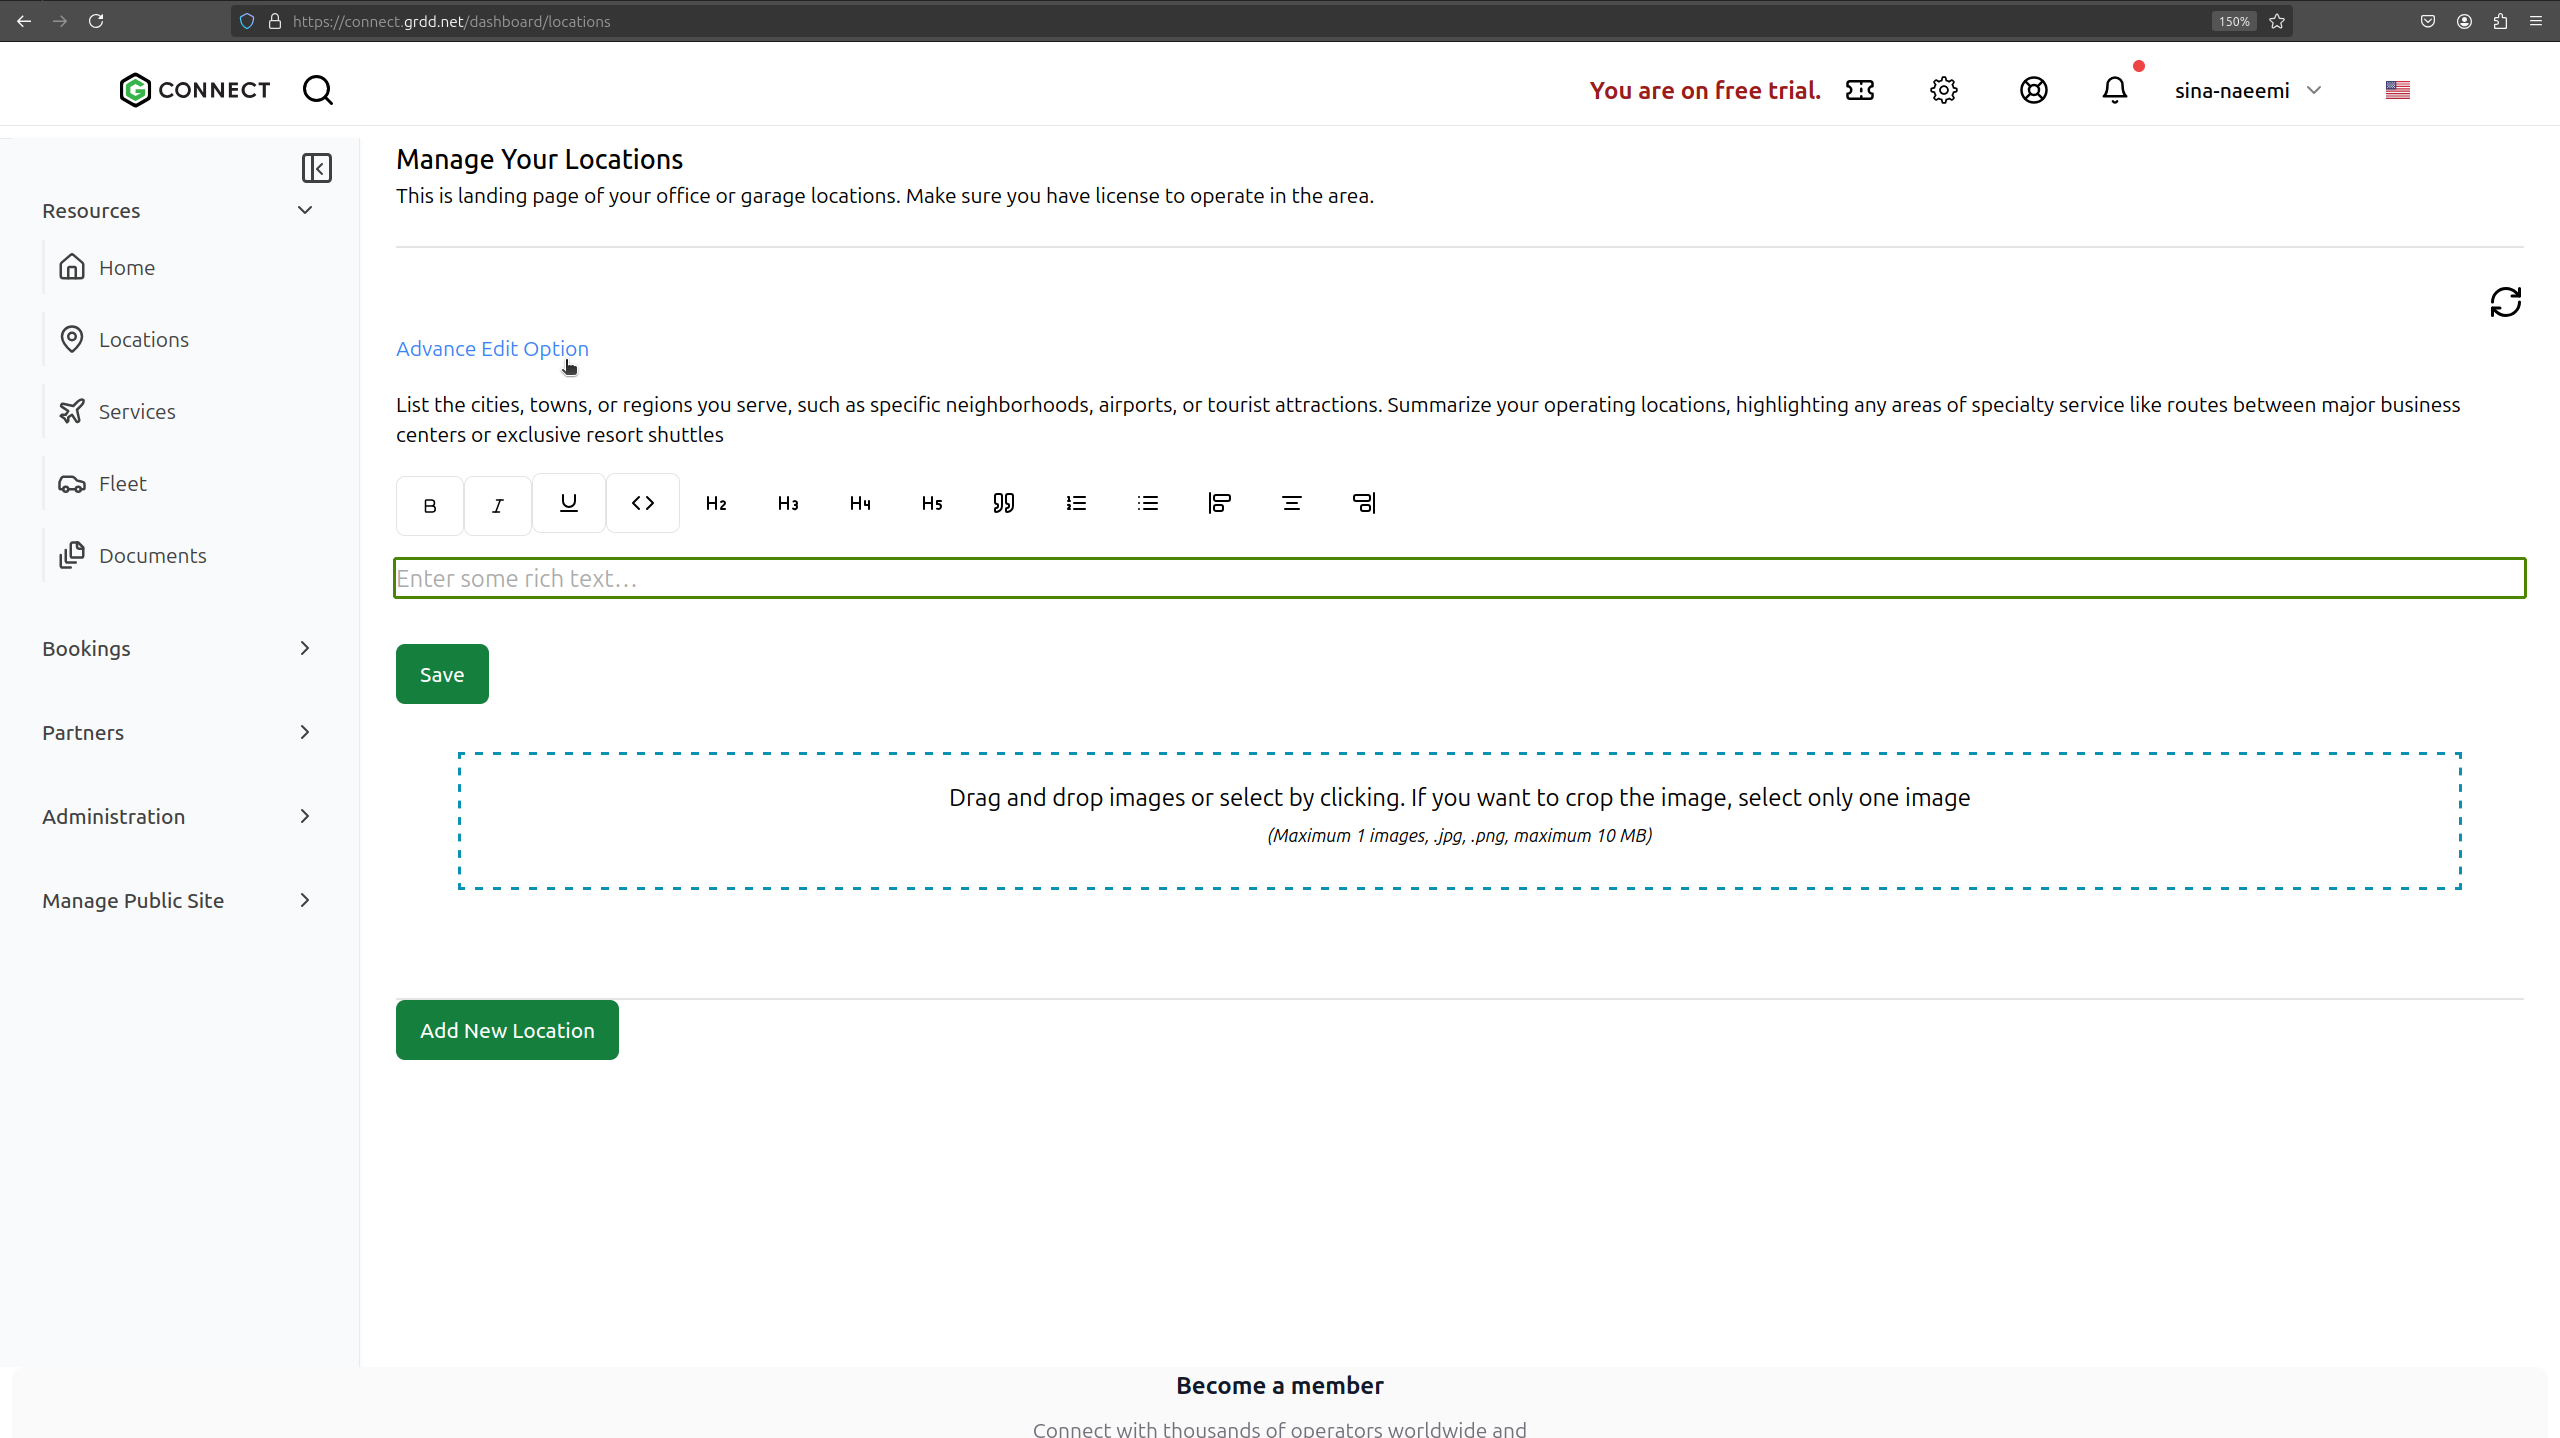
 ## Step 3: Advanced Edit Options
Click on "Advanced Edit Options" to customize your locations page header text.
## Step 3: Advanced Edit Options
Click on "Advanced Edit Options" to customize your locations page header text.
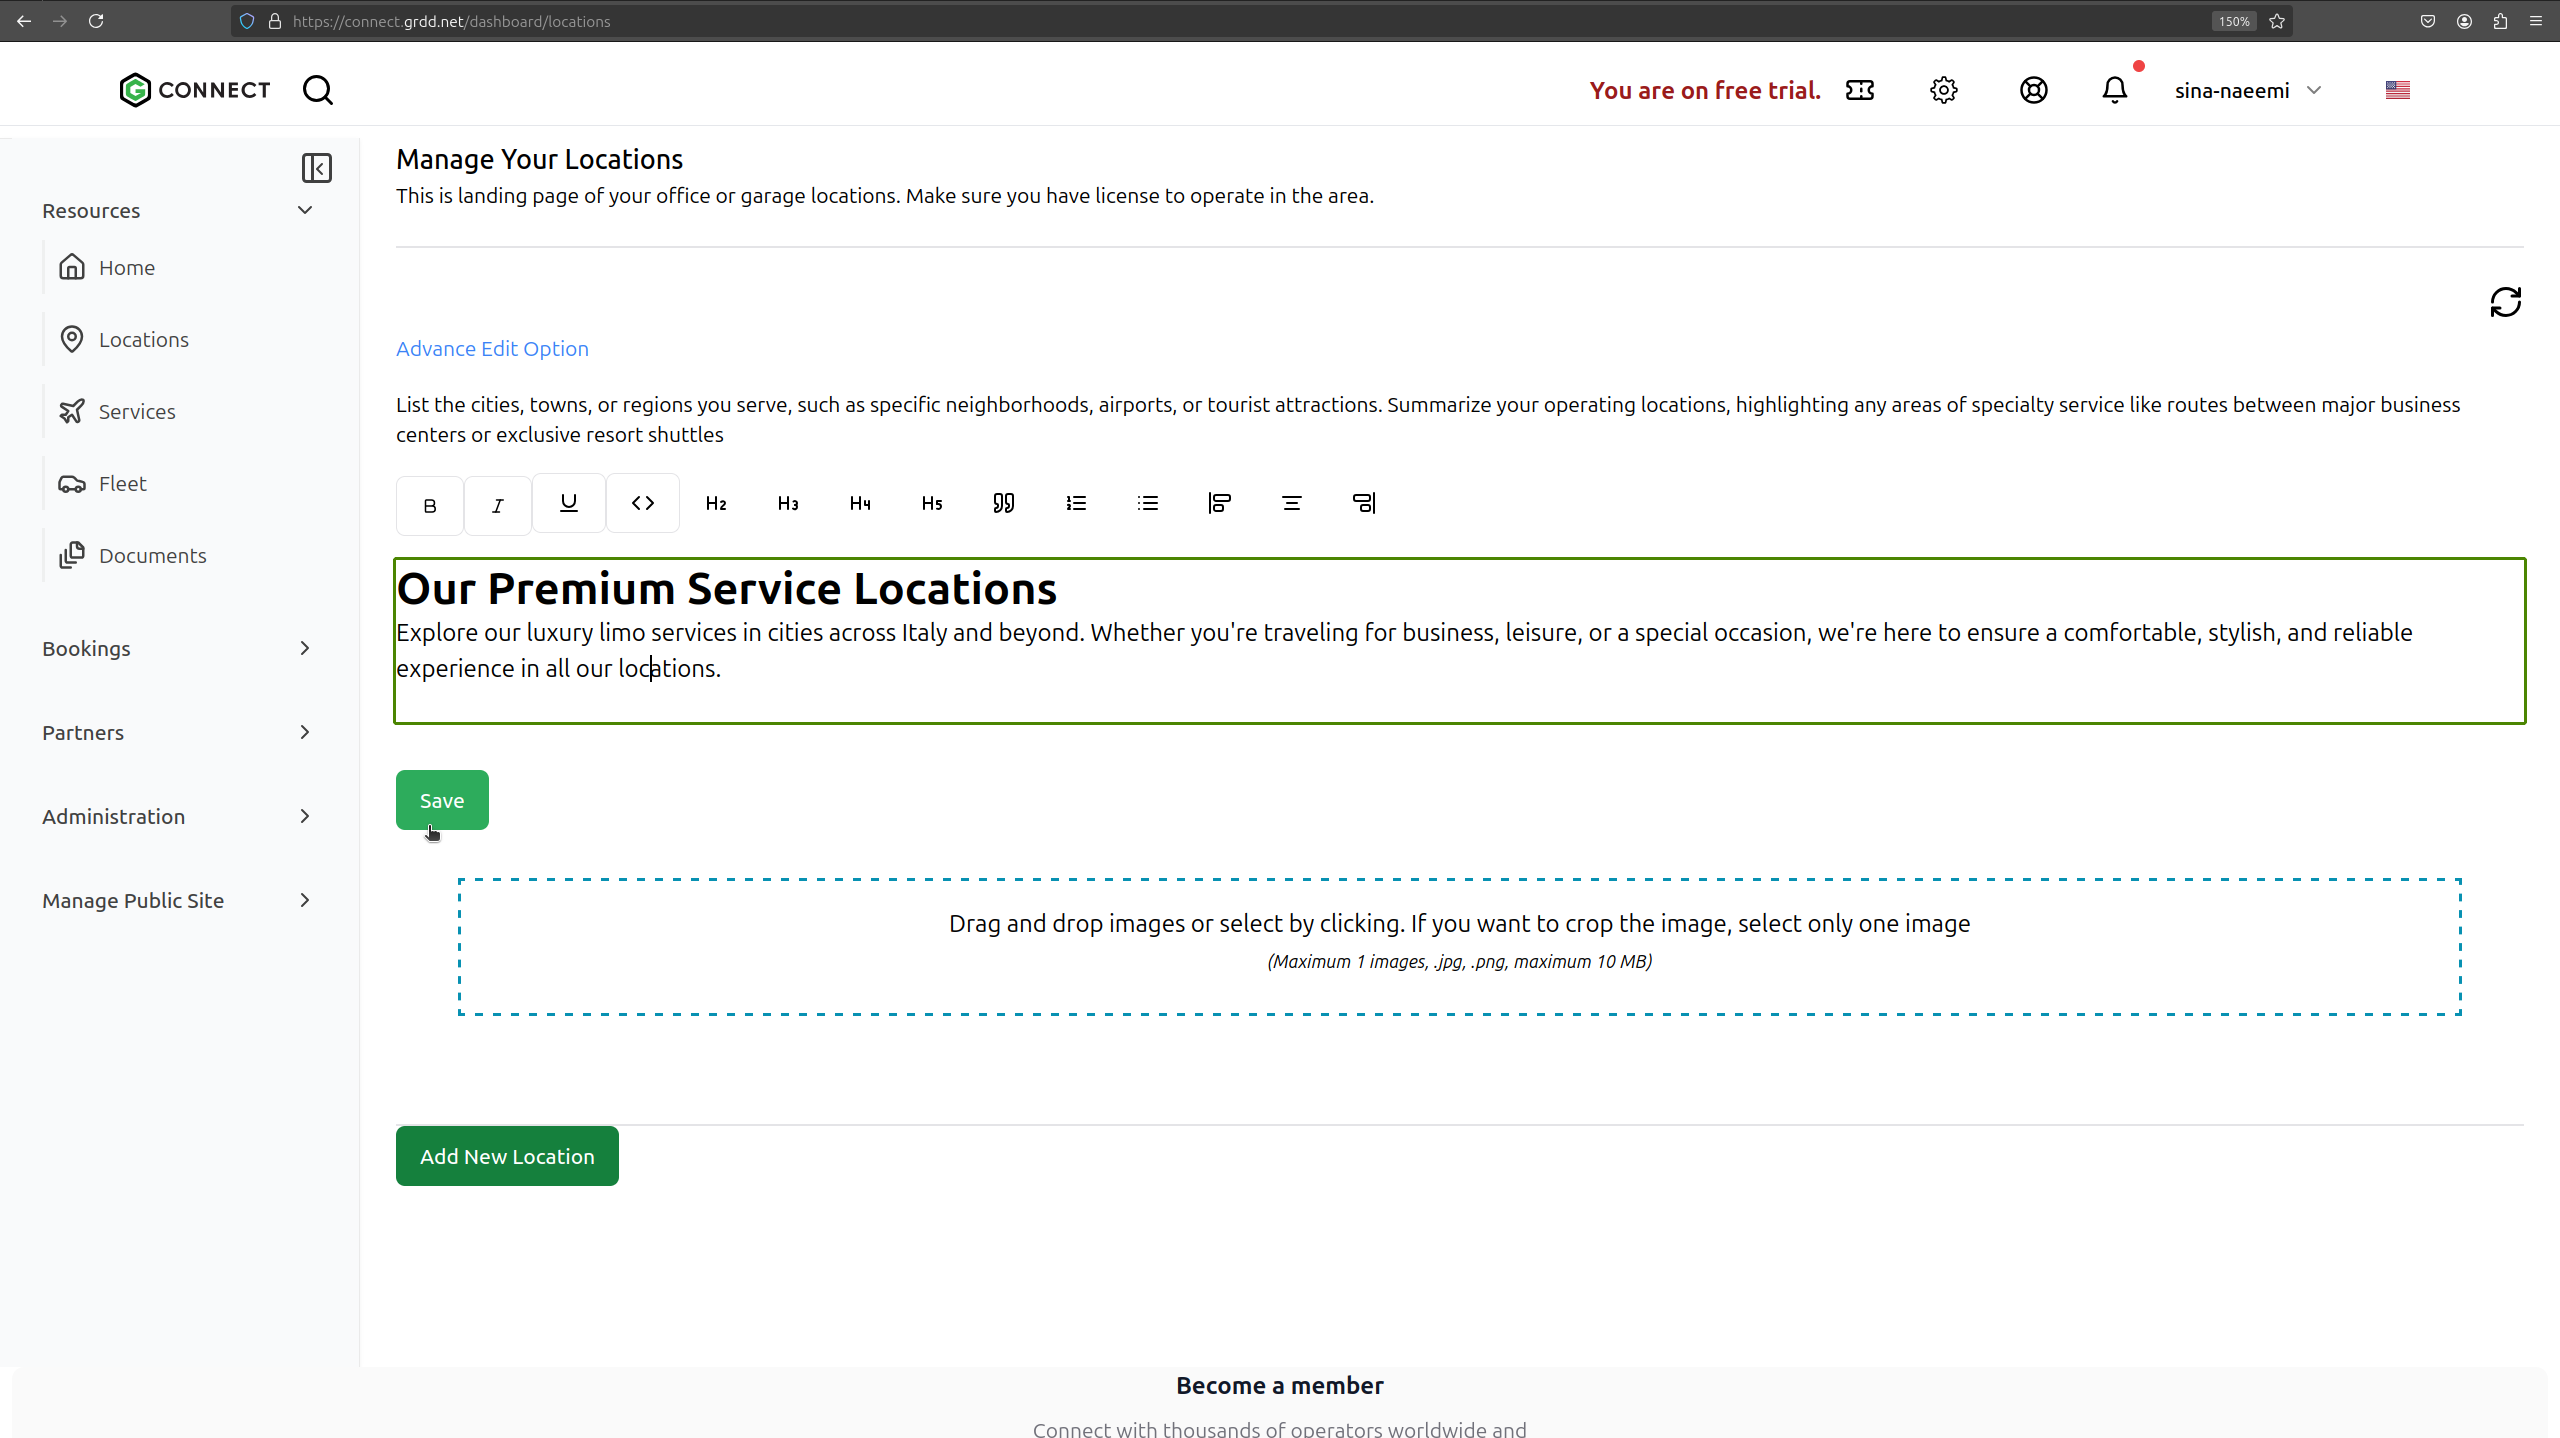
 ## Step 4: Save Header Text
After entering your custom header text, click the "Save" button to confirm changes.
## Step 4: Save Header Text
After entering your custom header text, click the "Save" button to confirm changes.
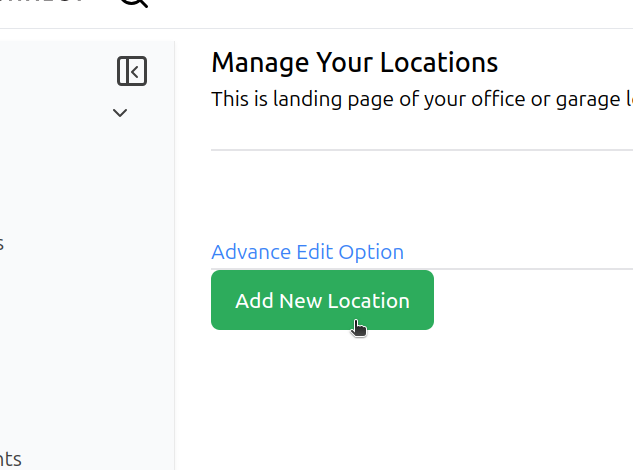
 ## Step 5: Add New Location
Click on the "Add New Location" button to begin adding a location.
## Step 5: Add New Location
Click on the "Add New Location" button to begin adding a location.
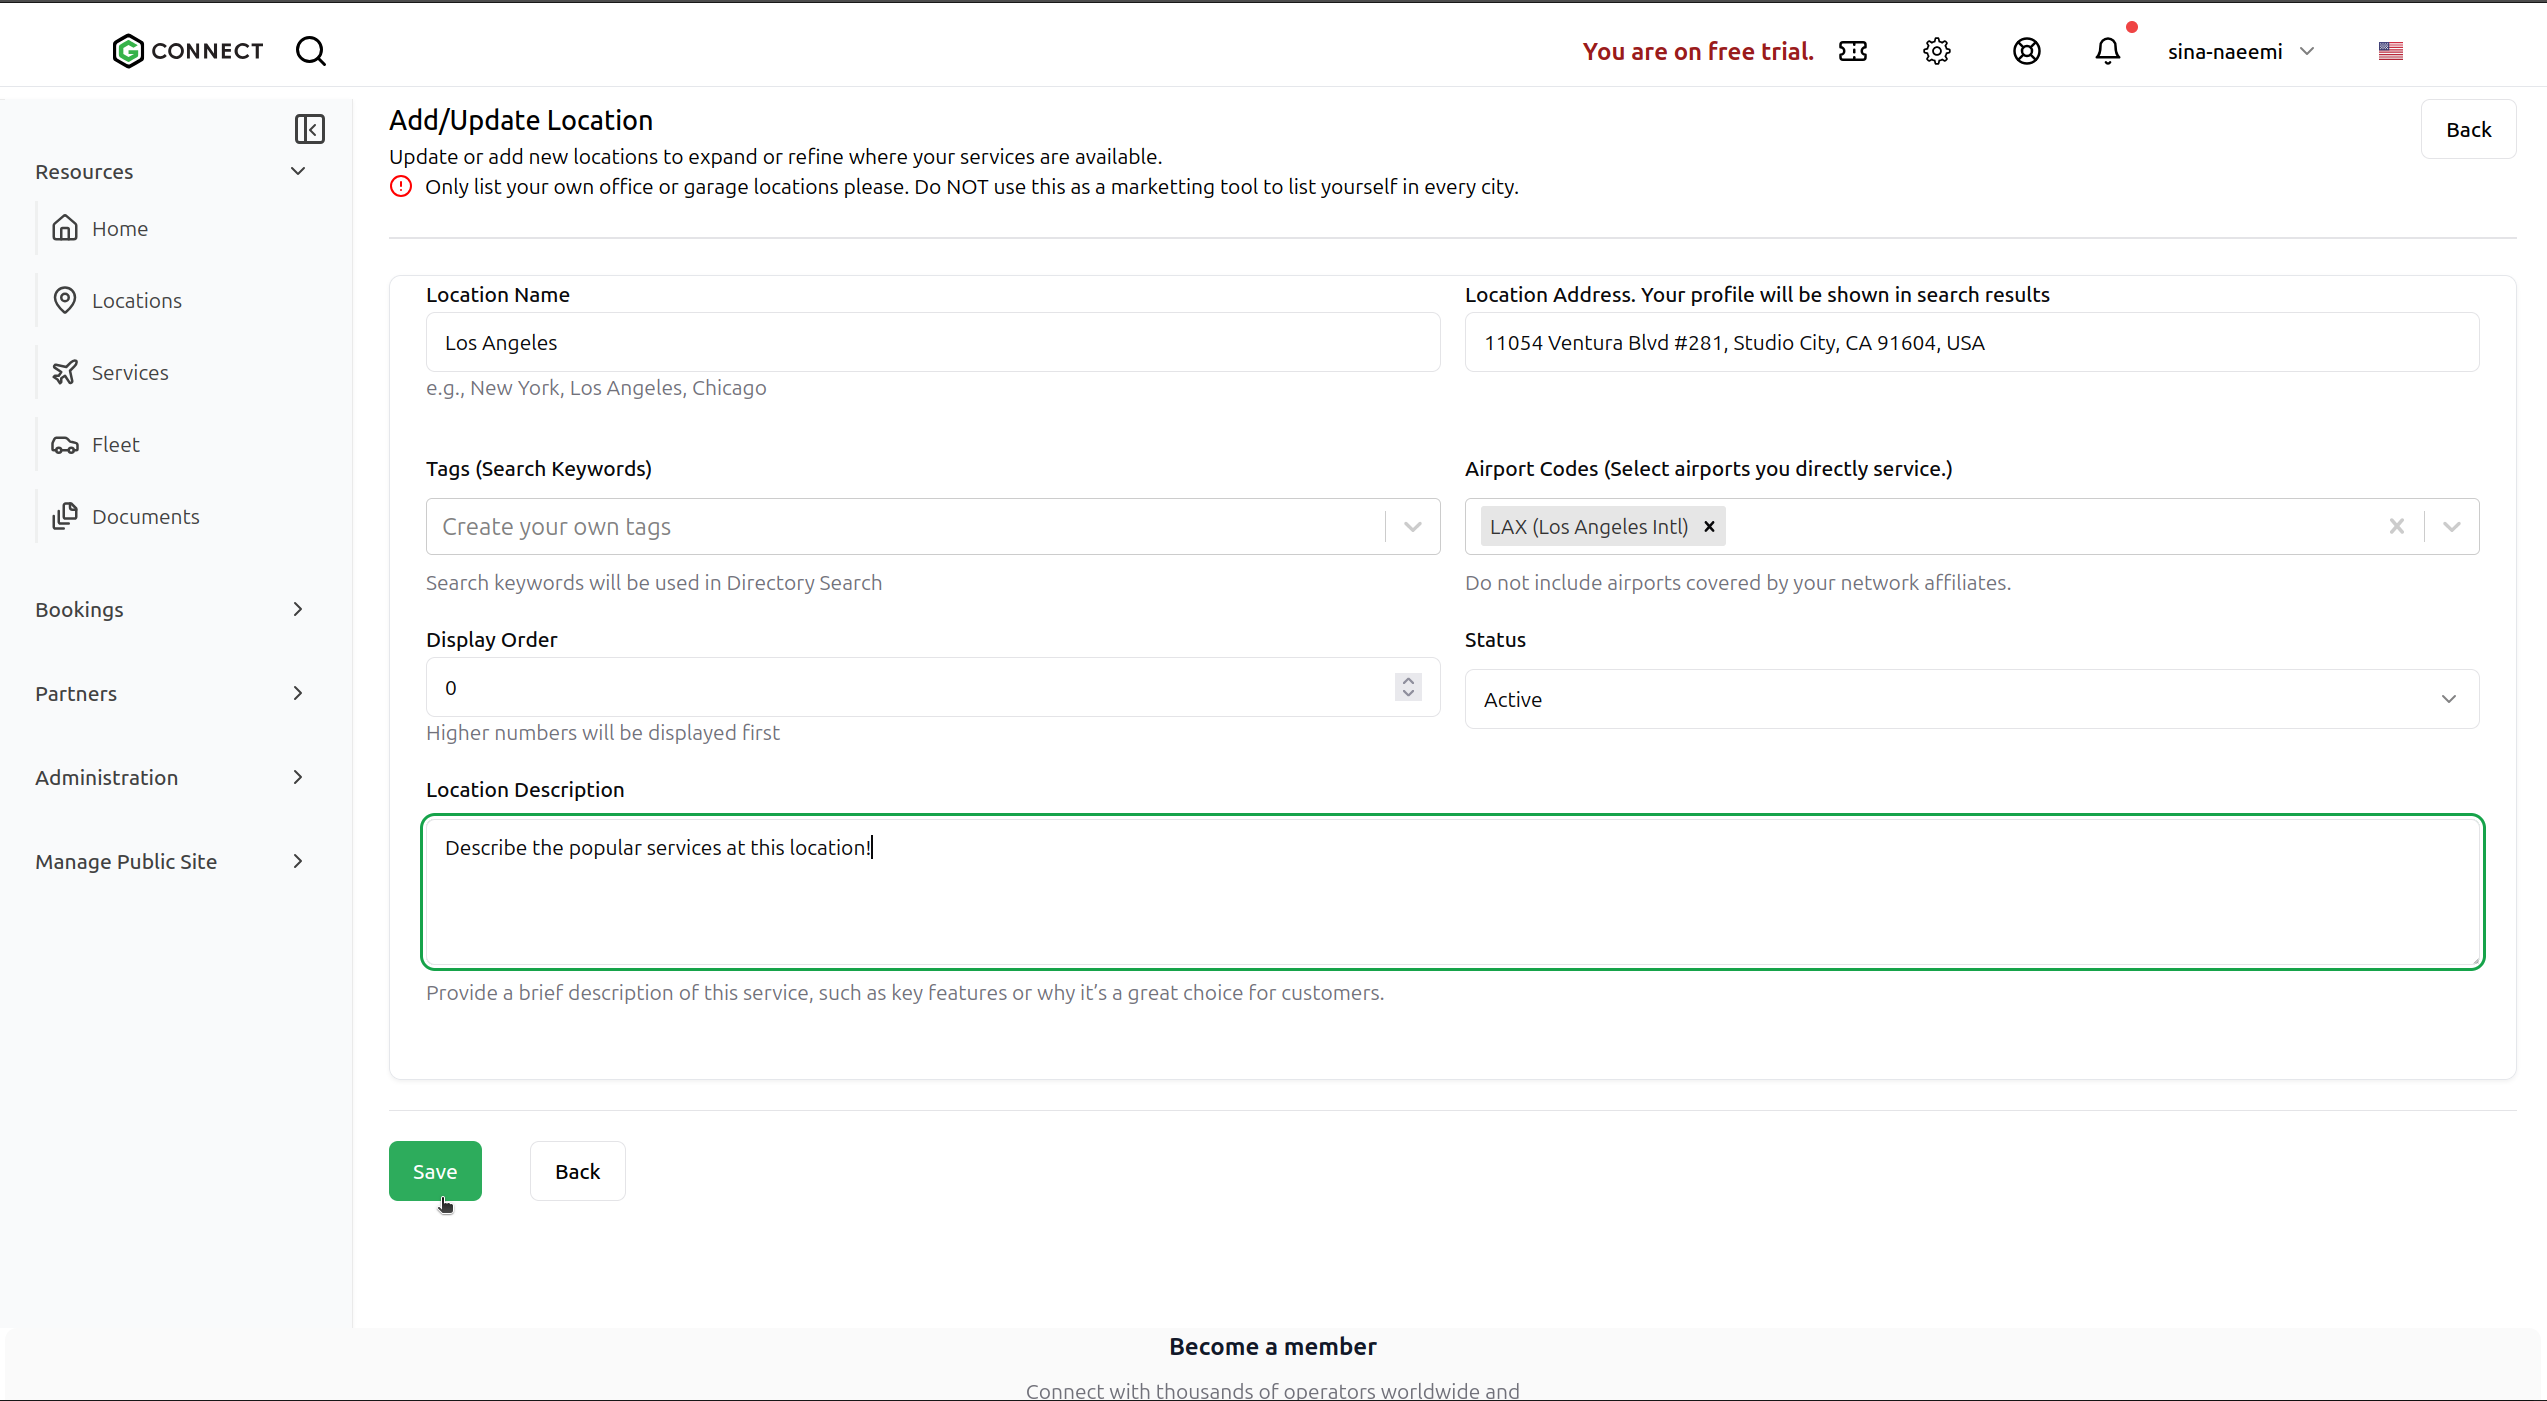
 ## Step 6: Enter Location Details
Complete all required location information including:
* Location Name
* Address
* display order (This is the order in which the location will be displayed on your locations page)
* status (You can hide a location without deleting it)
* description (Its helpful to discuess the popular services at this location)
## Step 6: Enter Location Details
Complete all required location information including:
* Location Name
* Address
* display order (This is the order in which the location will be displayed on your locations page)
* status (You can hide a location without deleting it)
* description (Its helpful to discuess the popular services at this location)
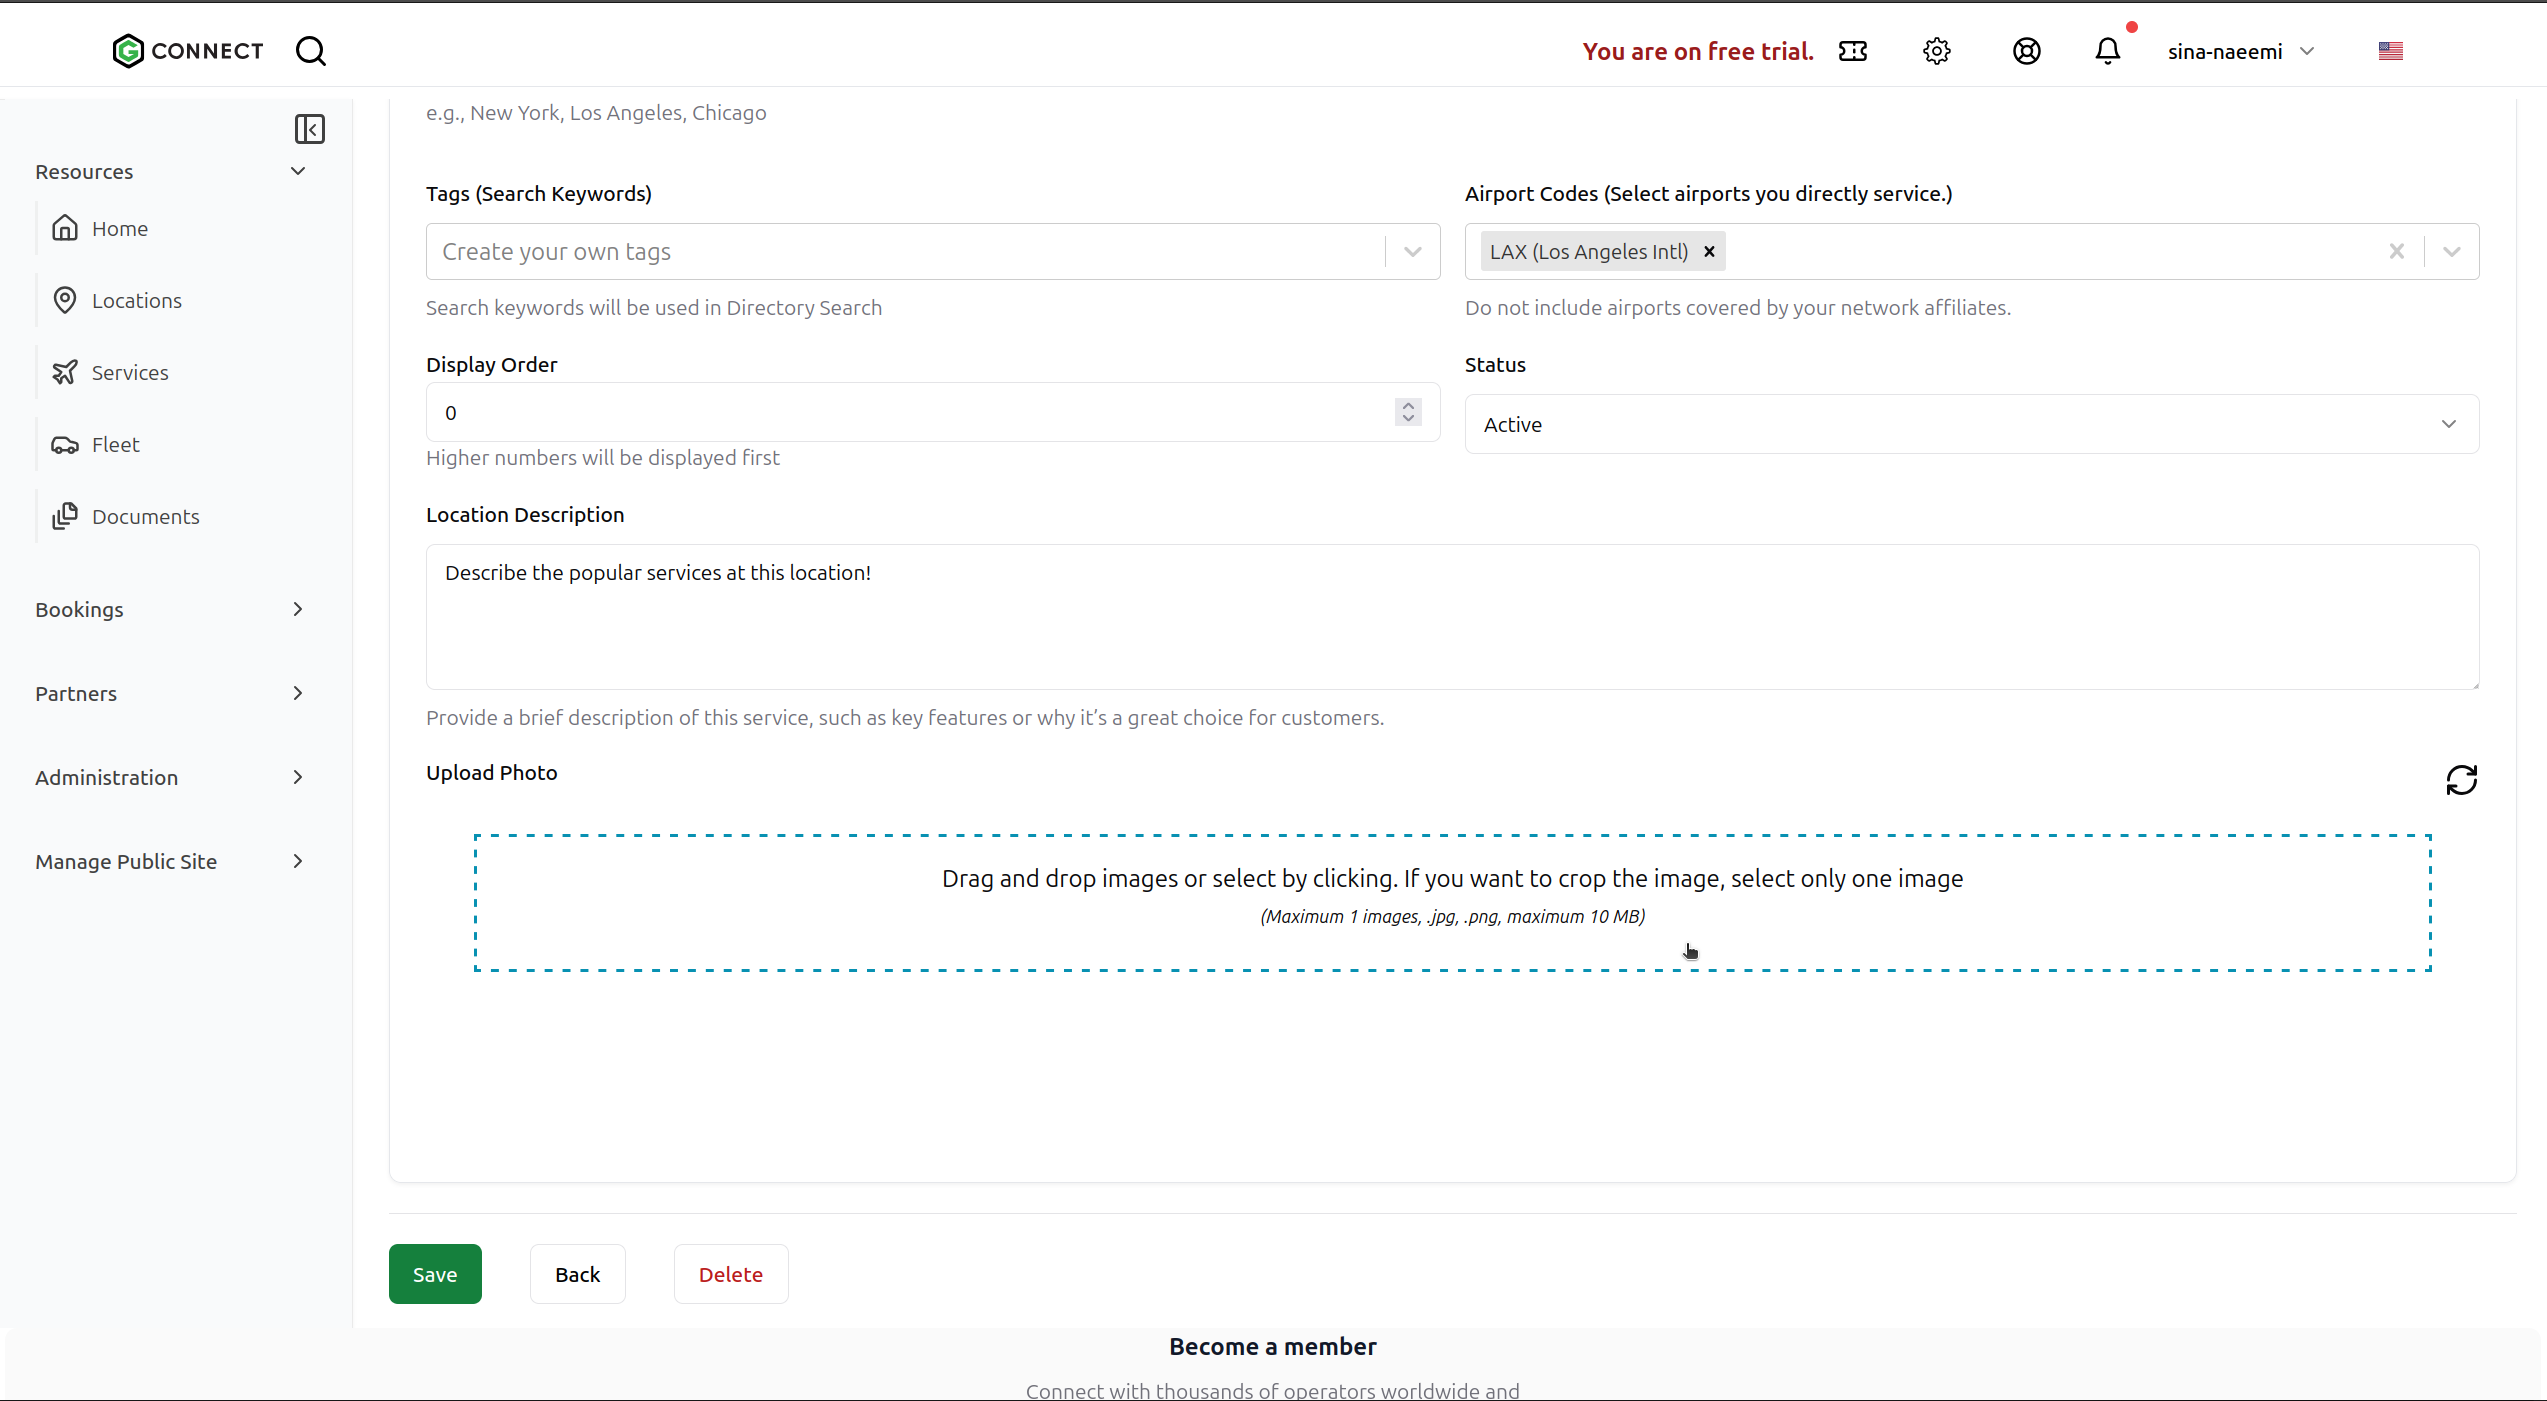
 ## Step 7: Upload Location Photo
Add photos of your location by clicking the "Upload Photo" button.
## Step 7: Upload Location Photo
Add photos of your location by clicking the "Upload Photo" button.
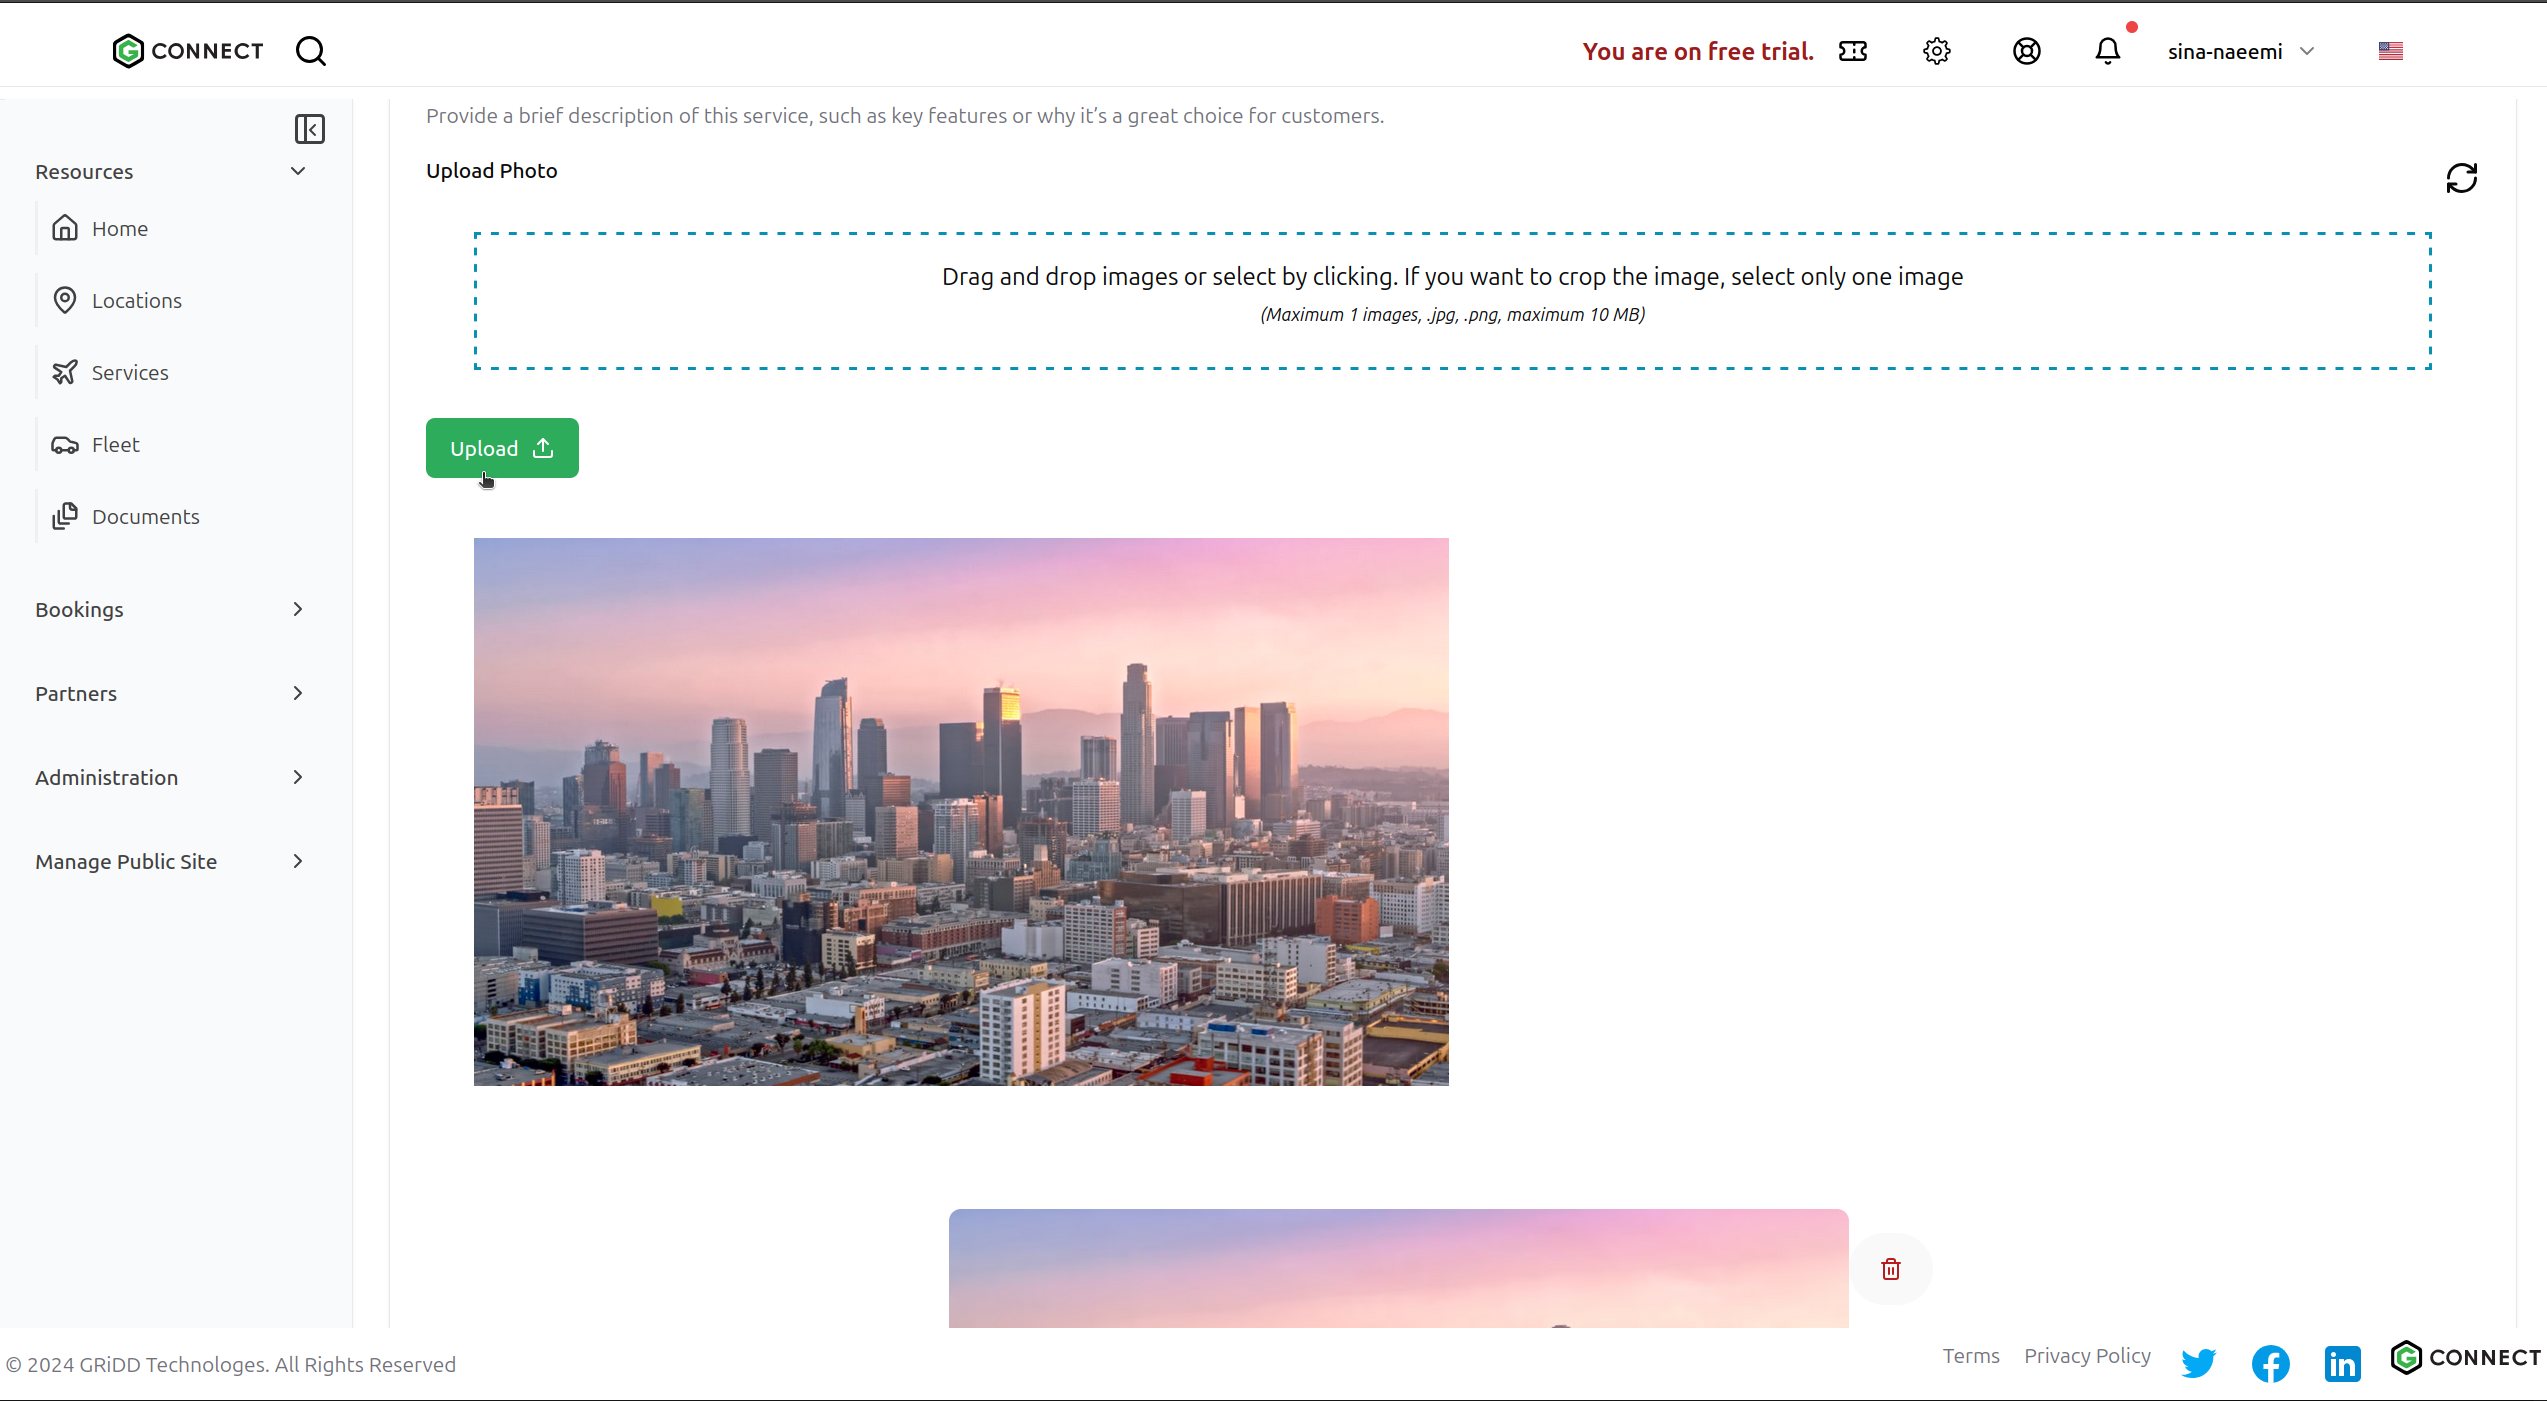
 ## Step 8: Save Location
Click the "Upload" button to finalize and add your new location.
## Step 8: Save Location
Click the "Upload" button to finalize and add your new location.
 Remember to keep your location information up to date. You can edit or remove locations at any time by returning to the Location section.